One of the things I immediately fell in love with when looking to buy our little cabin in the woods, was the uneven ground. It’s very rocky and has these mini-cliff-like rocks that are fun to scramble up and sit on top of. To get from the cabin to the campfire, you have to walk down a rocky little path that curves along a gentle slope. The table, where we usually eat, rises above the road, giving us a lovely view of the marsh. (I know marshes don’t actually sound that lovely but trust me, this one is hauntingly beautiful.)
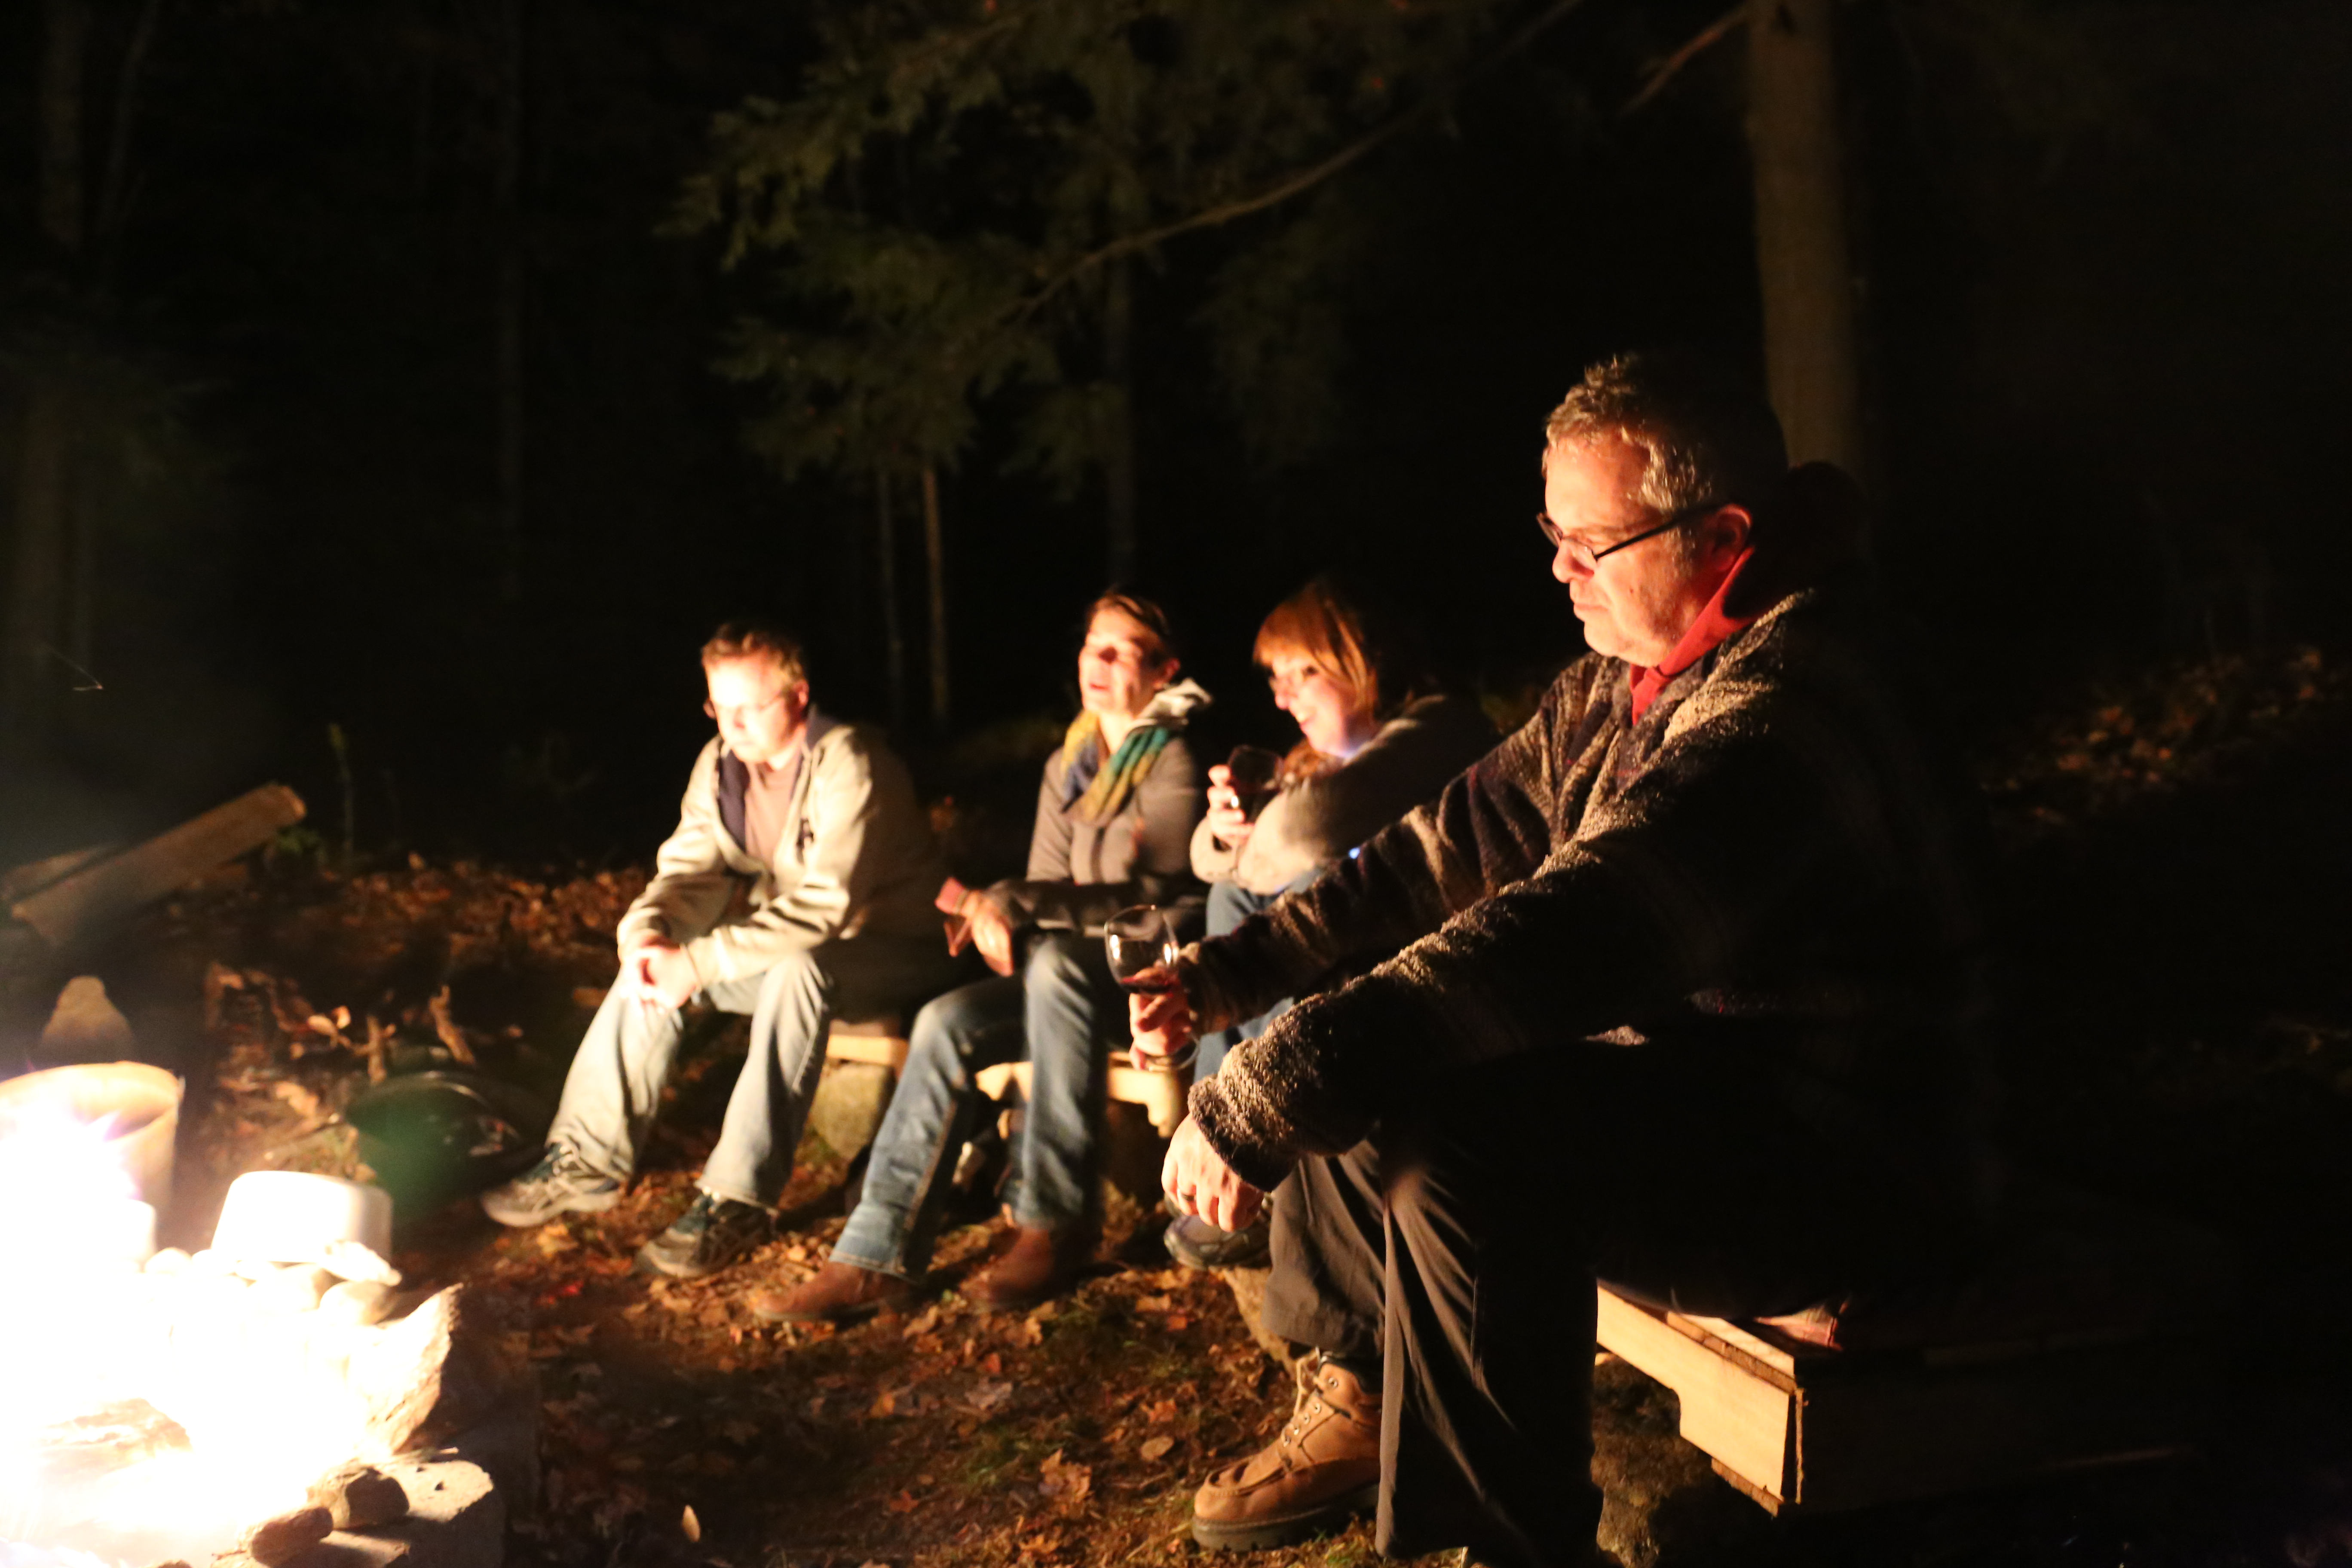
The only place we’ve had difficulty with this uneven terrain is around the campfire. Just to one side of the firepit, the land slopes upward. And while, to the naked eye, it doesn’t look that steep, as soon as you try to balance a chair on it, you realize that situation is only going to end with you toppling headfirst into the fire. Usually, it is just the three of us out there so there’s plenty of room around all the other sides of the campfire. But we’re having eight people to the cabin for Thanksgiving and we need more seating.
We had this vision of dragging one of the fallen trees to that side of the firepit and making a bench out of it. But when we found a decent fallen tree, we realized that it was impossible to move without a major production. Plus, we have no chainsaw to cut it down to size. Nope, not going to work.
So, I consult Pinterest, my go-to for problem-solving. Except I only found real benches, made from lumber, like the ones you find in amphitheatres. Well, that’s a bit too much work for one weekend and to make with no power tools other than a cordless drill. And to be honest, I’m a big fan of not spending any money on new materials.
A couple of evenings ago, we headed out to the cabin to drop off some things we would need for the gathering. While we were out there, I sat at the campfire and pondered the terrain, the slope and the materials we had. And I realized that the simplest solution was right in front of me.
When we first bought the place, it had a rustic campfire circled with massive rocks found from the area. Last spring, we found 24 angled patio stones under the deck at our city house and brought them out to the cabin to make a larger fire pit.

The massive stones that I had unearthed from the original firepit were so heavy, I had just left them by the fireside. I put two of them on the slope. Then I went to the back of the shed to check out our pallet situation. I figured we could cut one in half to make a loveseat-sized bench. Lo and behold! There was not one, but two the perfect size already!

With some shuffling and rotating the rocks, I balanced the pallets so that is actually a very stable seat. The back edge of the pallet simply rests on the sloped ground and the front edge rests on top of the rocks.
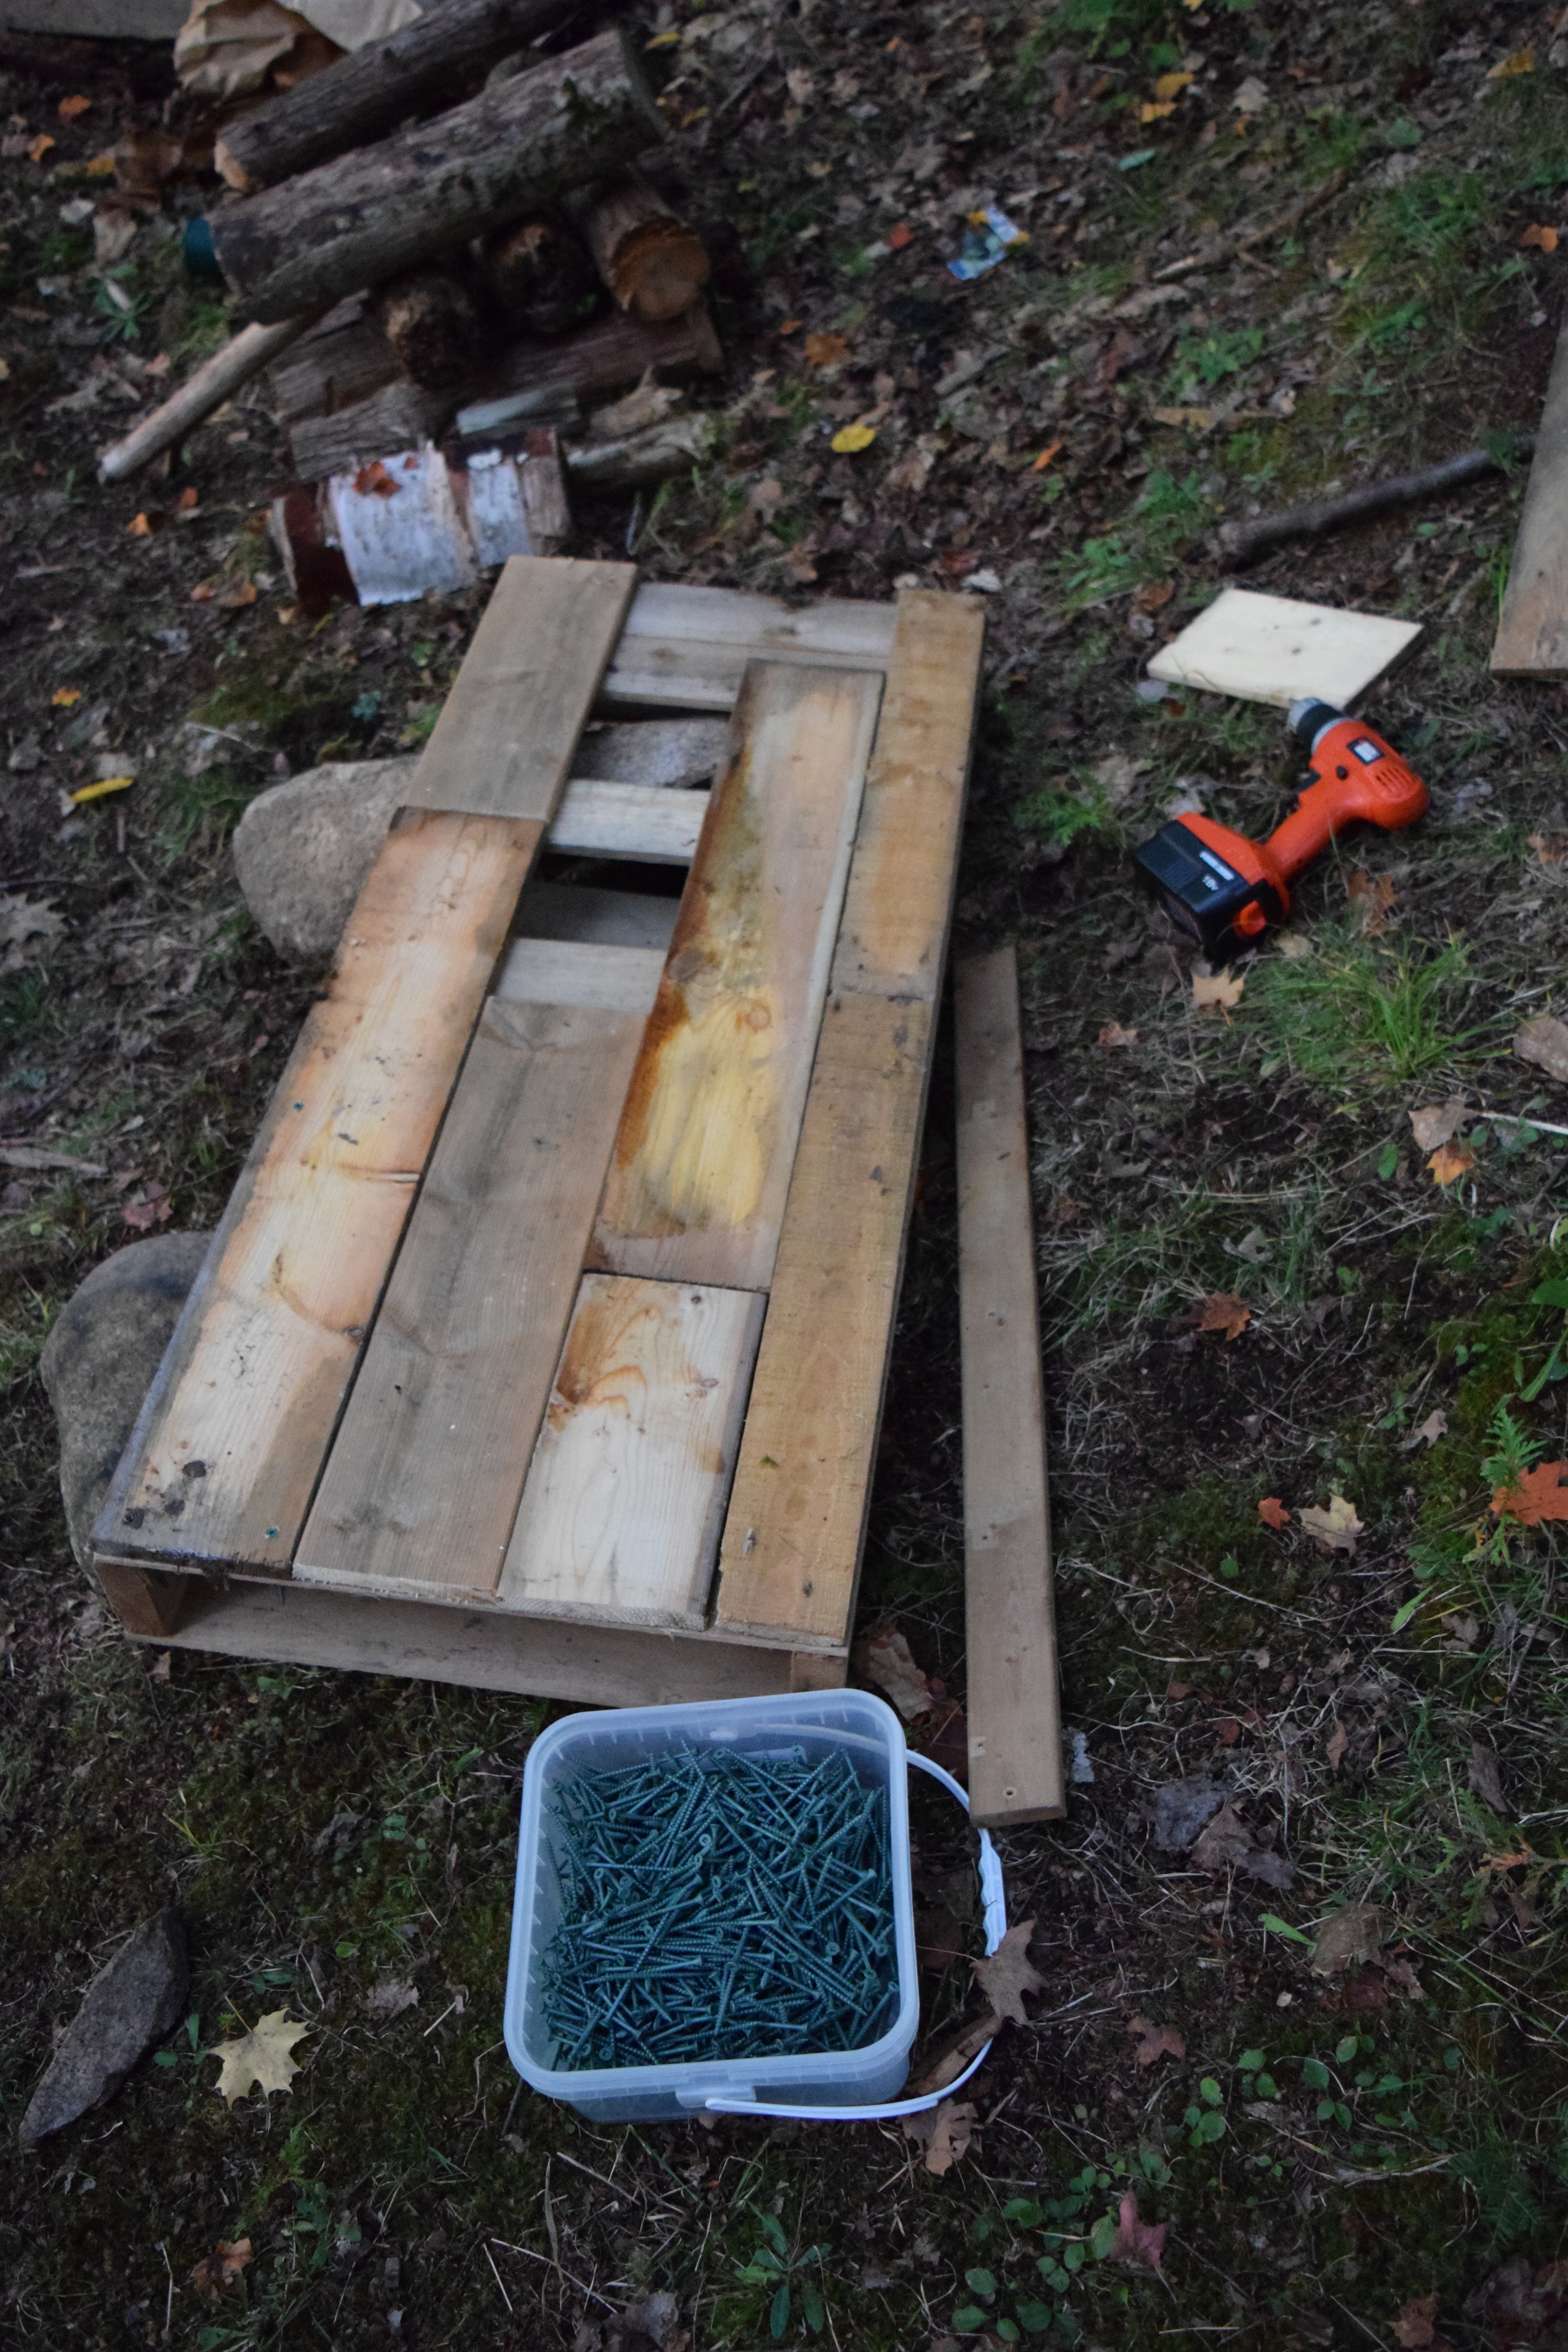
But as you can see, you would not have been able to sit on it as is because the slats were so wide apart. So I once again toured around the shed, looking at the leftover construction materials and I found lumber left over from our deck. And as good fortune would have it only two pieces needed to be shortened. I fit all the pieces together like a puzzle and then screwed them down. I put pieces on the edges to cover the open space and the visible deck screws.
There was not enough lumber for the second bench though. So I went back to the Shed of Wonders and looked for something else that could be used for the top of the second bench. I found 4 sections of beadboard that had been used in the interior of the main cabin. I measured and as luck would have it, simply cutting the beadboard in half would be the exact length of the pallet. I cut the panels in half, fitted the tongue and groove panels into each other and then nailed them down with finishing nails. Voila! Everything was working out so well!
The final step was simply to add something soft to the top so that it wasn’t hard or cold to sit on. My Mom had recently cleaned out her craft cupboard and offered me four foam squares, 16″ x 16″ and 2″ thick. At the time, I really had no use for them and during one of my tidying up episodes, I seriously considered either donating them or posting them on the Buy Nothing site. But I didn’t and now I know why. I rummaged through my Big Box o’ Fabric and found four remnants of fabric large enough to cover these four cushions. And the four fabrics, as you can see, all happened to be in the same colour pallette. (Seriously, I feel like this project was meant to be!) I sewed the cushion covers the same way I did the slipcover cushions, but instead of using a zipper to close them, I just used velcro. These cushions were meant for near the fire so I would have to be able to remove them easily to be washed.

The great part, as we discovered over the weekend, about having two separate cushions instead of one long one, was that there was enough space left between the two cushions that you could set your drink. Another option was to remove one of the cushions and use the other half of the bench as a flat surface for drinks, snacks, or simply to put your book.
I am very excited about how well this project worked out. Rarely does a project work out so smoothly, inexpensively and turn out so pretty.
Cost of Materials:
- Heavy stones from old firepit: upcycled
- Pallets: found
- Lumber: found
- Beadboard: found
- 4 foam cushions: given
- Fabrics: leftover from a variety of projects
- Velcro: Dollarama $4
Total cost of materials: $4


Loved the way everything turned out and to see the cushions put to use. Excellent read.
LikeLike