I’m not above scavenging from other people’s garbage. Especially in my neighbourhood. My neighbourhood is a DIY-er’s heaven. I live in a neighbourhood where people throw out perfectly upcyclable items ALL. THE. TIME. I am not judging. If people want to toss these items instead of donating them or upcycling, that is their right. In fact, I’m glad they do because then I get these new objects FOR FREE. All they need is some Pinterest and elbow grease! (Just for the record, DIY-ers are not hoarders or junk collectors. We are visionaries and rescuers. So there.) I’m pretty sure that all my neighbours know that if they put something even remotely usable out on their lawn, I will most likely take it.
And that is what this table was. Someone’s trash. And all I saw was potential.
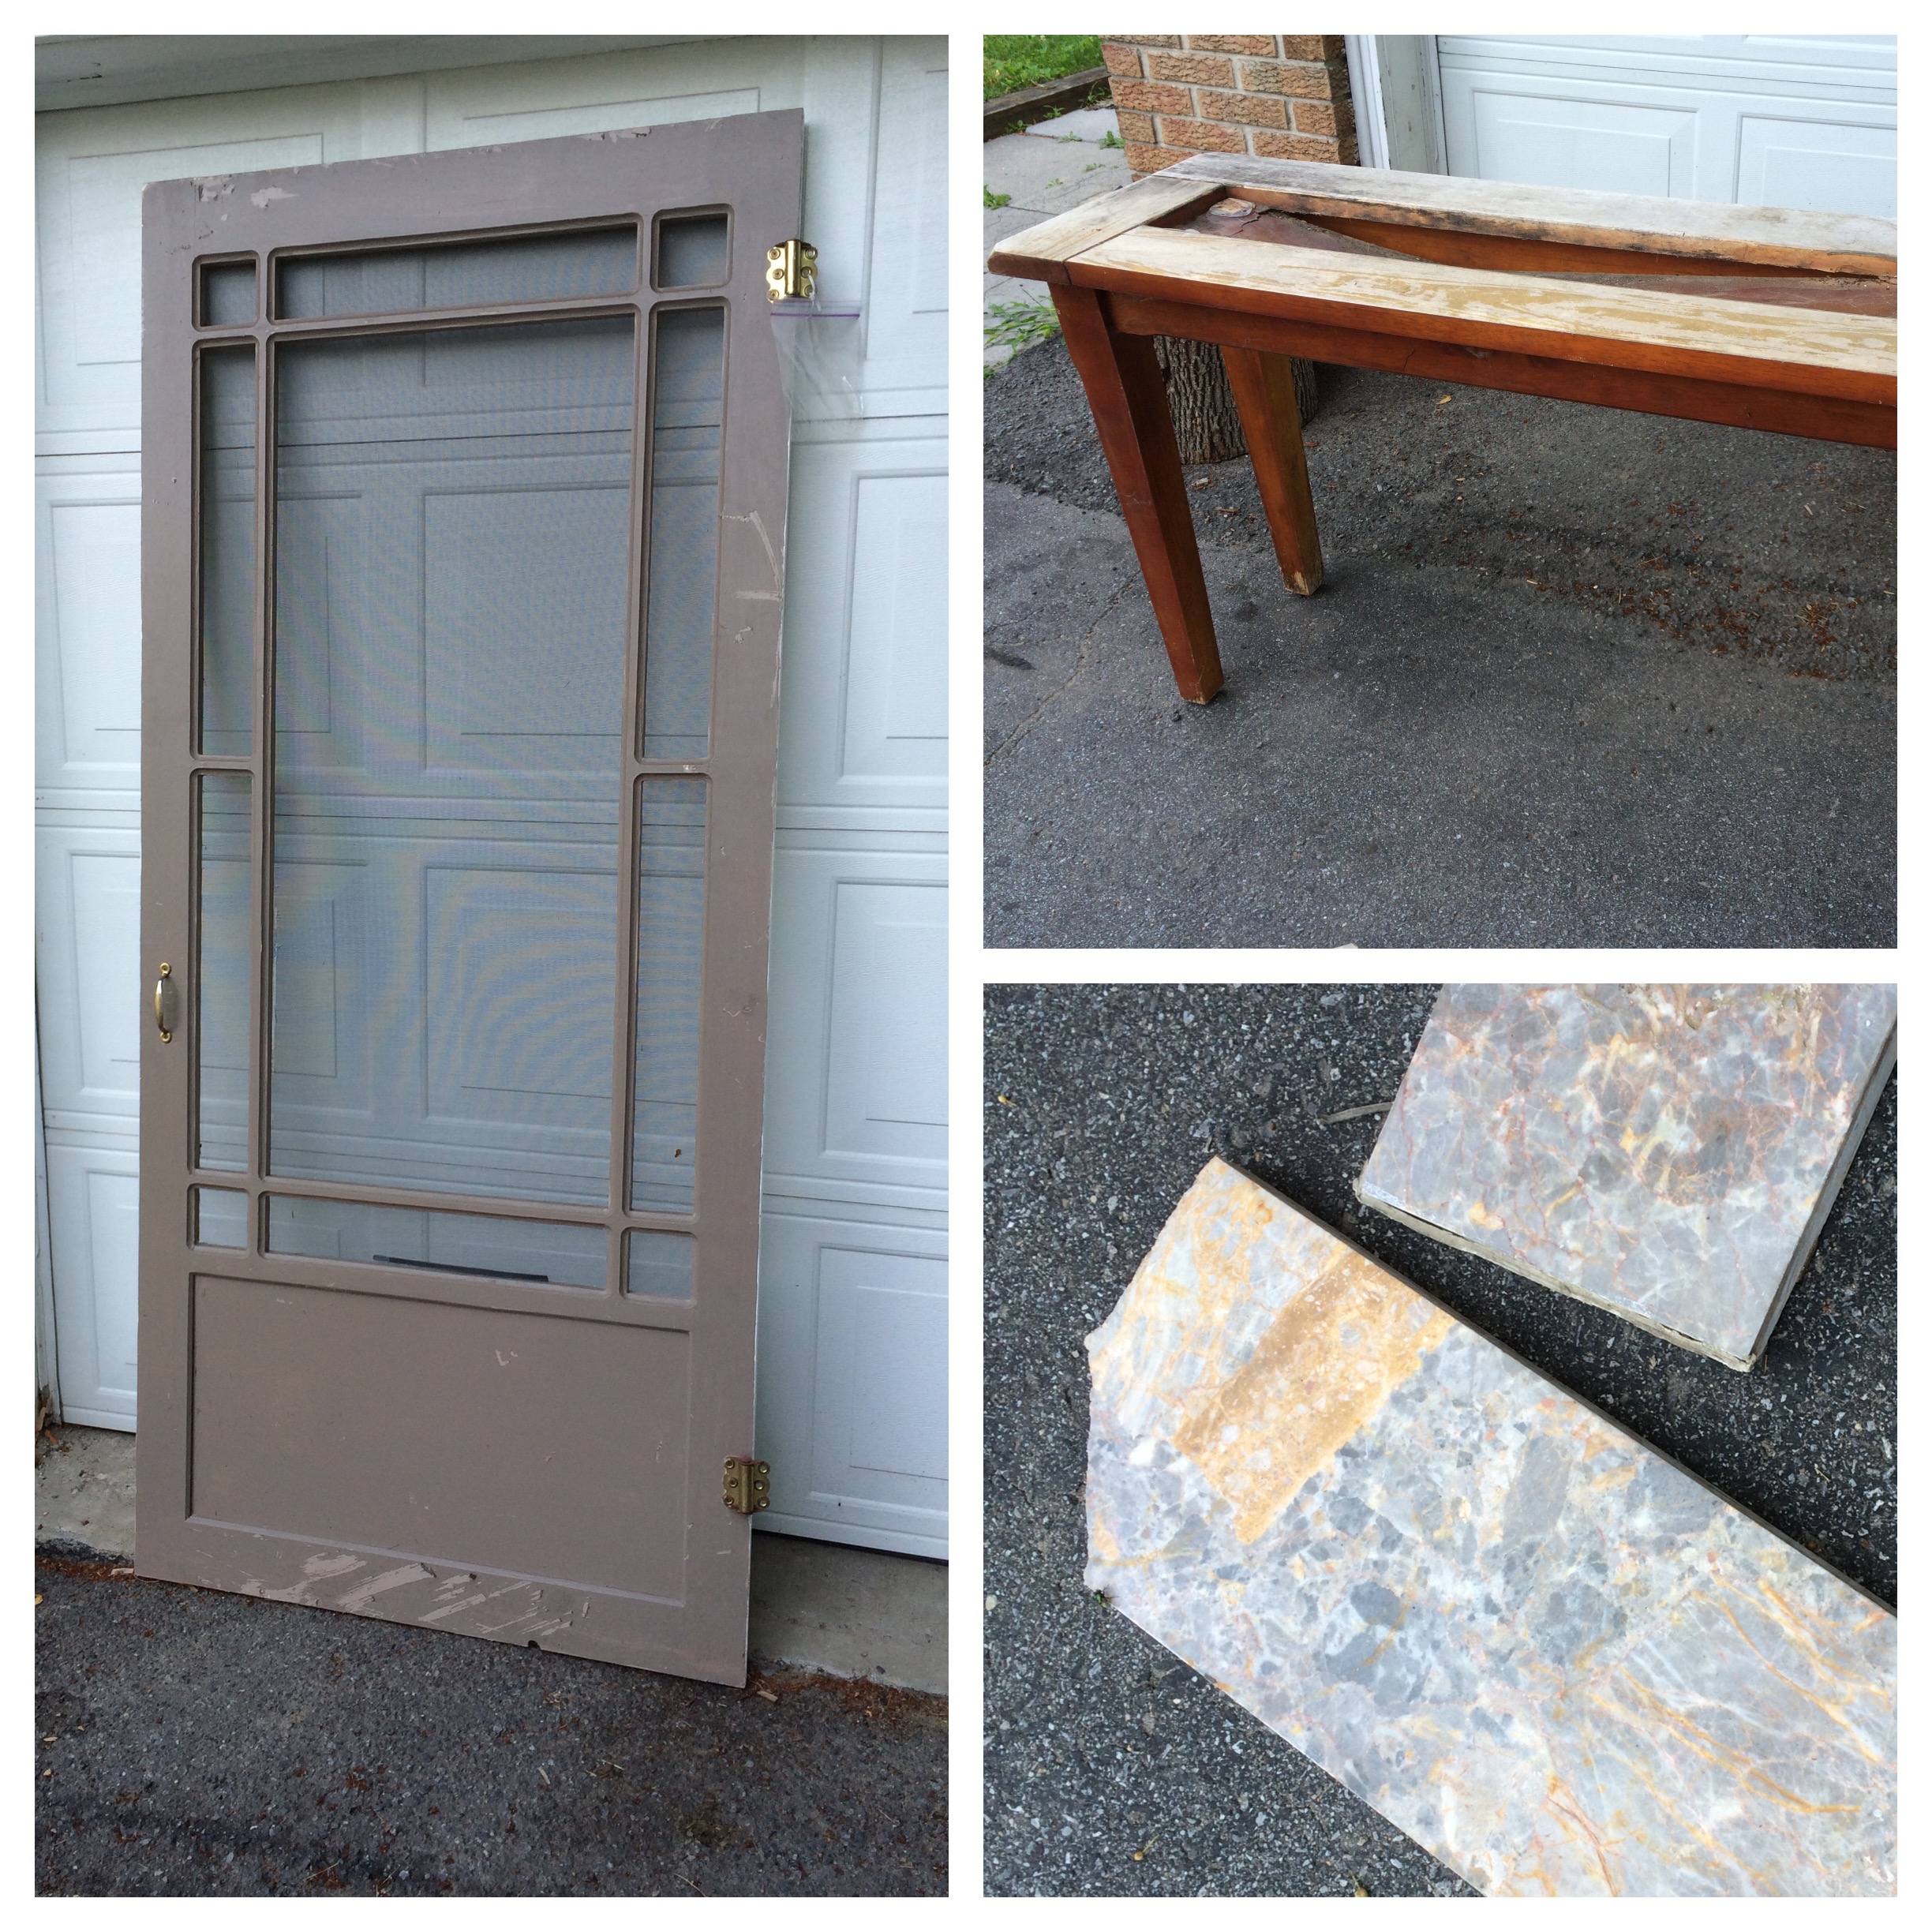
Here’s the funny thing. I only have one photo of the “Before”. It’s a collage with two other pieces I found in the garbage that day. (I went on a cleaning spree of my phone’s photos and deleted the original. Argh.)
First thing’s first. It had to be sanded to get the finish off of it so I could stain it the colour I wanted. Soldier Boy was very excited about being able to dismantle it and sand down all the parts. (He still can’t walk so sanding is one of the only things he can do. He tends to get a little obsessive about it. I actually had to stain it while he was at work so he couldn’t sand it anymore.)
The staining was easy. Brush it on (you can use a brush or a cloth; I used a foam brush), leave it until you think it’s dark enough and then wipe off any excess stain. Make sure the stain is applied in the same direction as the grain and be careful that you don’t overlap on the corners too much or they end up darker than everything else. Because these pieces were sanded so well, the stain soaked in beautifully. Except where it didn’t. But the unevenness of it is part of what makes old pieces look old.
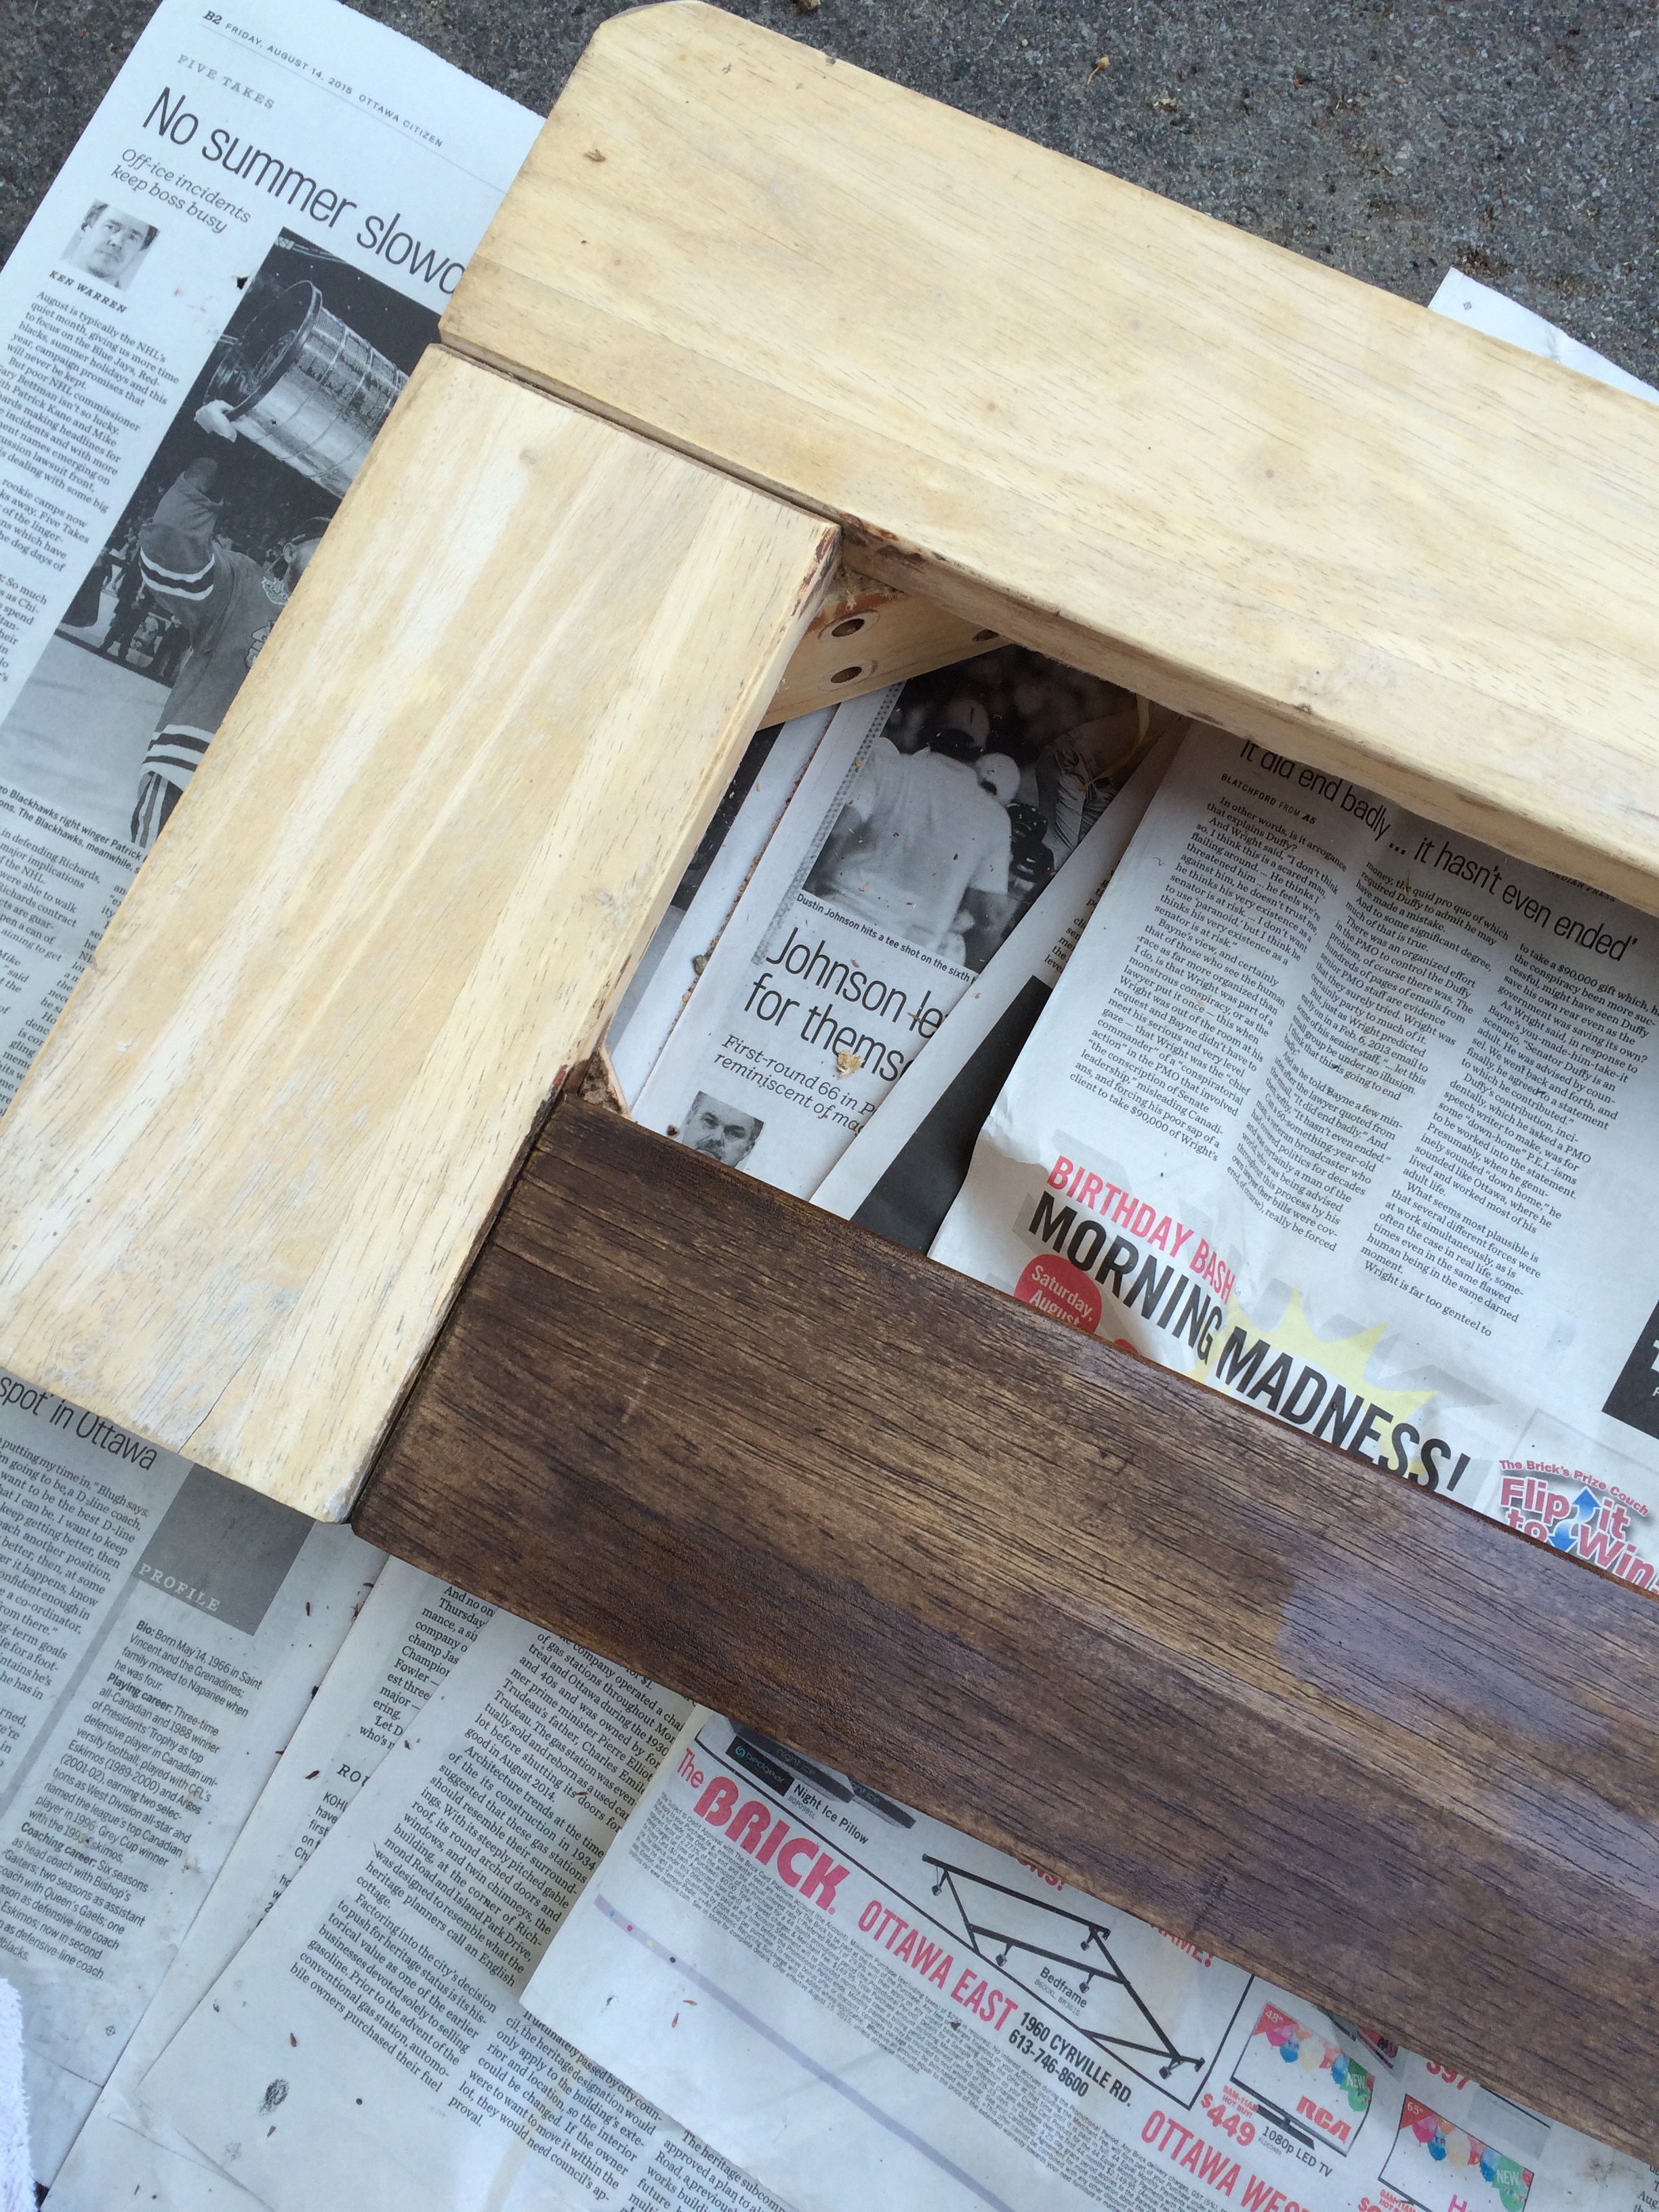
I stained the tabletop piece, the four legs, a piece of plywood that I had cut to fit in as a “trough” in the centre and four pieces that were to add depth to the trough.

In our garage that is filled with pallet wood, other people’s old furniture and other stuff that I haven’t found a use for yet, I found some long, wooden pieces that were 1.5″ by .5″. I cut them to the appropriate sizes to fit inside the opening in the tabletop frame. With the small pieces being 1.5″ and the tabletop itself being 1″, after the plywood is attached the centre will be 2.5″ deep, a perfect depth to hold river rocks and lights.


I was finally ready to put the legs back on the table. One thing I highly recommend you consider before you get to this point – because I did not and it was pure dumb luck that I didn’t have to redo the whole thing again – is where the screws go to attach the legs. Remember how I said that Soldier Boy disassembled the table so he could sand it? Well, it never occurred to me to pay attention to where the screws for the legs go. I could very easily have gotten to this point and realized that the plywood actually crossed over or covered the holes. It was close. It was so close that I had that anxious feeling of, “Holy crap. Wow. That was really stupid. I almost completely screwed this up. But I didn’t. We’re good.” <lengthy exhale>.


Finally, the glass. This is one of those things that happened that made this project feel like it was meant to be. I had a glass tabletop from a small dining table that I had when I was in university. After years of it being in storage, I kept the glass and donated the minimalist table frame. I used the glass with a decorative firepit in my backyard for several years. When we moved house, the glass, which is 3/8″ thick and extremely heavy, slipped out of my hand. The corner hit the asphalt and broke off. Well, now it was useless because of the sharp edges. But we kept it. Because that’s what DIY-ers do.
TWO YEARS LATER I find this table in a neighbour’s garbage and it is exactly the same length! If this is not justification enough to keep things that others see as garbage, then I don’t know what is. And the table is narrow enough that I can go to a glass-cutter and get the broken edge removed! Seriously, this is destiny.
I went to the local glass and sign shop and after warning me that glass this thick and this old may shatter, he offered to cut it. To simply buy a new pane of glass this thick would cost over $175. To have it cut was $25. I love watching tradesmen do their jobs. They make it look soooooo easy. Within minutes, he had that pane of glass cut to the perfect size. And here’s the thing. He didn’t even cut it. He scored it and then BROKE it. Perfectly. With old skool tricks of the trade. Incredible. He polished the edges so it was nice and smooth and charged me the minimum. A total of $25 and 15 minutes of my time.
I cleaned it at the cottage (with two dogs, an 11-year-old boy and all the redecorating and construction tools and supplies we carry, our vehicle is incredibly dirty), placed it on the top of the table and we had a brand new, beautiful table. The glass is still very heavy and there is very little chance of it moving off of this table, even if accidentally knocked. The table is wide enough to sit at and journal or have a morning coffee and look out into the woods and the marsh. It also makes the space look larger because it is less cluttered than the shelf that used to be there.
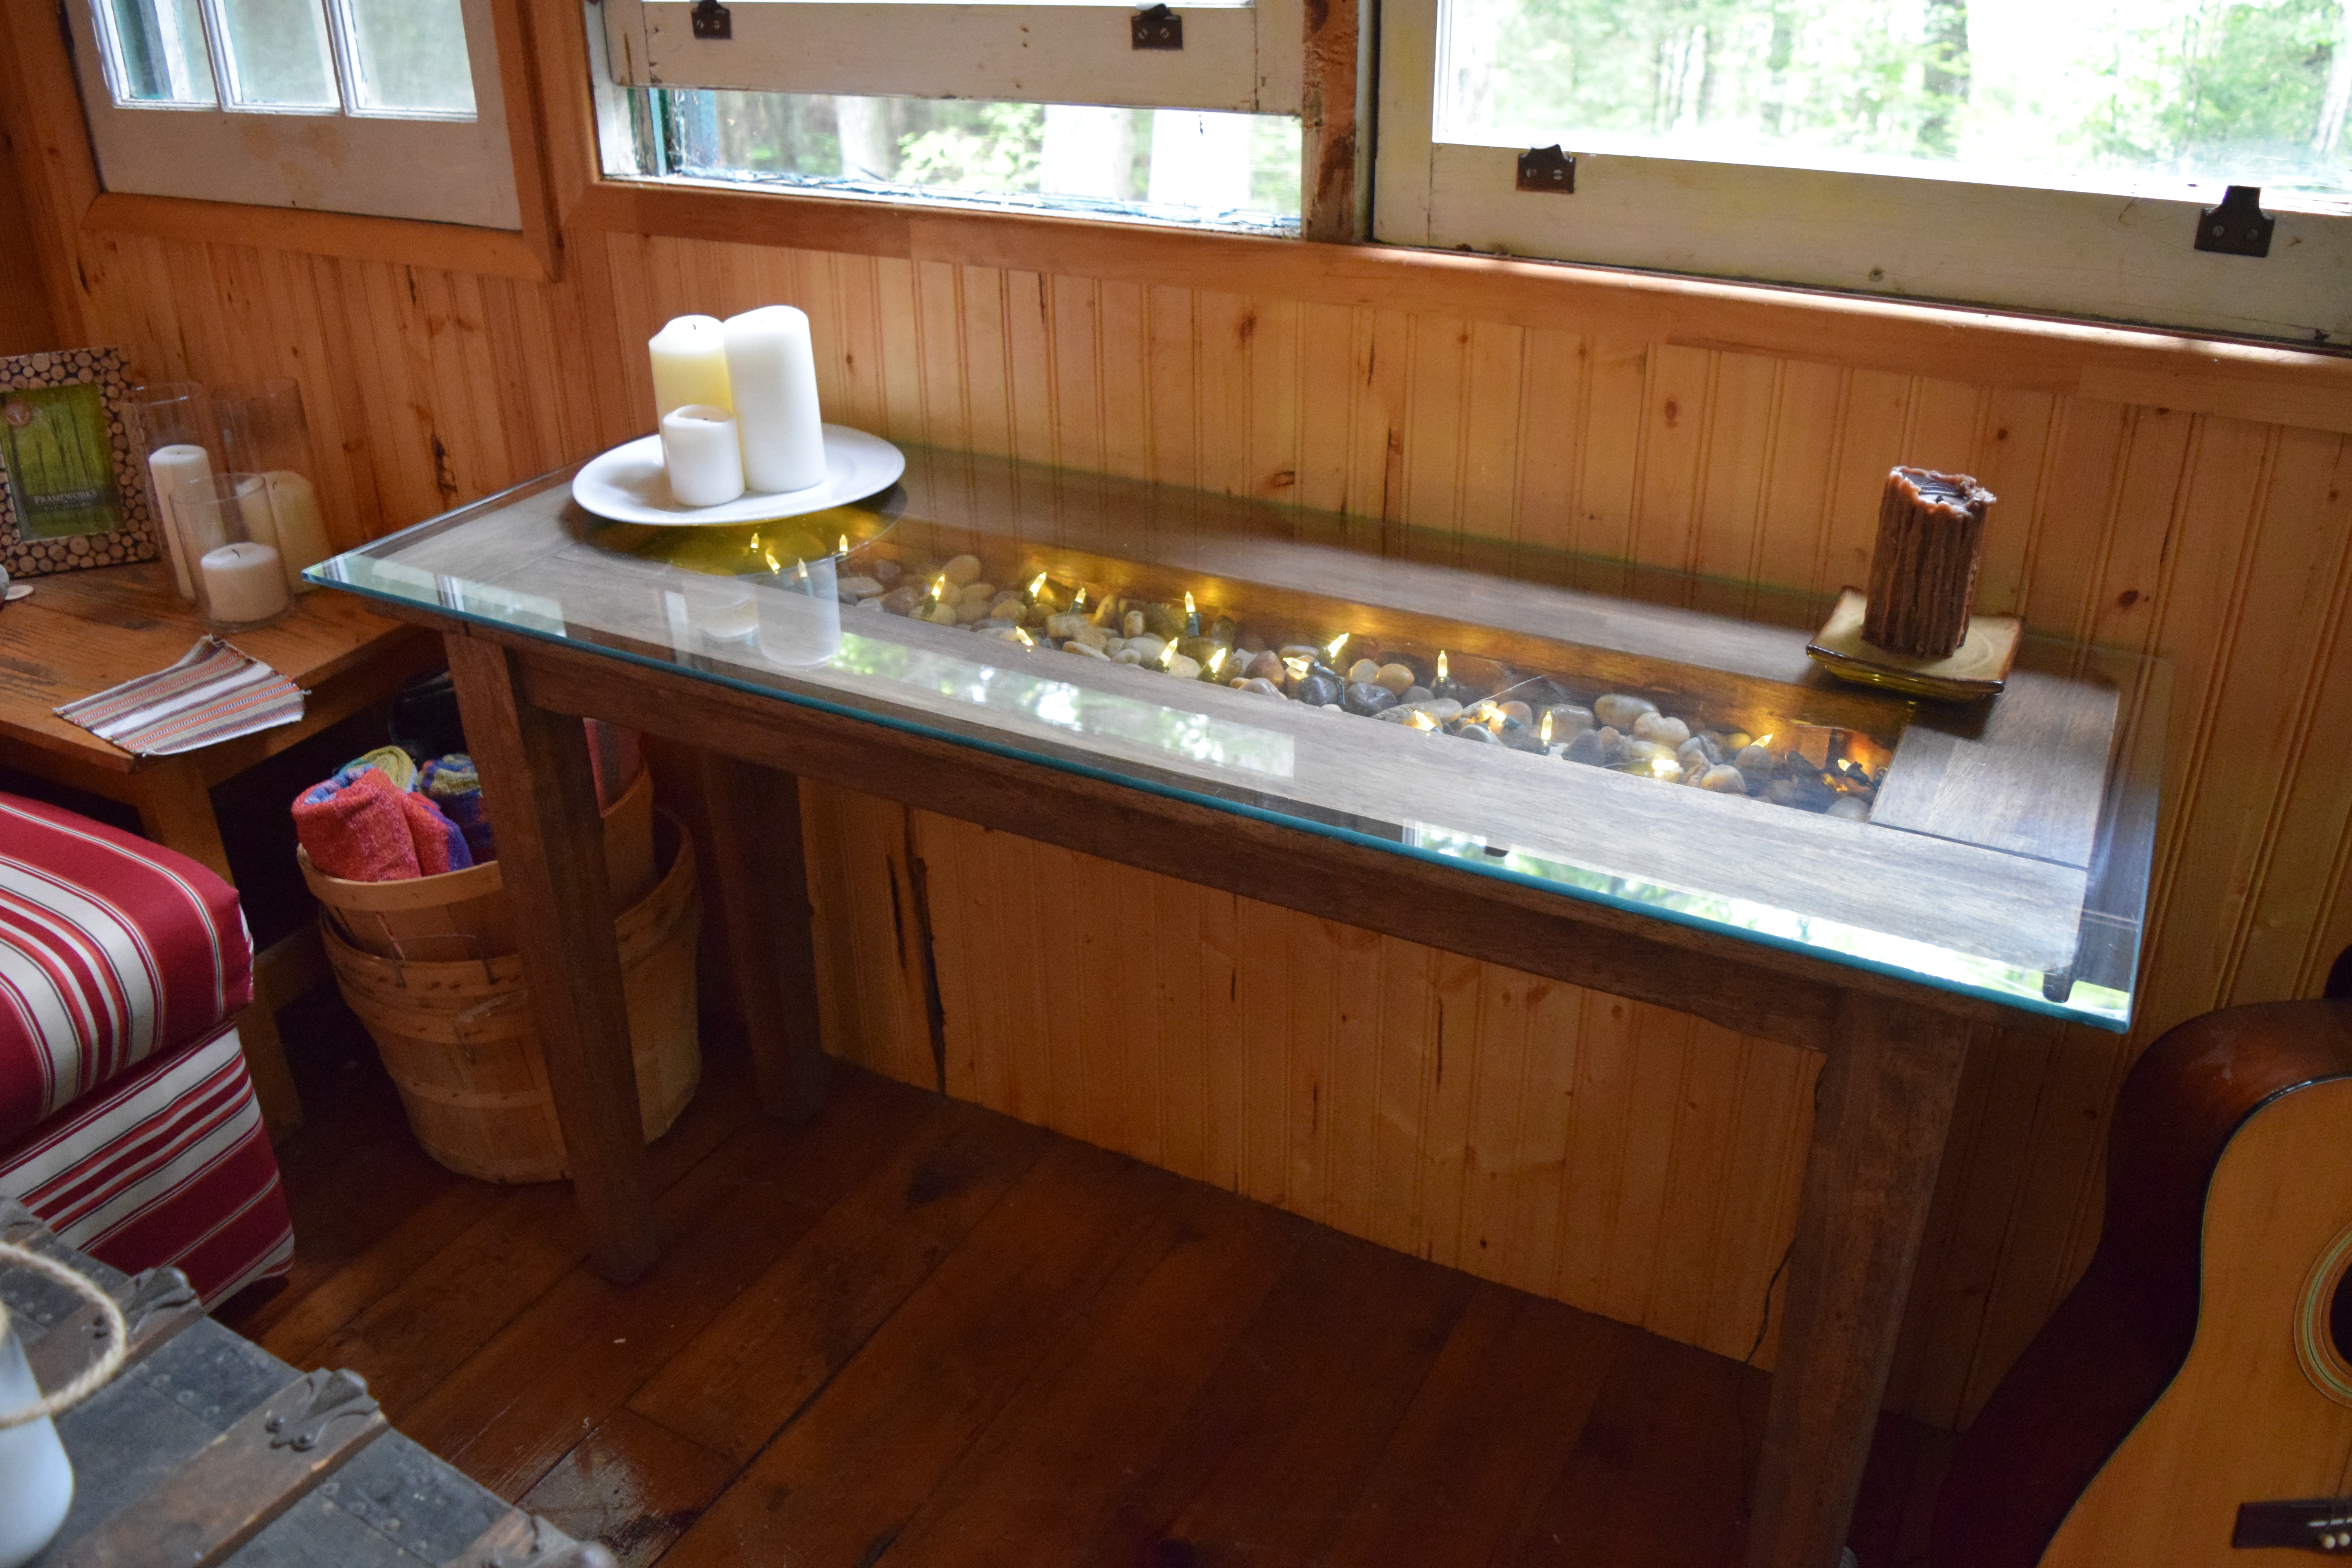
Now that it’s finished, I make any excuse I can to sit at it and enjoy it. I am in love. Definitely my favourite project so far.

- table: free from neighbour’s garbage
- stain: free from previous project
- 1.5″ x 1/2″ wooden pieces: free from pallets
- No More Nails glue: $7.47 (Home Depot)
- 2 1/2″ wood screws: $2.97 (Home Depot)
- 7 bags of river rocks: $1.25 a bag (Dollarama)
- fairy lights: free from our Christmas stash
- glass: free from our overcrowded garage of wonders; $25 for the cut
- piano bench: an incredible gift (along with a piano) from my Aunt Wendy thirty years ago.
Total cost: a generous aunt, a hoarder’s garage (ahem, I mean “a visionary’s work space”) and $54.63.

