Let’s face it. 2020 was the dog’s breakfast. And the first few months of 2021 just kept the ball rolling. I’m not going to rehash everything because that would just be depressing. But I have finally found the energy and desire to sit down and write again after six months of just trying not to drown. Now, I feel like I have a bit of mental and emotional space to just breathe and regroup.
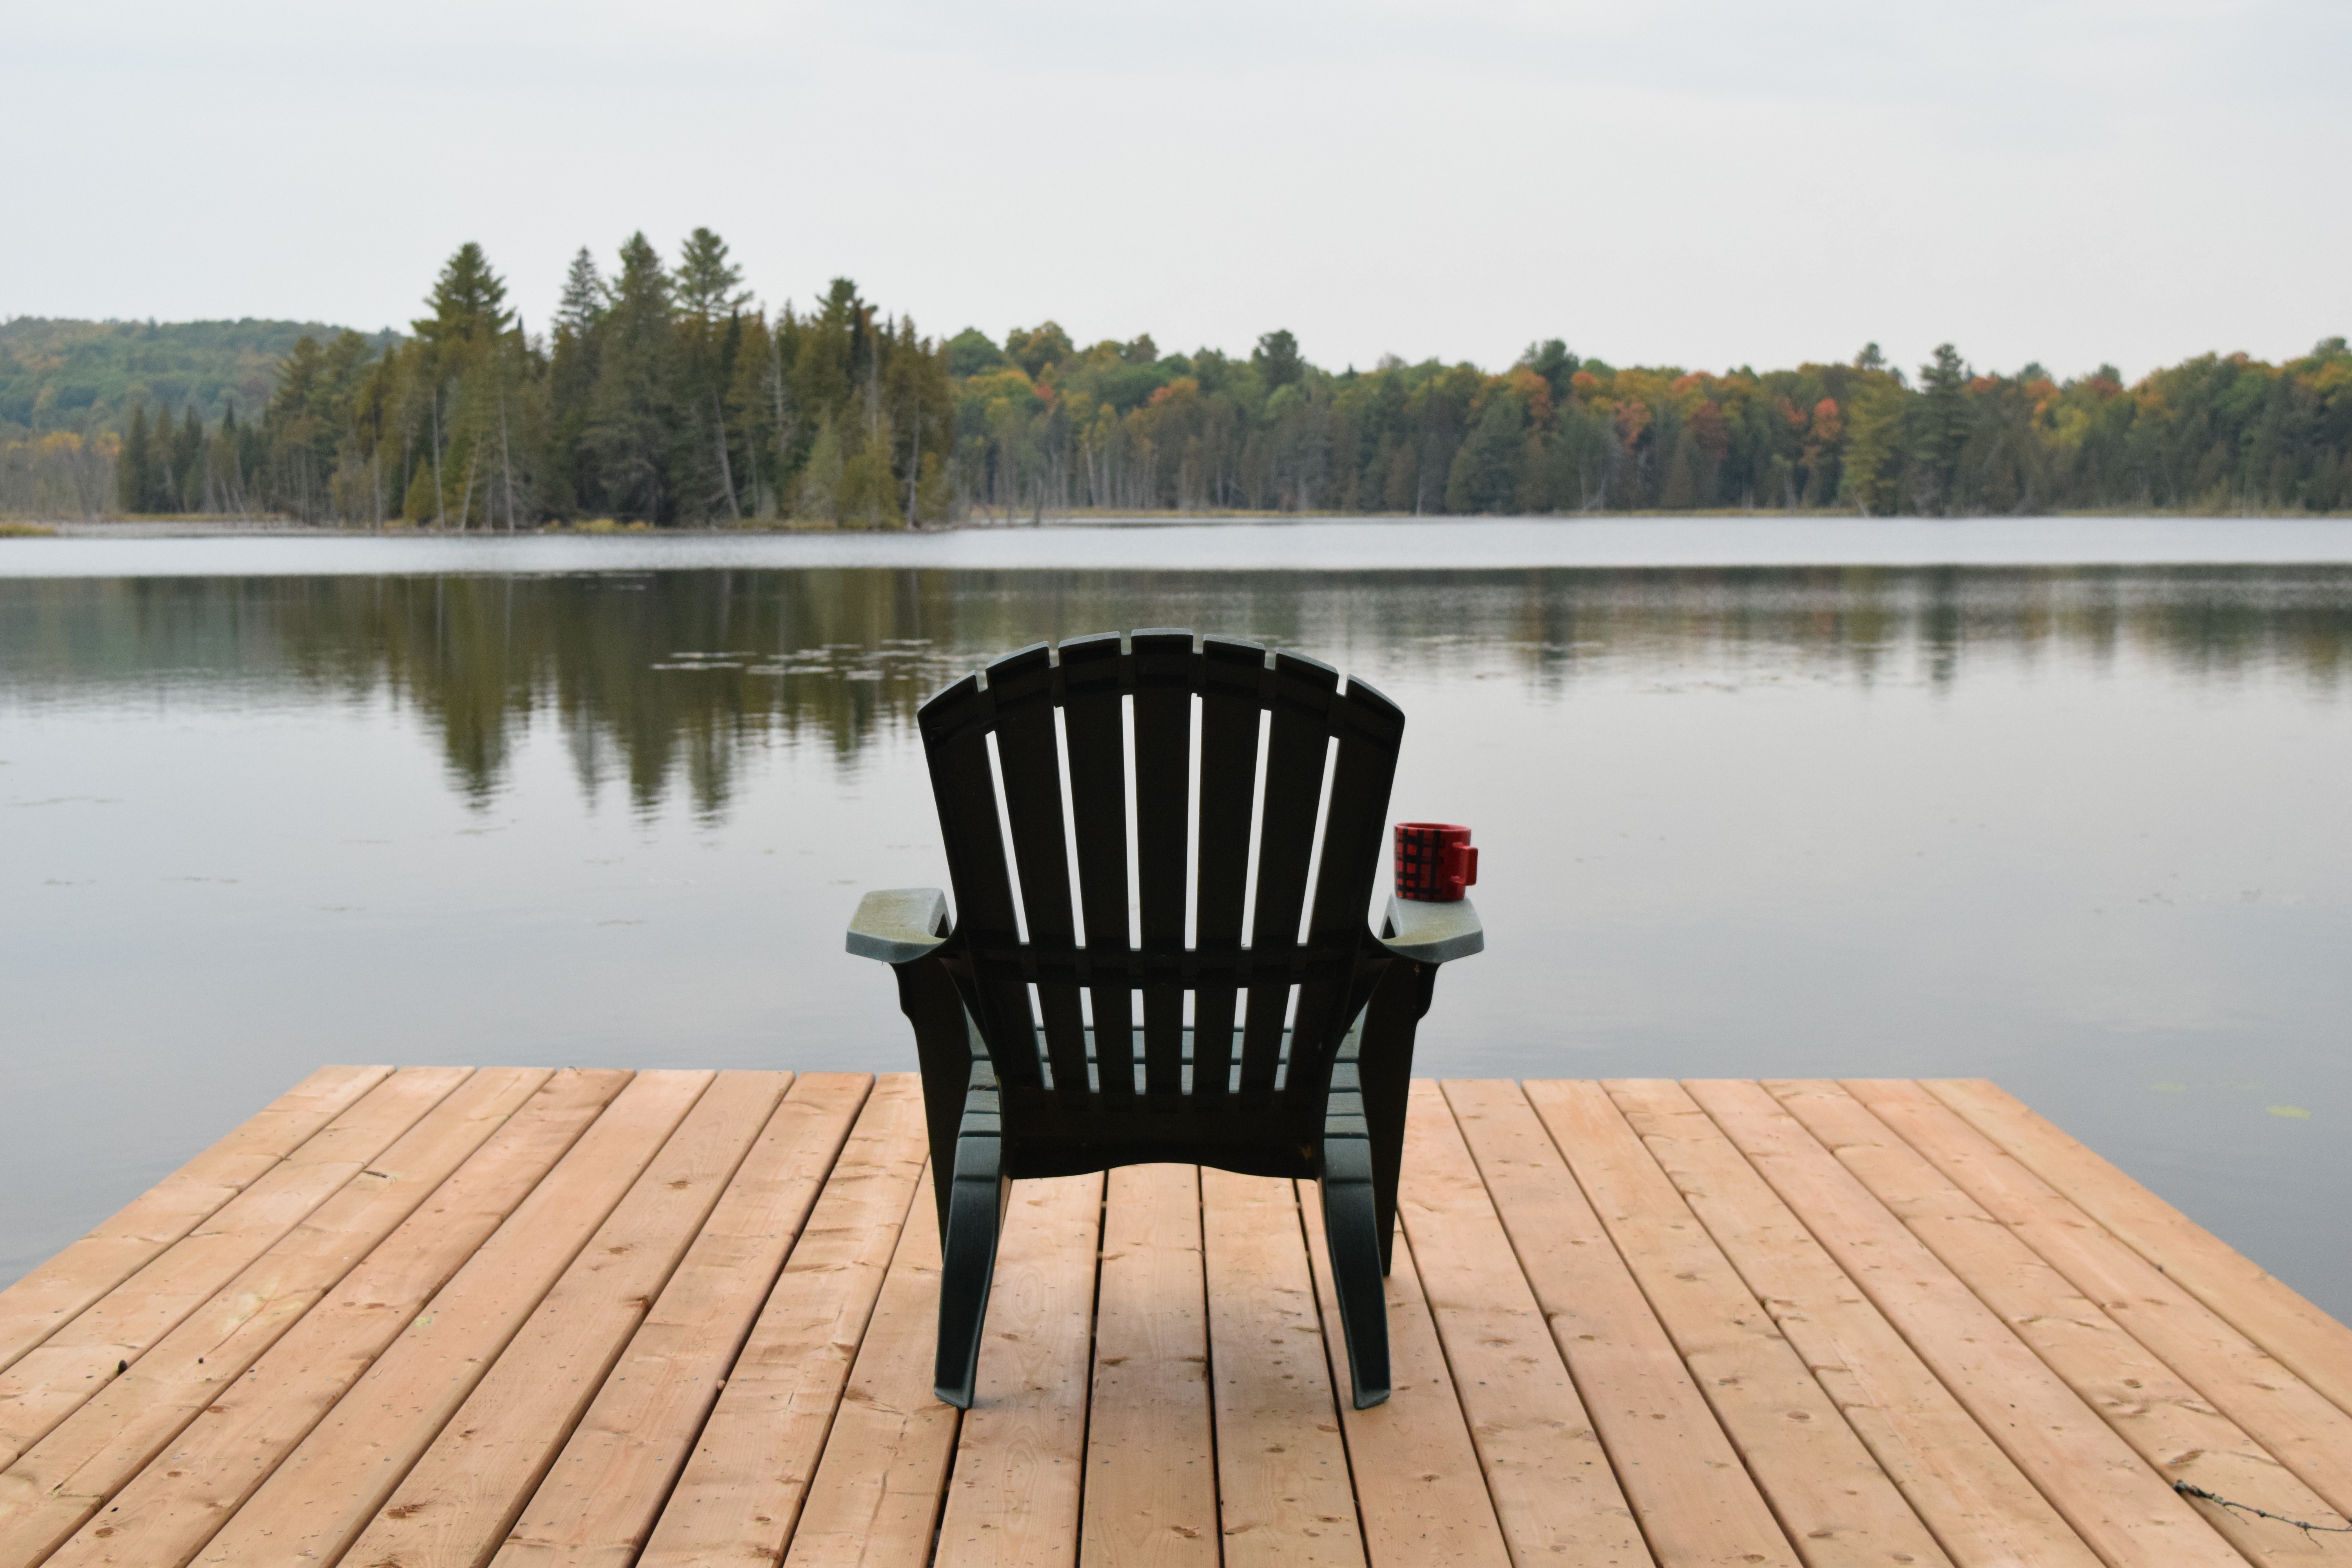
During the first wave of the pandemic, life became slower and more reflective. I spent time walking and reading outside on my deck and enjoying time with our three dogs (two of which have since passed away, so I’m extremely grateful for having had the extra time at home with them.) I learned how to garden and how to cook. The weather was spectacular and we were able to spend a bit more time at the cabin.
So 2020 sucked. But as the old saying goes, it’s an ill wind.
We completed a lot of projects this spring and summer at the cabin – more than any year so far. Mostly because we had more time because we were at home and more money because we weren’t going anywhere or buying anything.
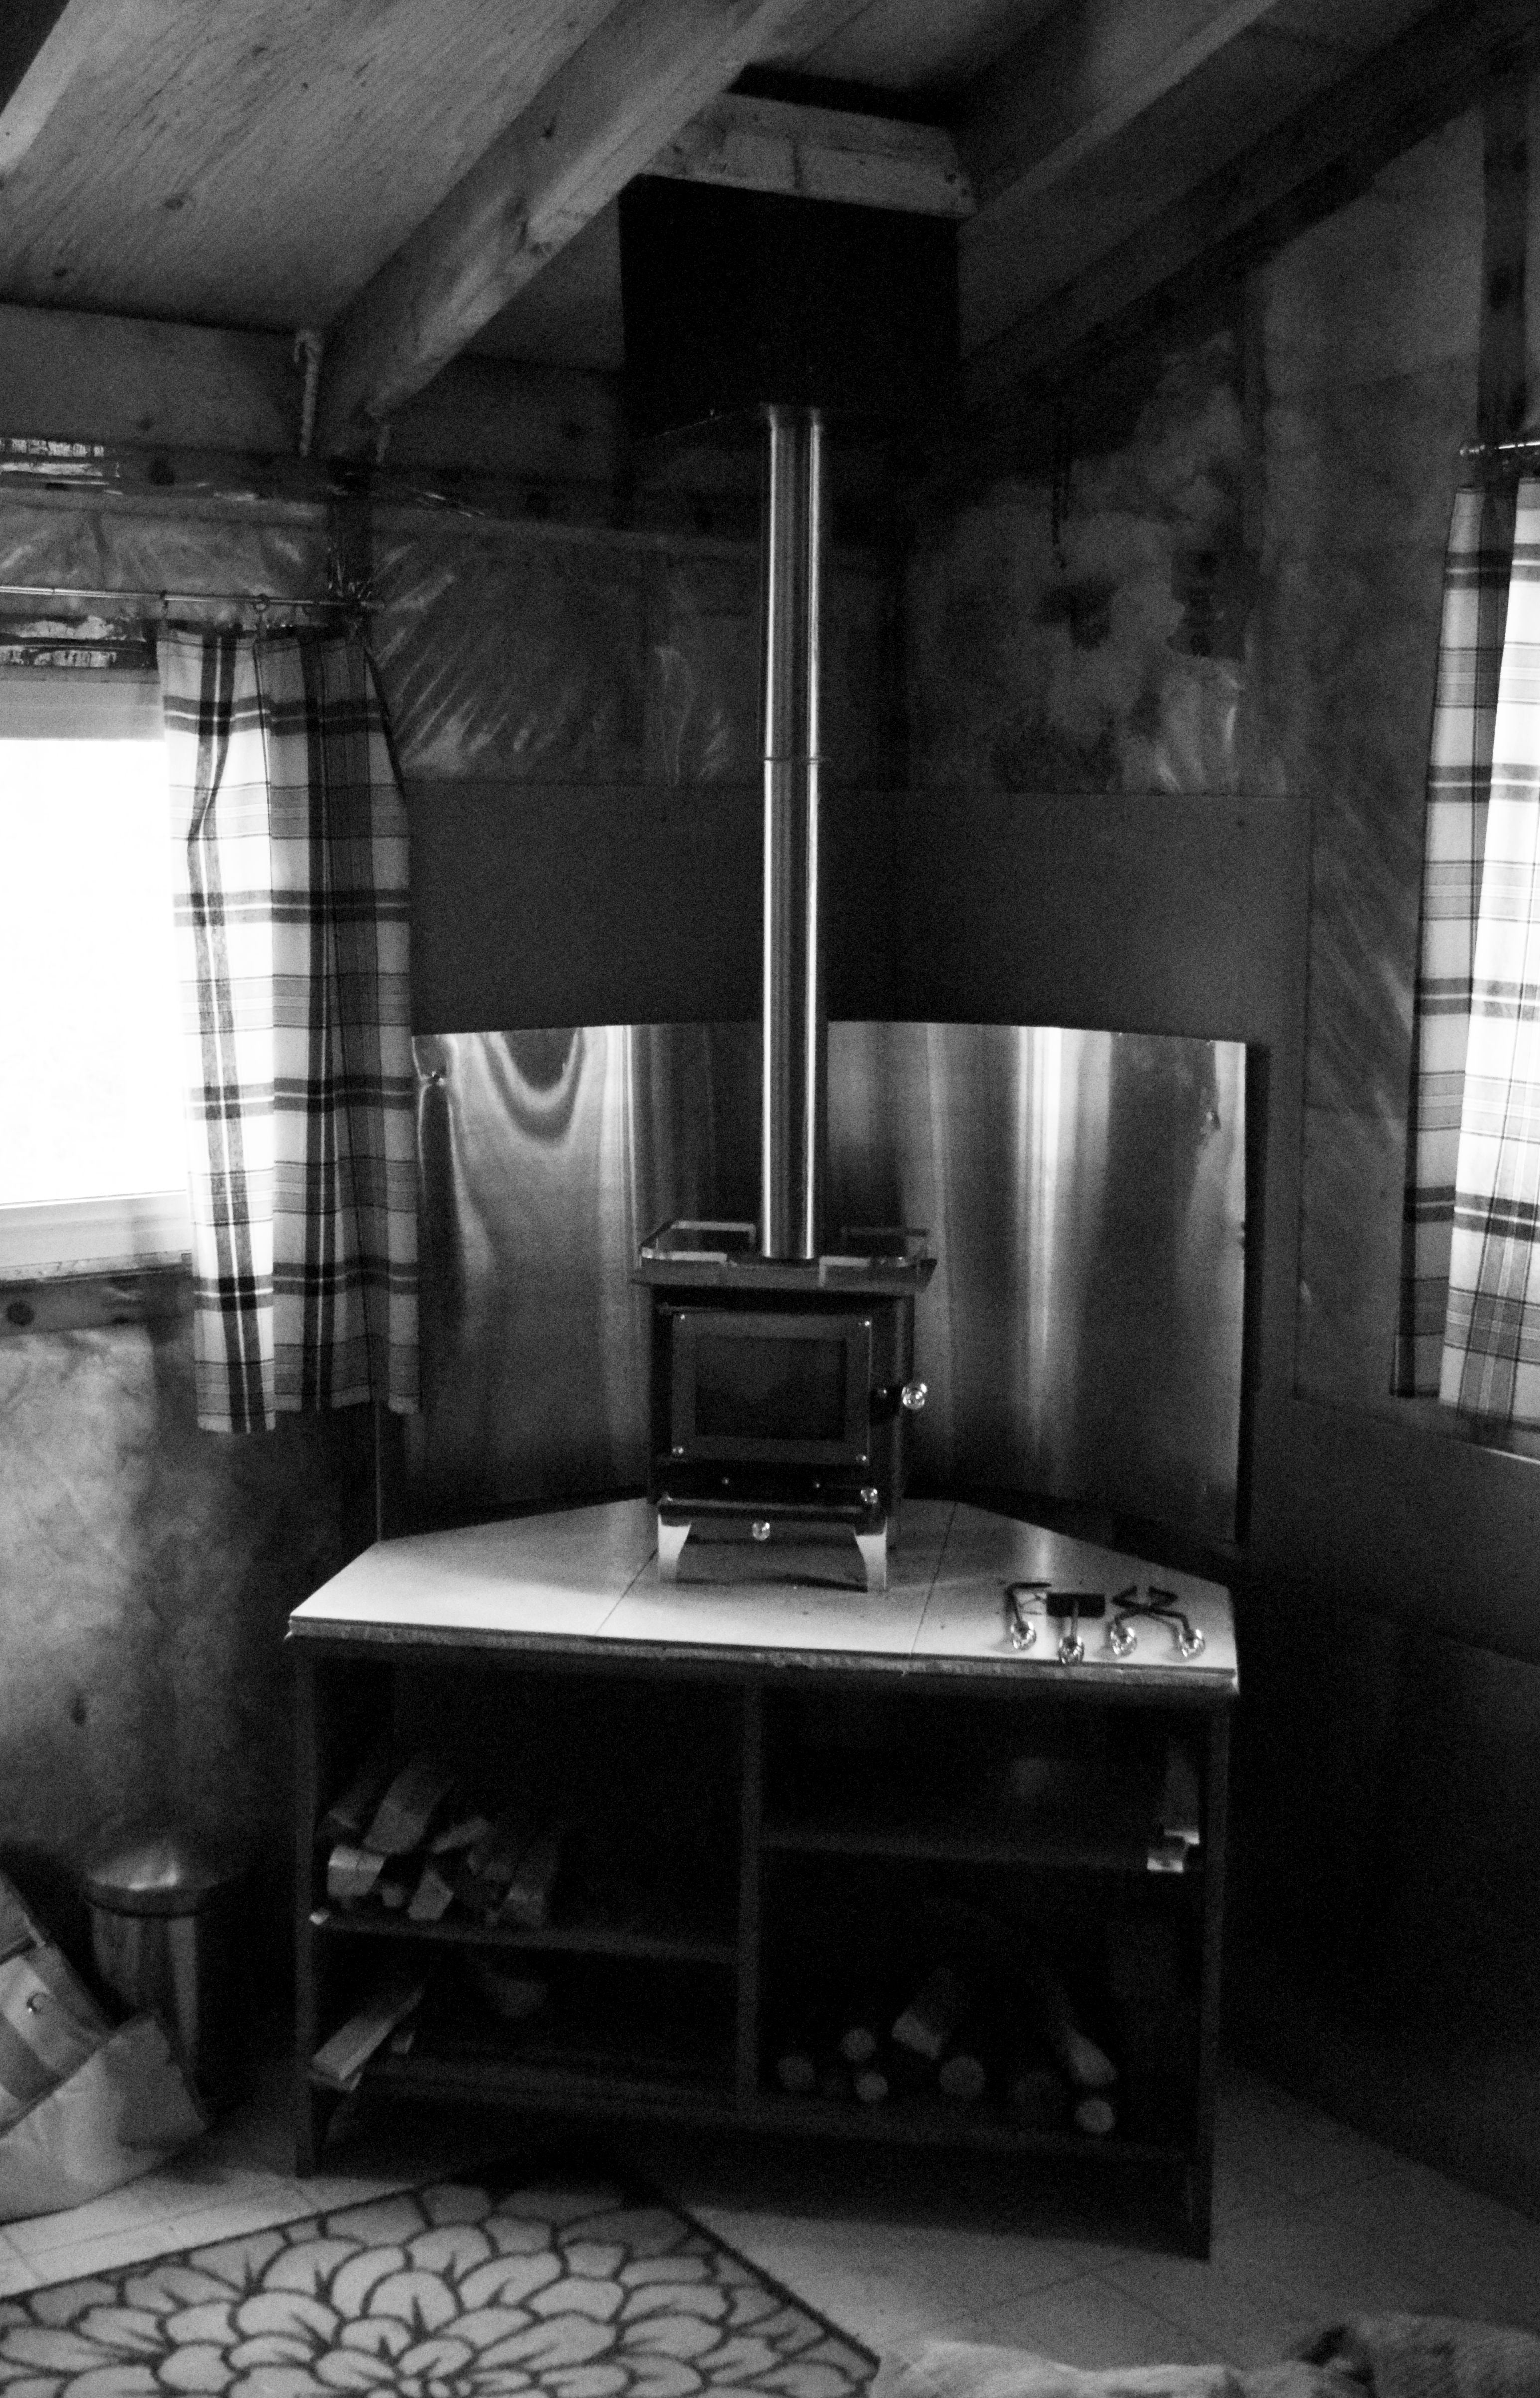
Last year, the only improvements we accomplished at the cabin was the installation of the Grizzly Cubic mini wood stove for heat in the bedroom during the colder seasons and the Sun-Mar composting toilet (no picture included because well, it’s a toilet) so no facing off with the wild critters while running to the outhouse at night anymore! Two major steps forward!
This year has been the year of smaller, more aesthetic upgrades that still improve our quality of life out in the woods. Let me say, right off the bat, this post isn’t a how-to post. All of these ideas I found somewhere else on Pinterest or Youtube. It’s just a post to highlight the little improvements we’ve done to our happy place to make it happier.
The first project was the dining deck. The only places that didn’t close during the first part of the pandemic were the building supply stores because construction was still allowed to happen. So that’s what we started with. Plus, if we did this early in the season, we could get maximum enjoyment out of our magical setting. In the end, it turned out to be a great idea because everyone had the same idea to build and upgrade their patios, decks and outdoor spaces. Soon the hardware stores were sold out of deck boards and other lumber that is used in these types of smaller projects.


The massive and sprawling roots of these four beautiful trees that frame the deck so perfectly also make the ground really uneven and impossible to put a table at, even though we tried and failed miserably. Not only that, our old hound just couldn’t resist digging in this lovely spot and so the ground had more craters than the moon. The photo doesn’t really do justice to the wonkiness of that piece of earth but as you can see now it is the PERFECT spot to eat dinner.
Usually in a floating platform deck, all the footings are hidden under the structure. The reason we kept the four footings in the corners visible was simply because those four spots (and it would seem ONLY those four spots) were actually LEVEL!! The other footings underneath had to either be buried or built up with broken patio stones in order to support the deck. No, it’s not made to code. But nothing is at the cabin.
Next up, cast iron cookware storage. Because our cabin is off-grid, we cook with either a BBQ or our small, wood-burning campstove. If we’re up for adventure, we sometimes cook over the campfire. So our main cookware is, of course, cast iron. I don’t think I can put into words how amazing it is to cook in cast iron over wood heat. It’s just about as real as you can get and it’s not as hard as you might think.
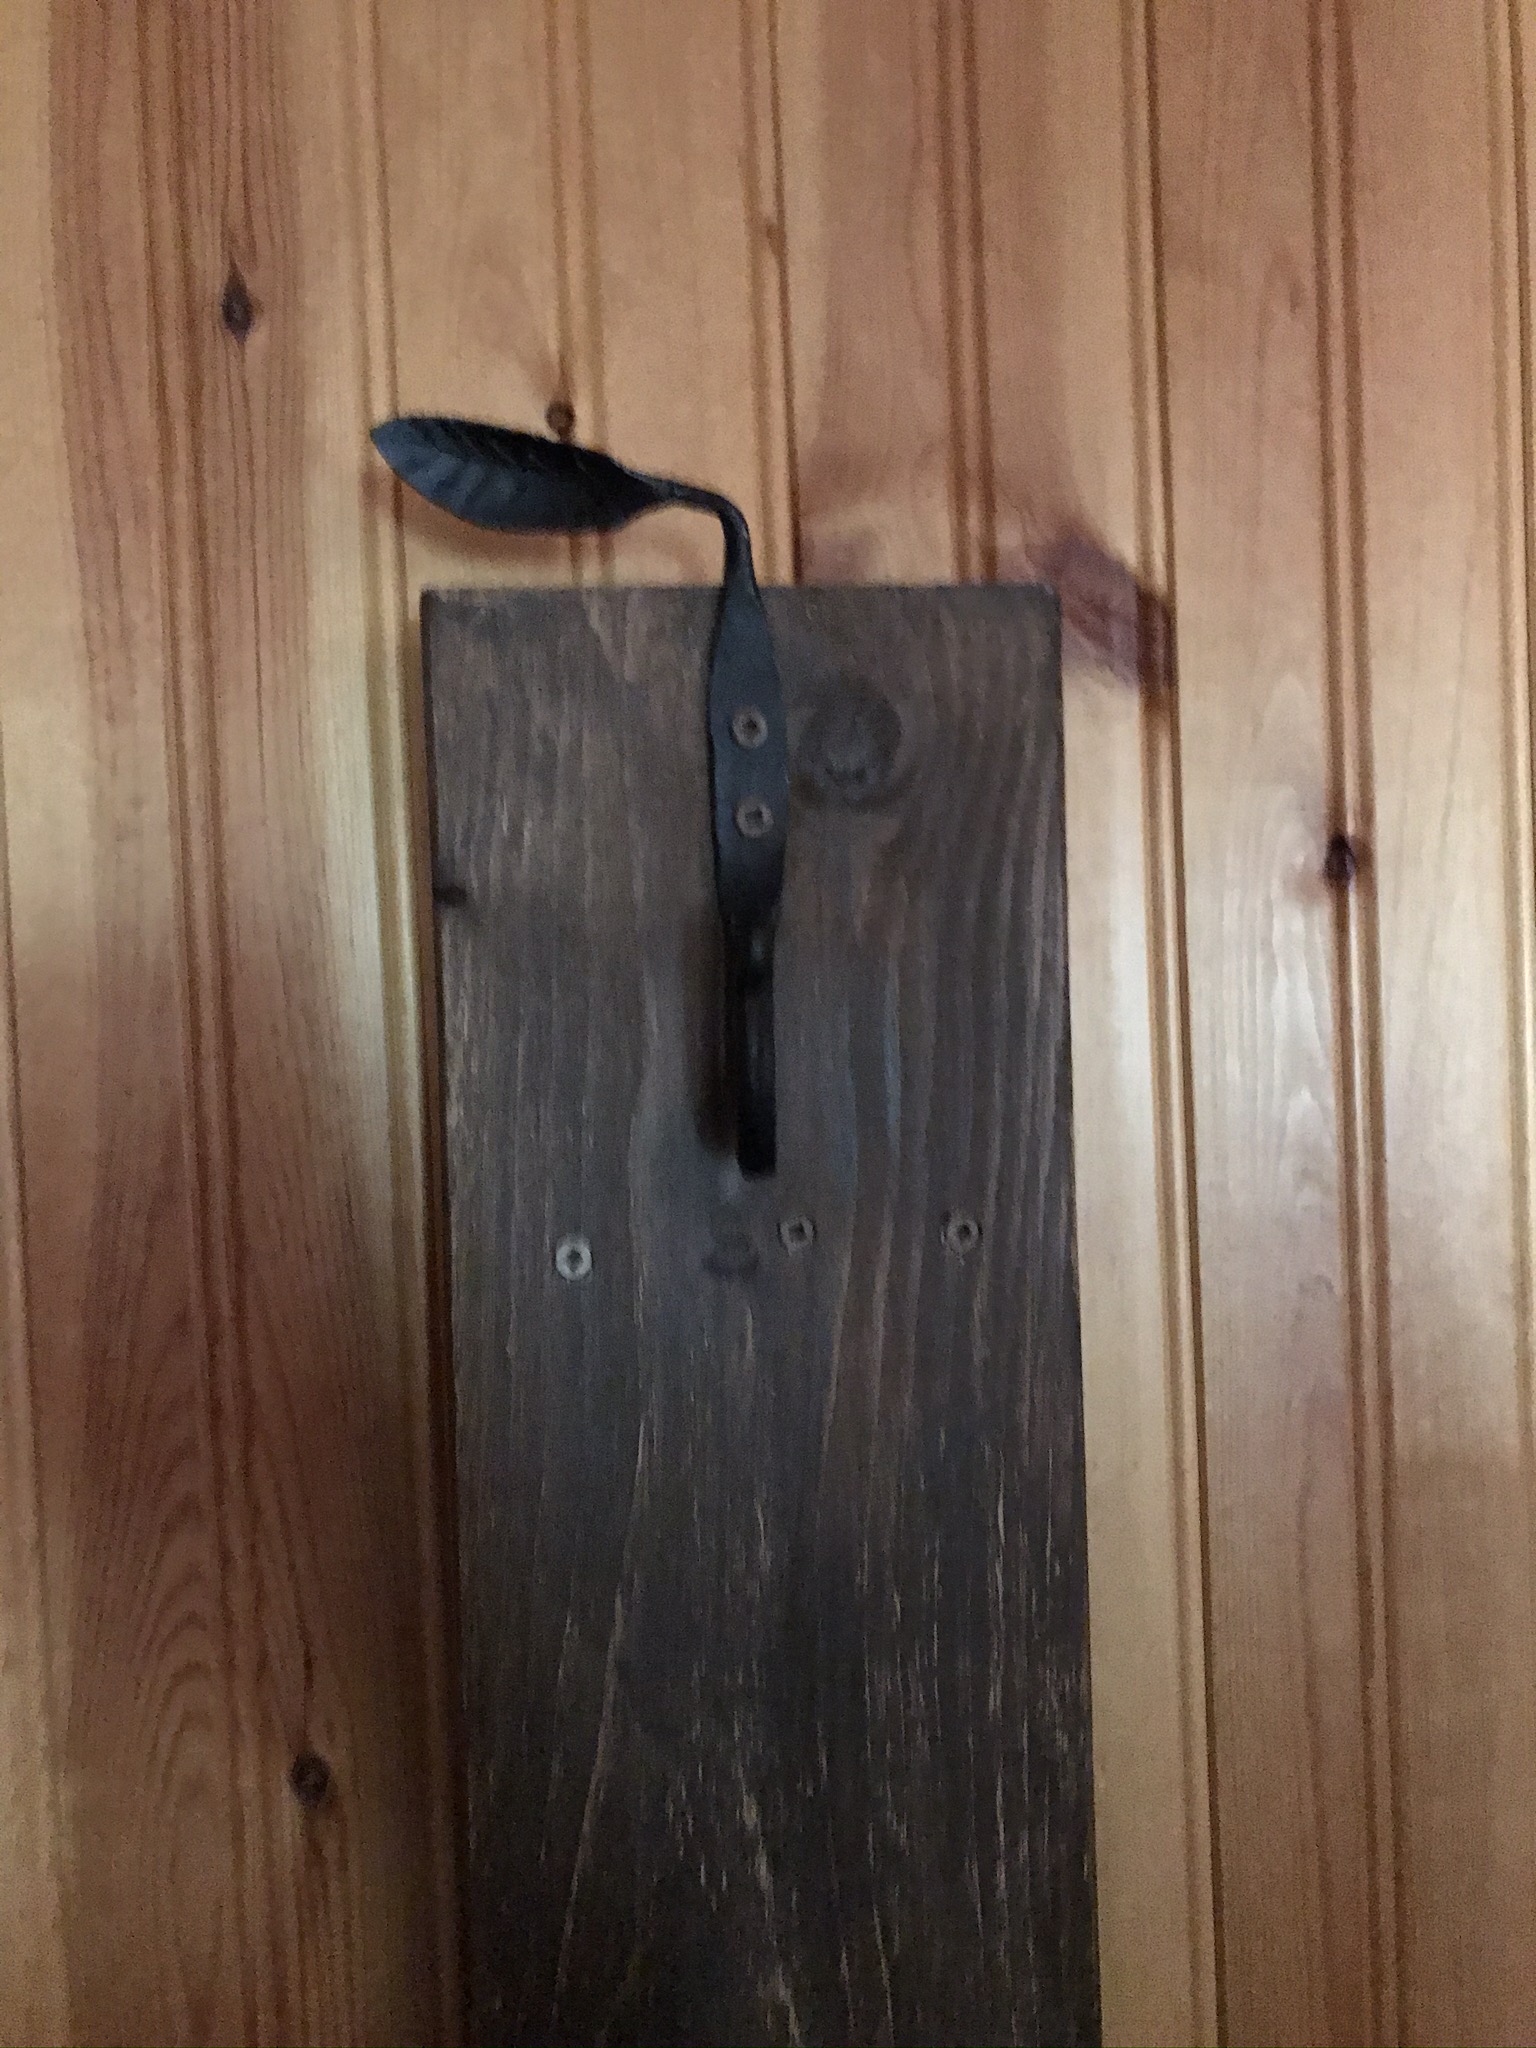
We have five skillets of different sizes, two different sizes of dutch oven and a grill. Until now, they were unhappily stored in several stacks on a bench that had once been used to actually sit on. But cast iron is heavy and I had no idea how to store them efficiently. I searched Pinterest and loved how they looked hanging. Some ideas I liked had the support boards attached to the wall horizontally, which was our first idea. We happened to find three pine boards in our stash of leftover lumber that were exactly the same size. What luck! I stained them with the leftover outdoor stain we have from all the other things we’ve created and let them dry. We asked a friend who is a hobbyist forger (smith? Not sure of the proper word.) to make us some hooks. He happily obliged.
When we went to mount the support boards to the wall, the plan was to drill them into the studs (obviously). But due to the warped panelling, I was having trouble finding the studs. The sinking feeling I get whenever we try to upgrade something in this cabin started to rear its ugly head. I ended up having to take a section of the paneling off so I could take a look inside the wall and my gut instinct was right. There were no studs in the wall. (See above note about nothing being to code. At least it’s not a support wall.)
But there were beams. And those beams had another small piece supporting them underneath at the ends. So we decided to rotate the support boards vertically and drill them into the beams. (Yes, I know it’s not the most structurally sound. If the wall falls down, then at least we can rebuild it properly.) Once we rotated the boards, everything fell into place. The skillets fit perfectly, it looks amazing and there was even one hook leftover that we use to hold the stove lid lifter.
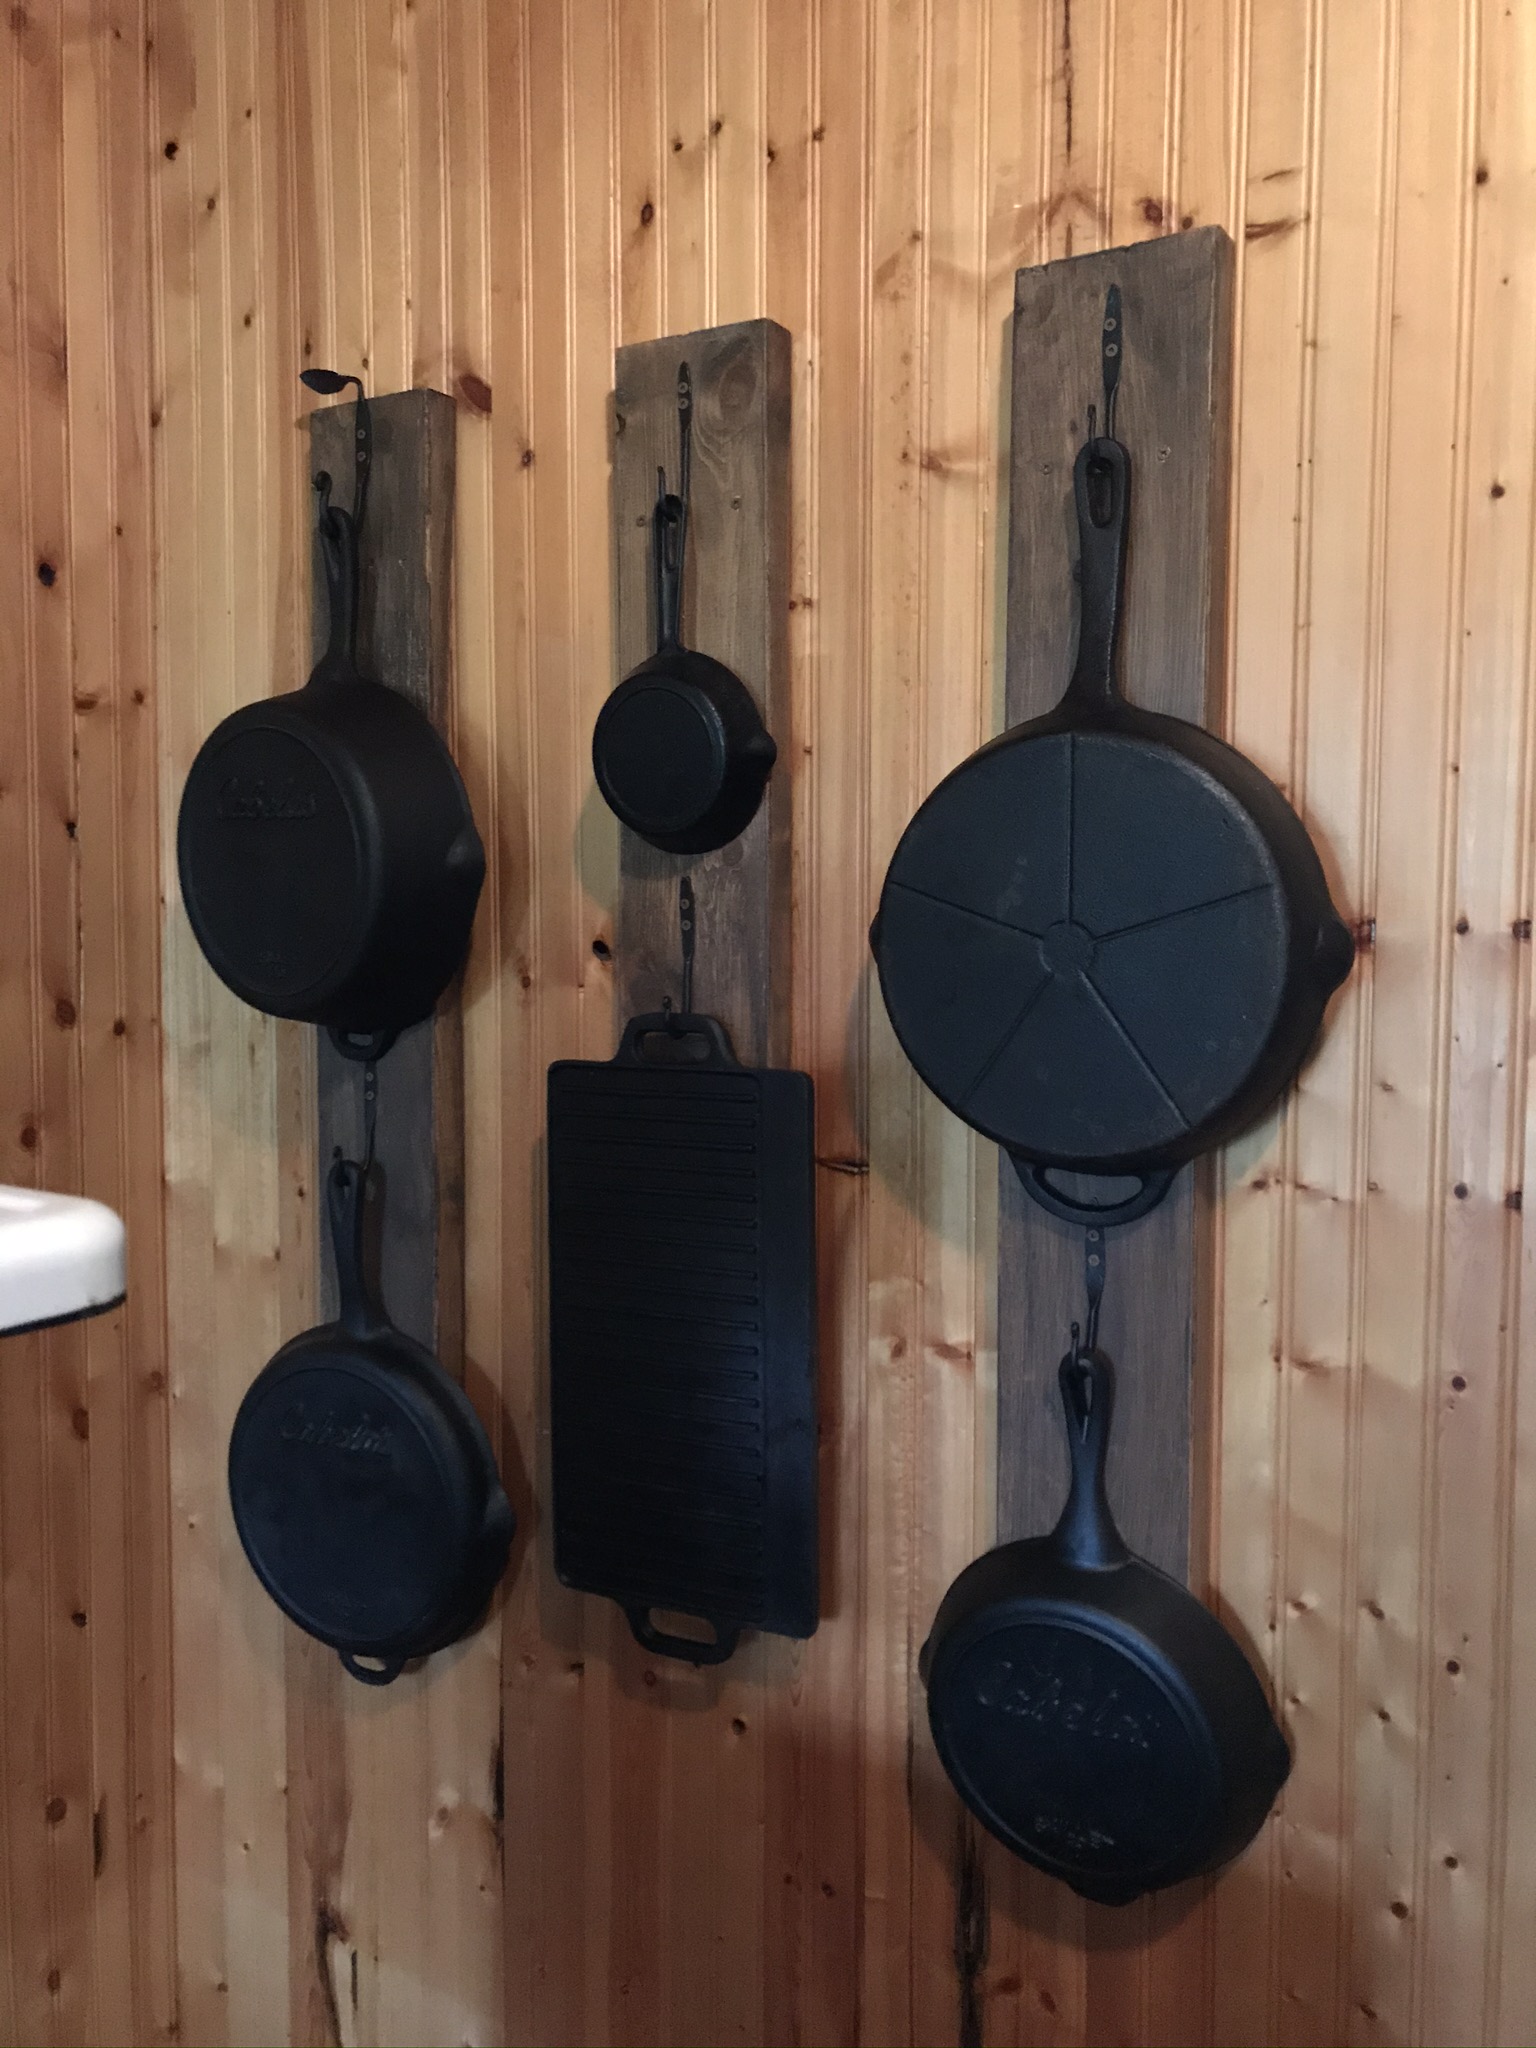

Now that our cast iron is displayed and stored, the bench can be used as a bench again!
The ongoing saga of the garden. This was in fact our first project and I wrote about how and why we started it in my previous post The Harvest Apron. Well, with the heat and the regular rainfall, the garden has exploded. We built raised beds first thing in the spring and planted our seedlings at the end of May. Other than that, all we had to do was water, fertilize and prune when needed.
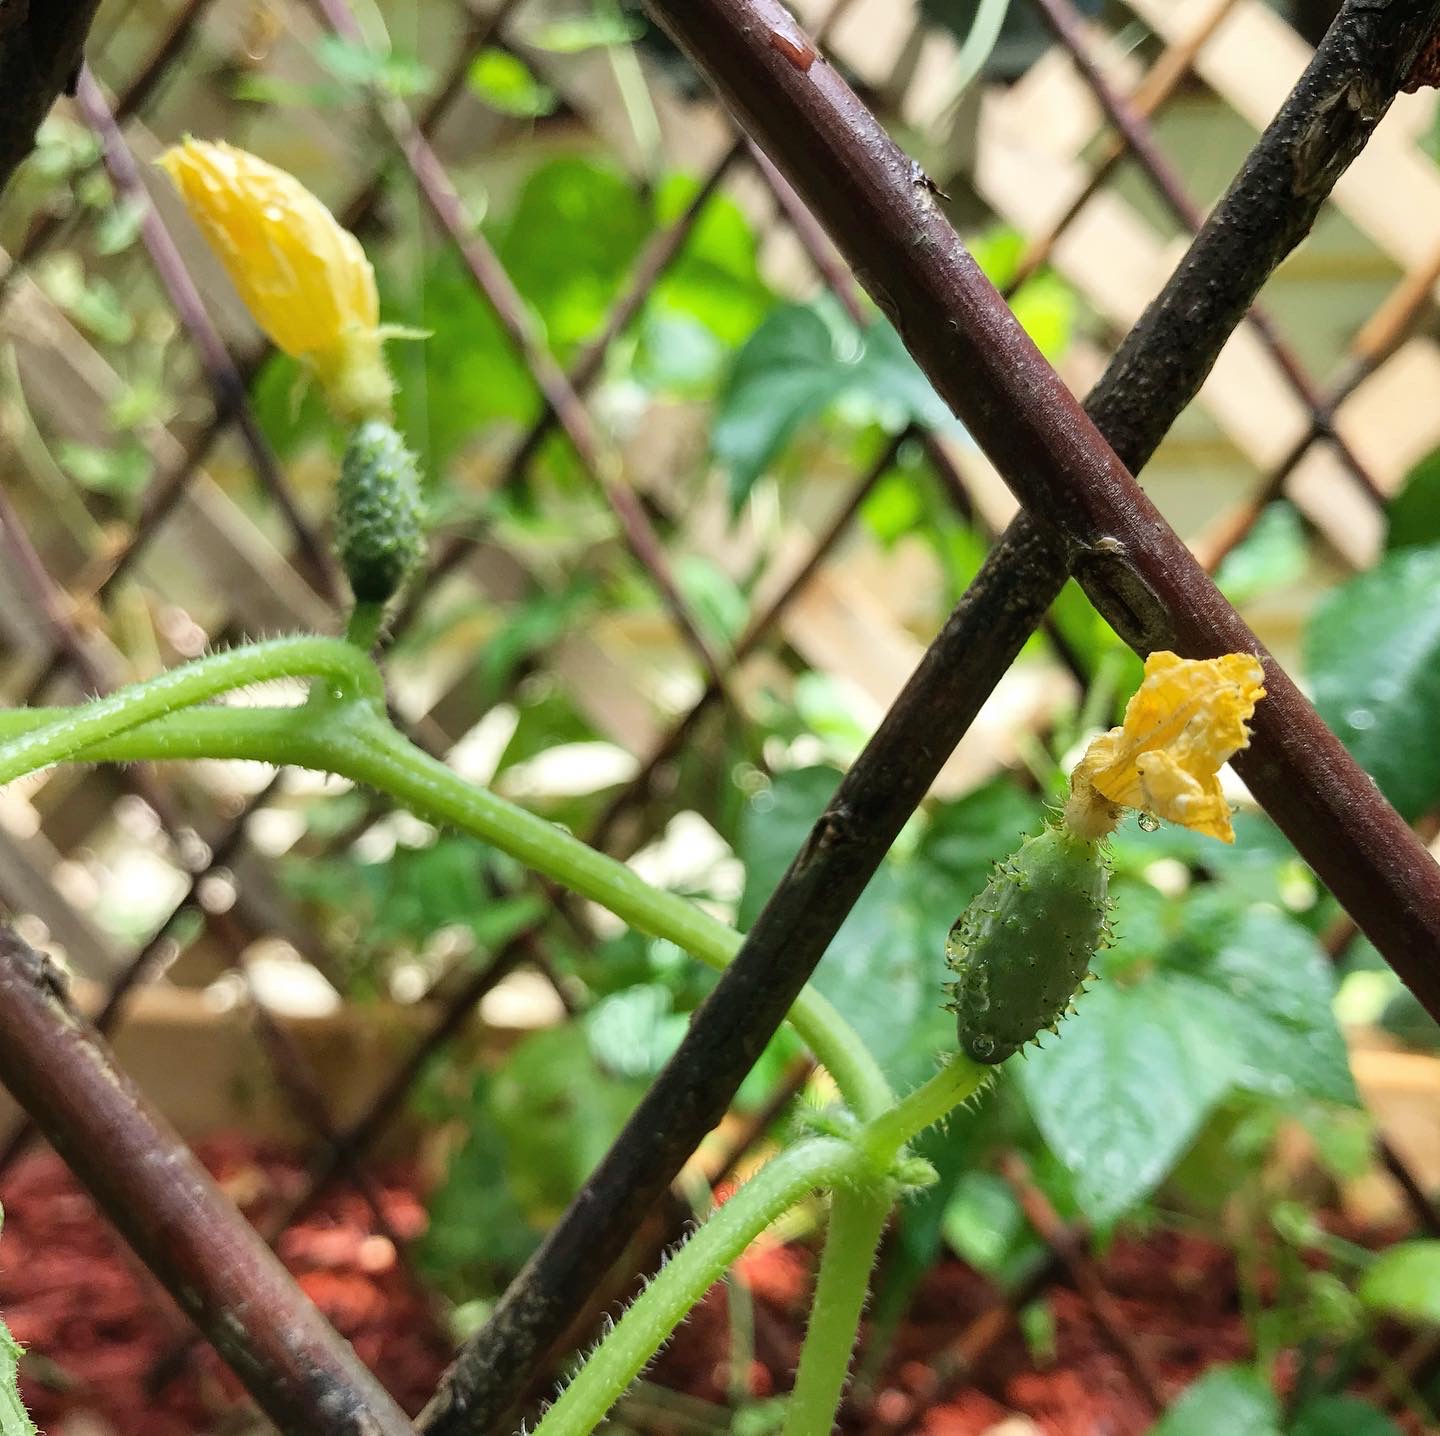
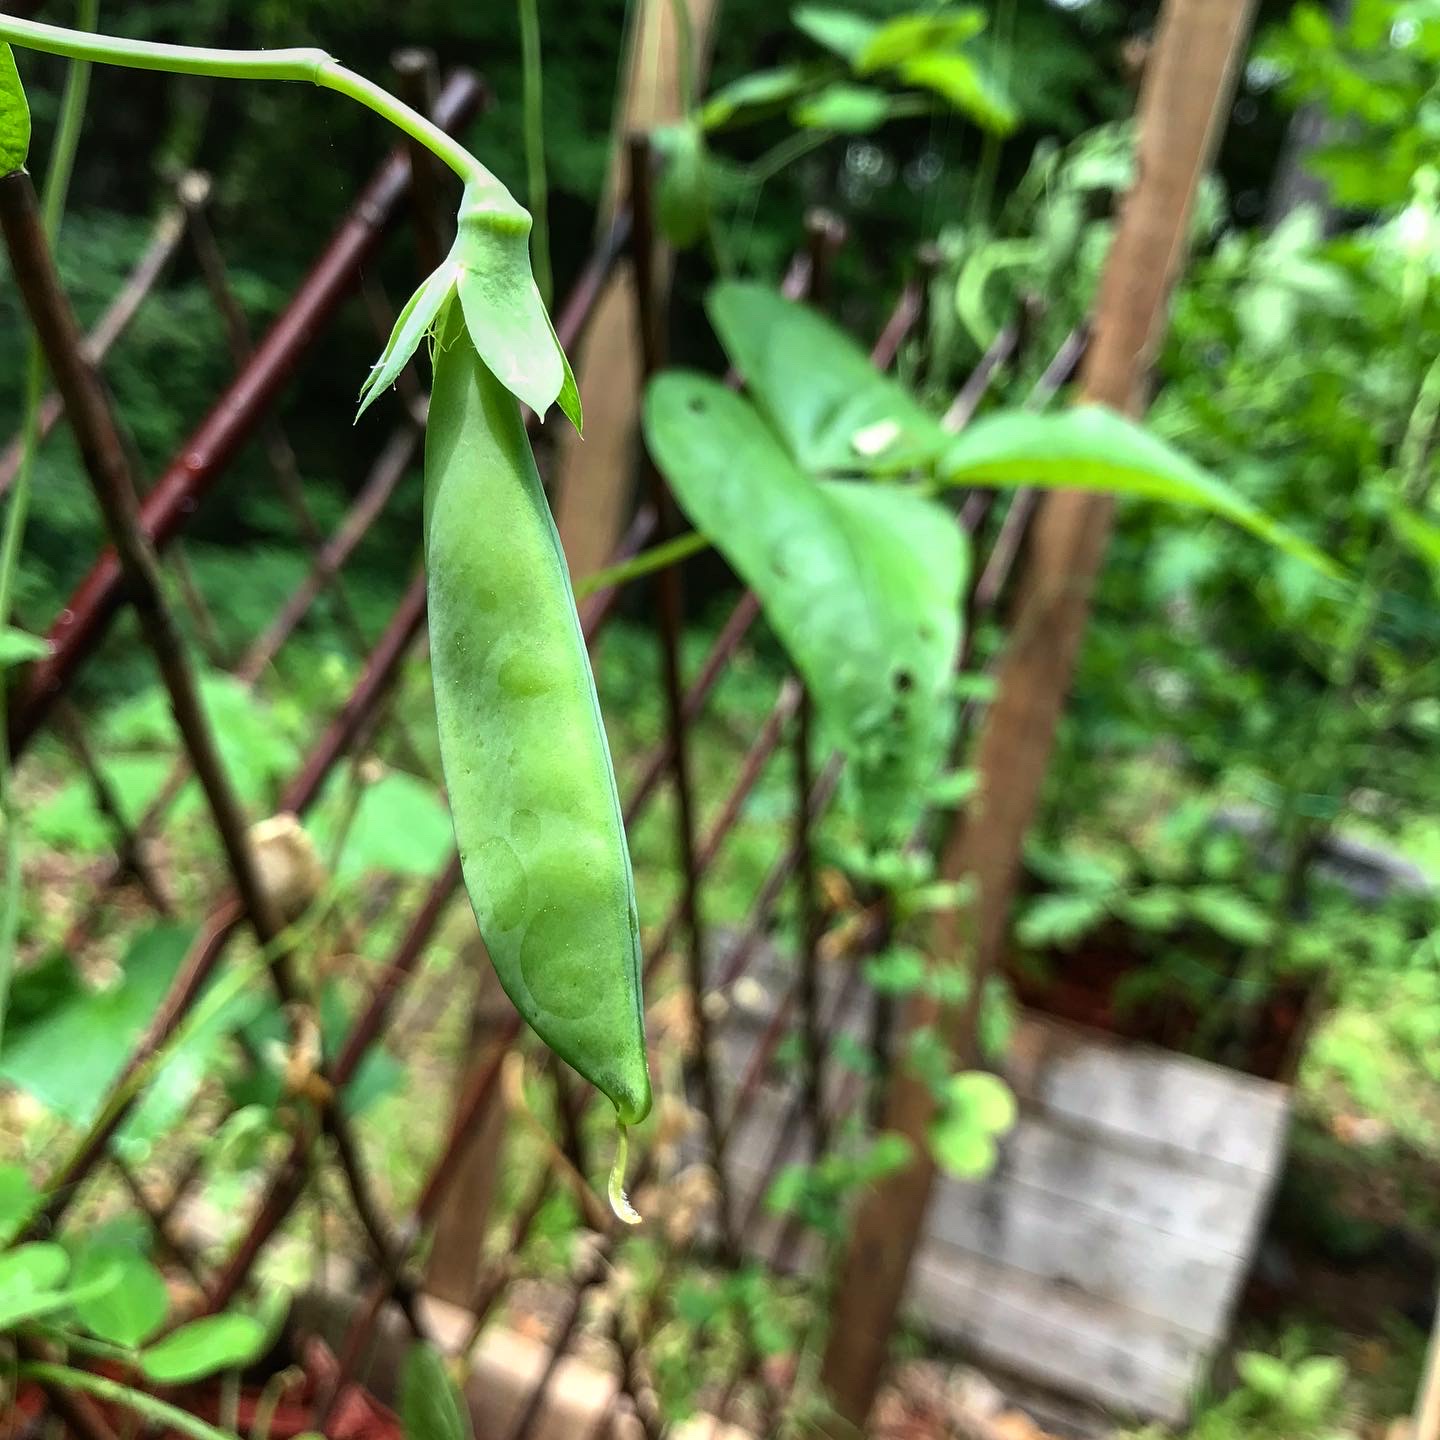


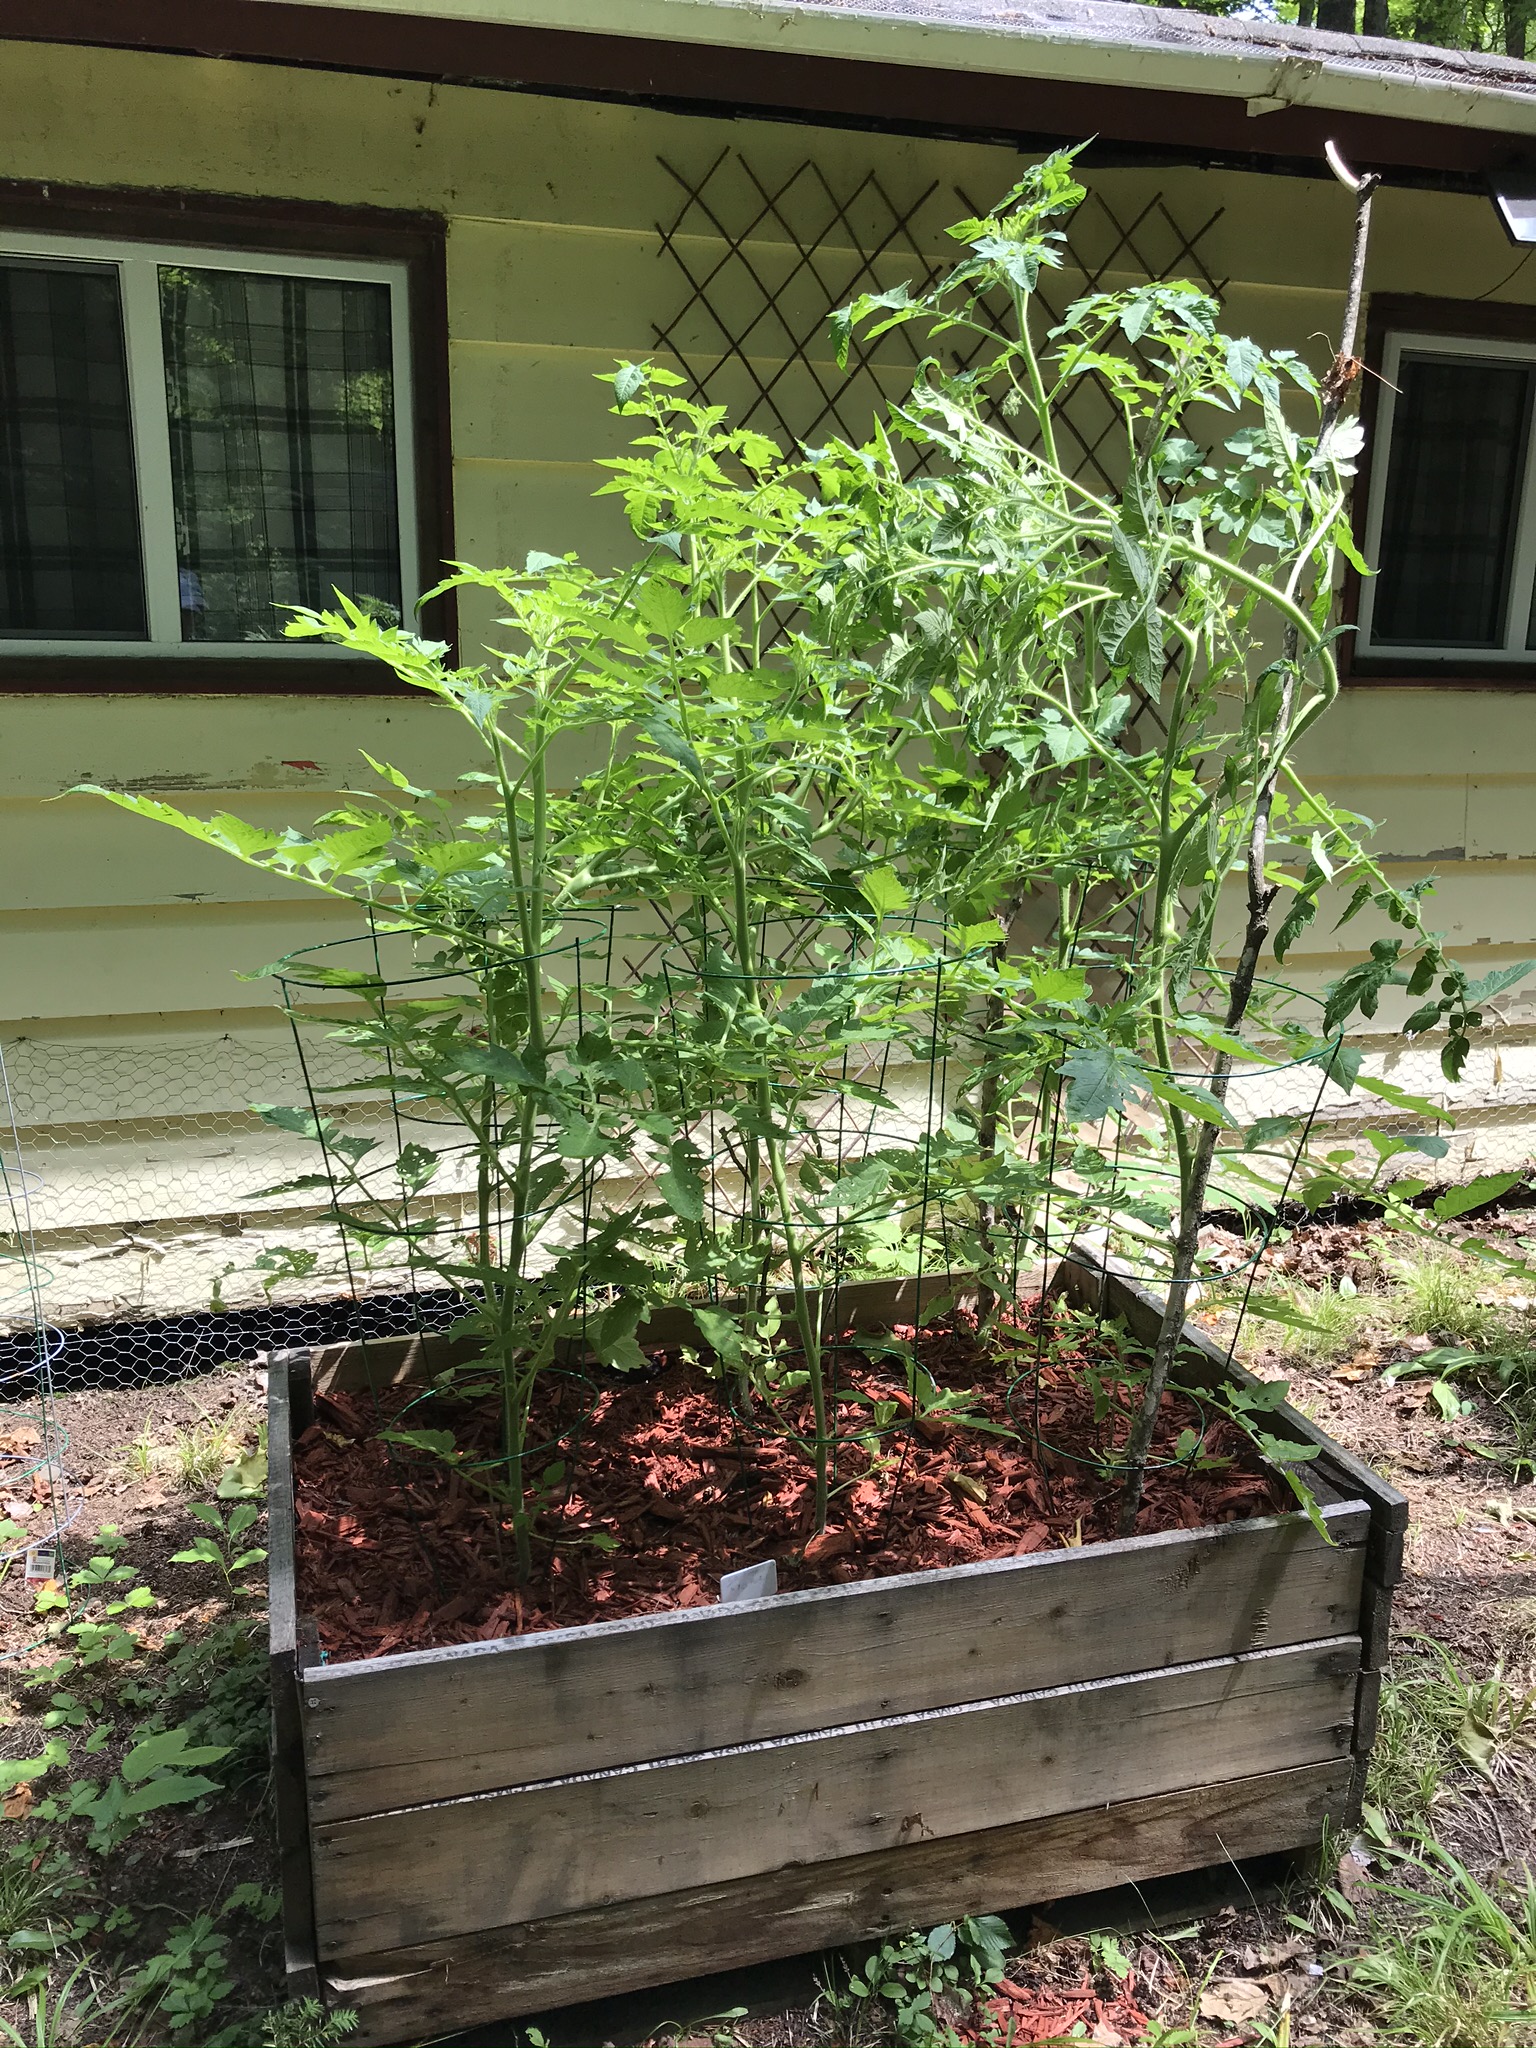
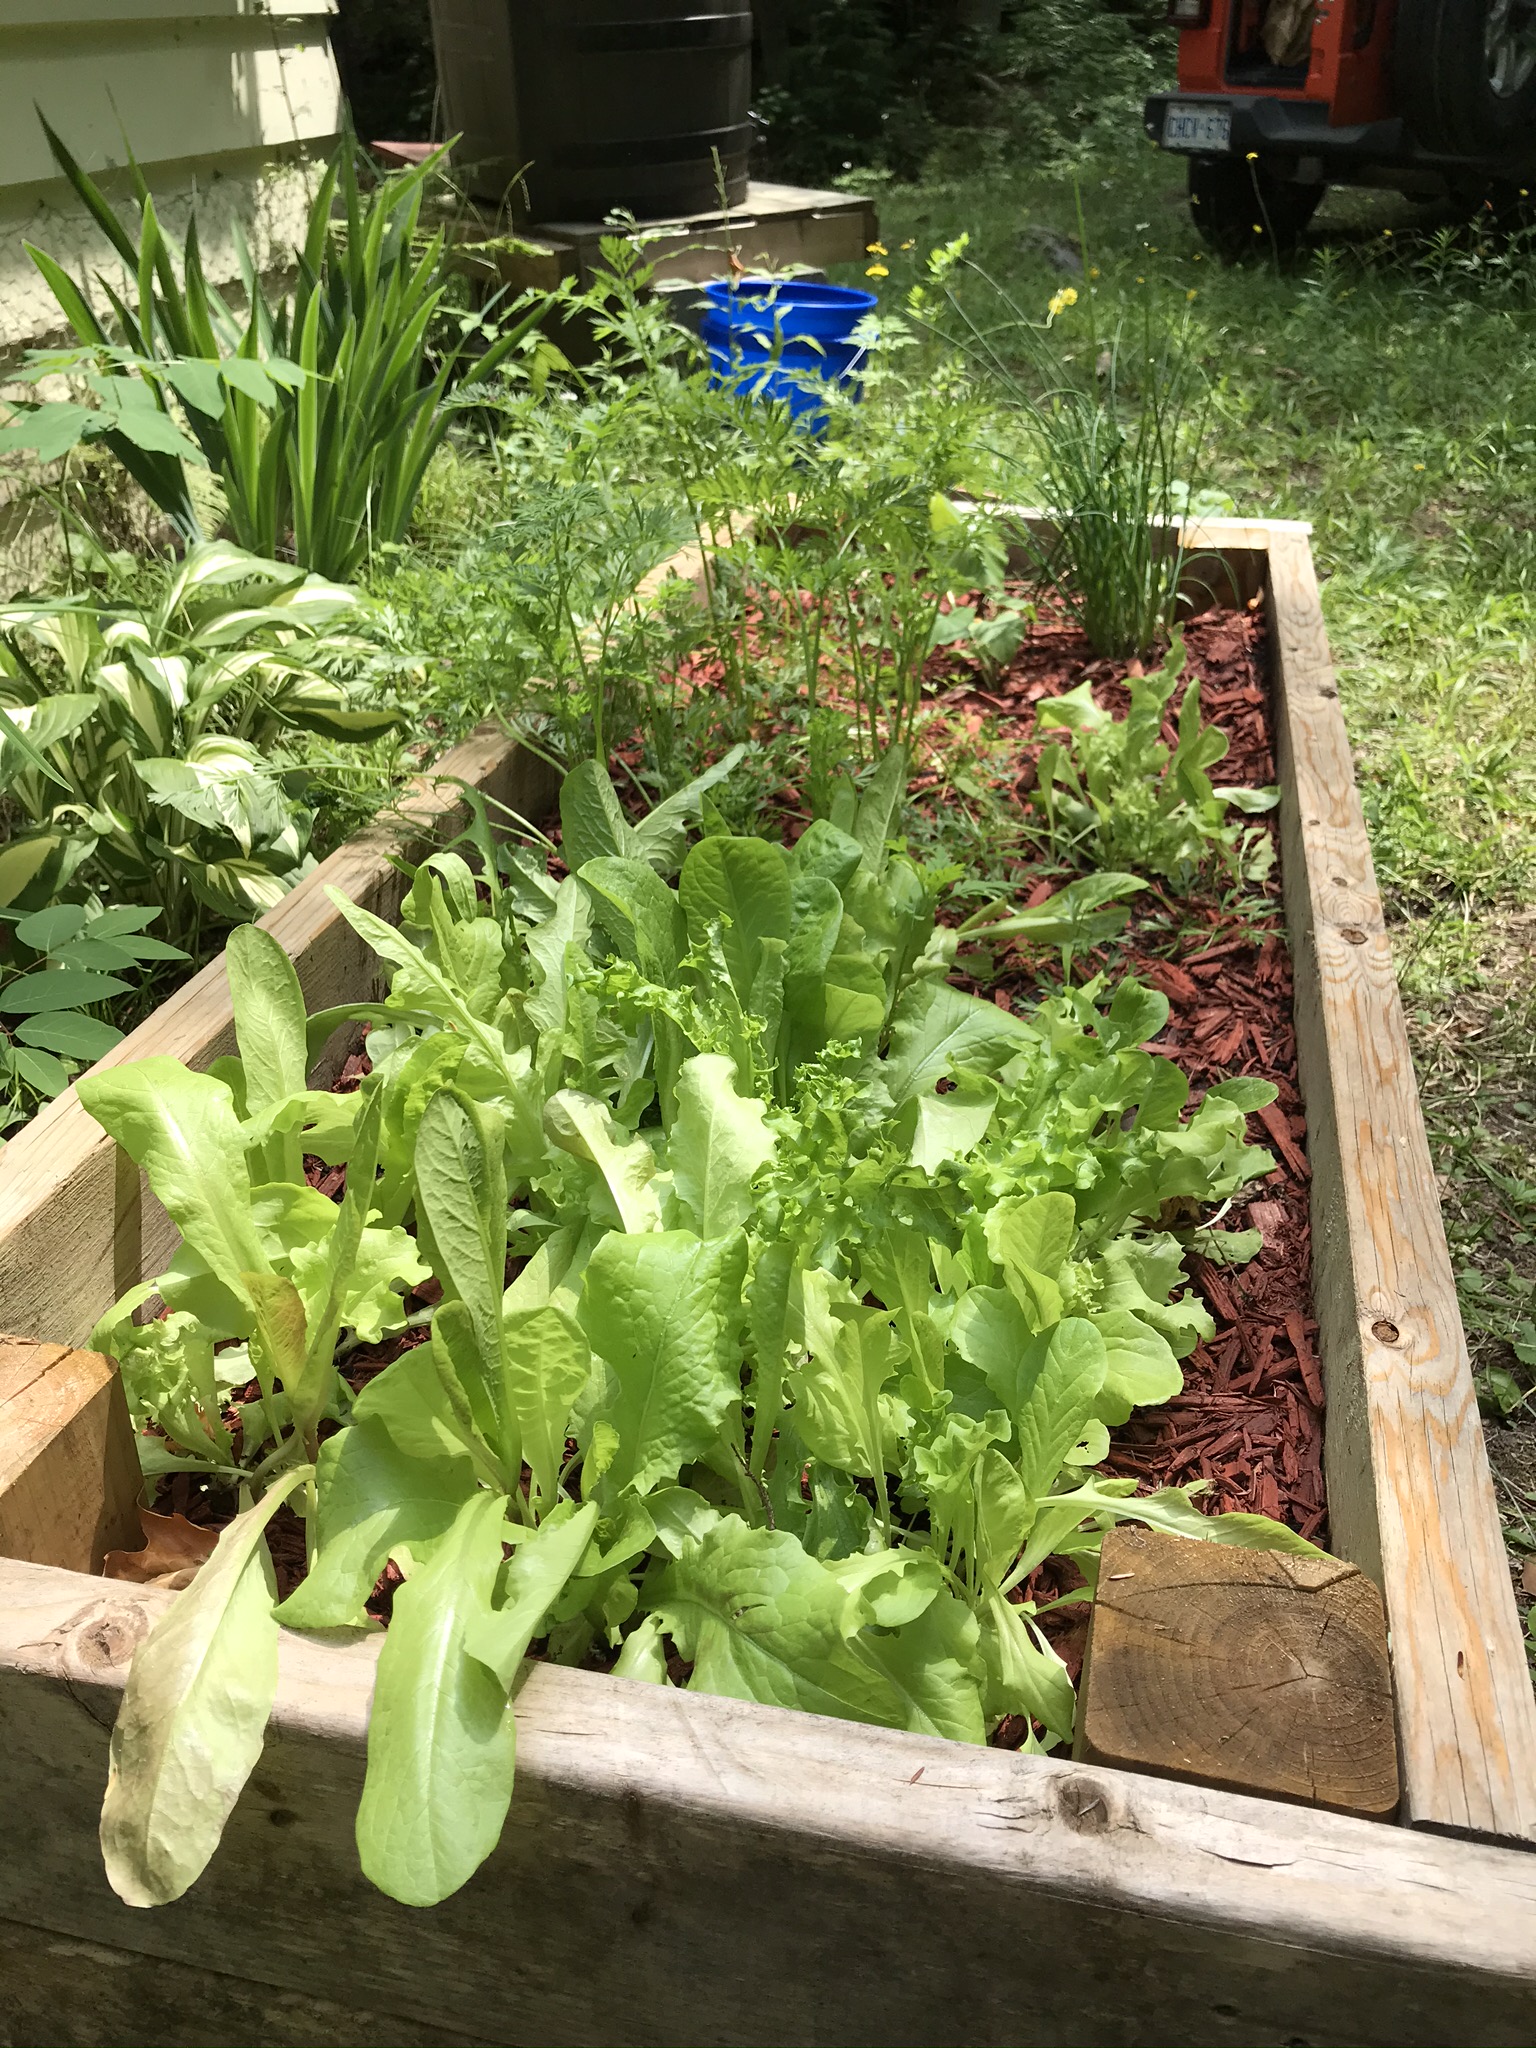

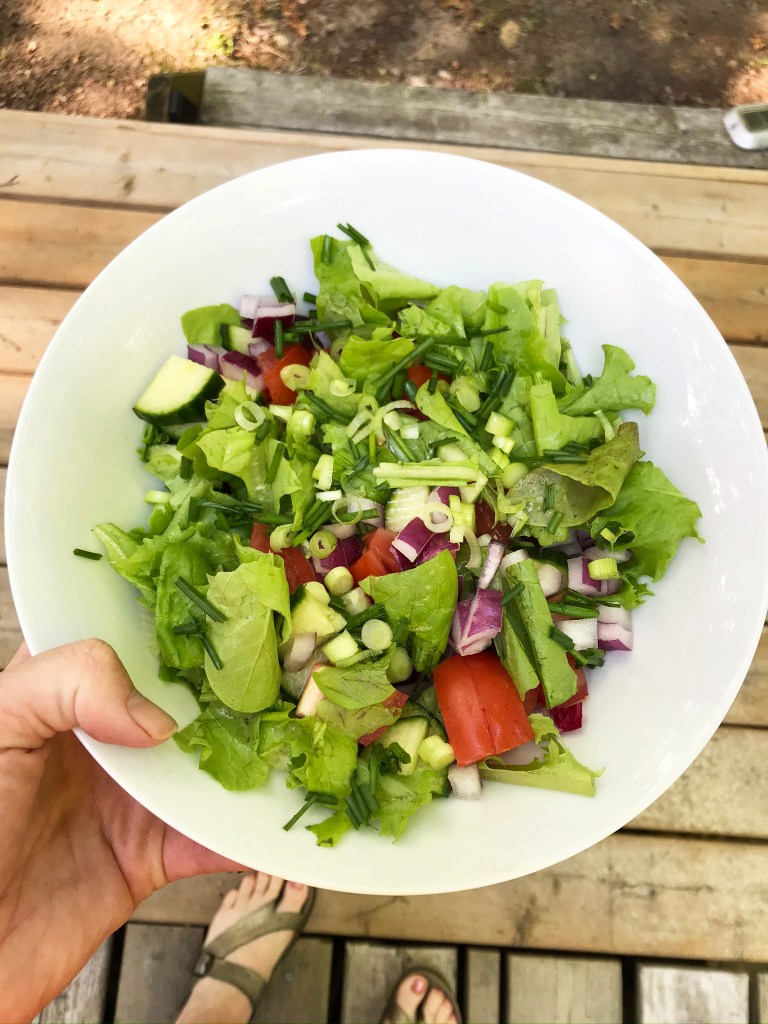
We really enjoyed the garden even if it didn’t produce a lot. The weather was beautiful for us but it wasn’t ideal for the garden with heat and no rain in July and then rain and not as much light in August. And the rabbits got the carrots. But we enjoyed every tomato, bean, and cucumber that we harvested.
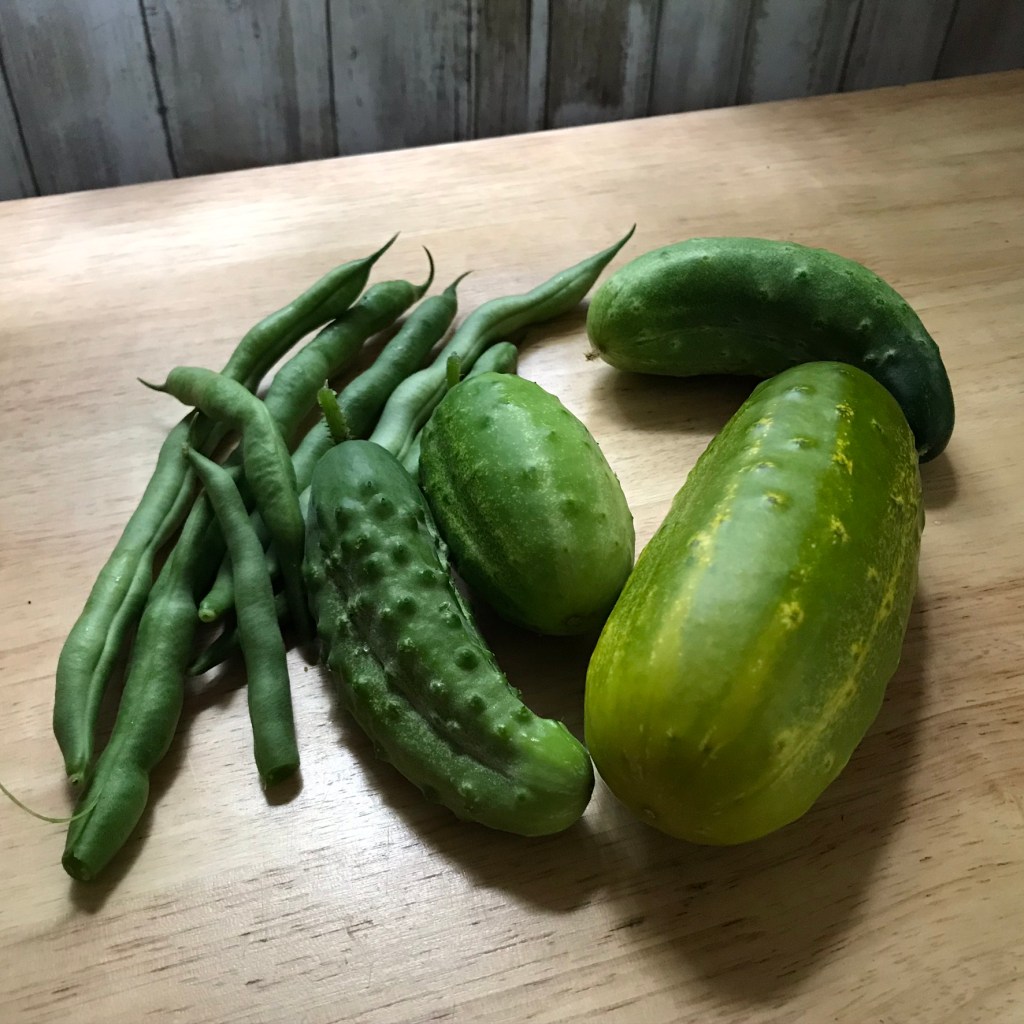


Which brings us to the next thing we did, which is not cabin-related so much as sustainable-living related. We made pickles for the first time. Yum.
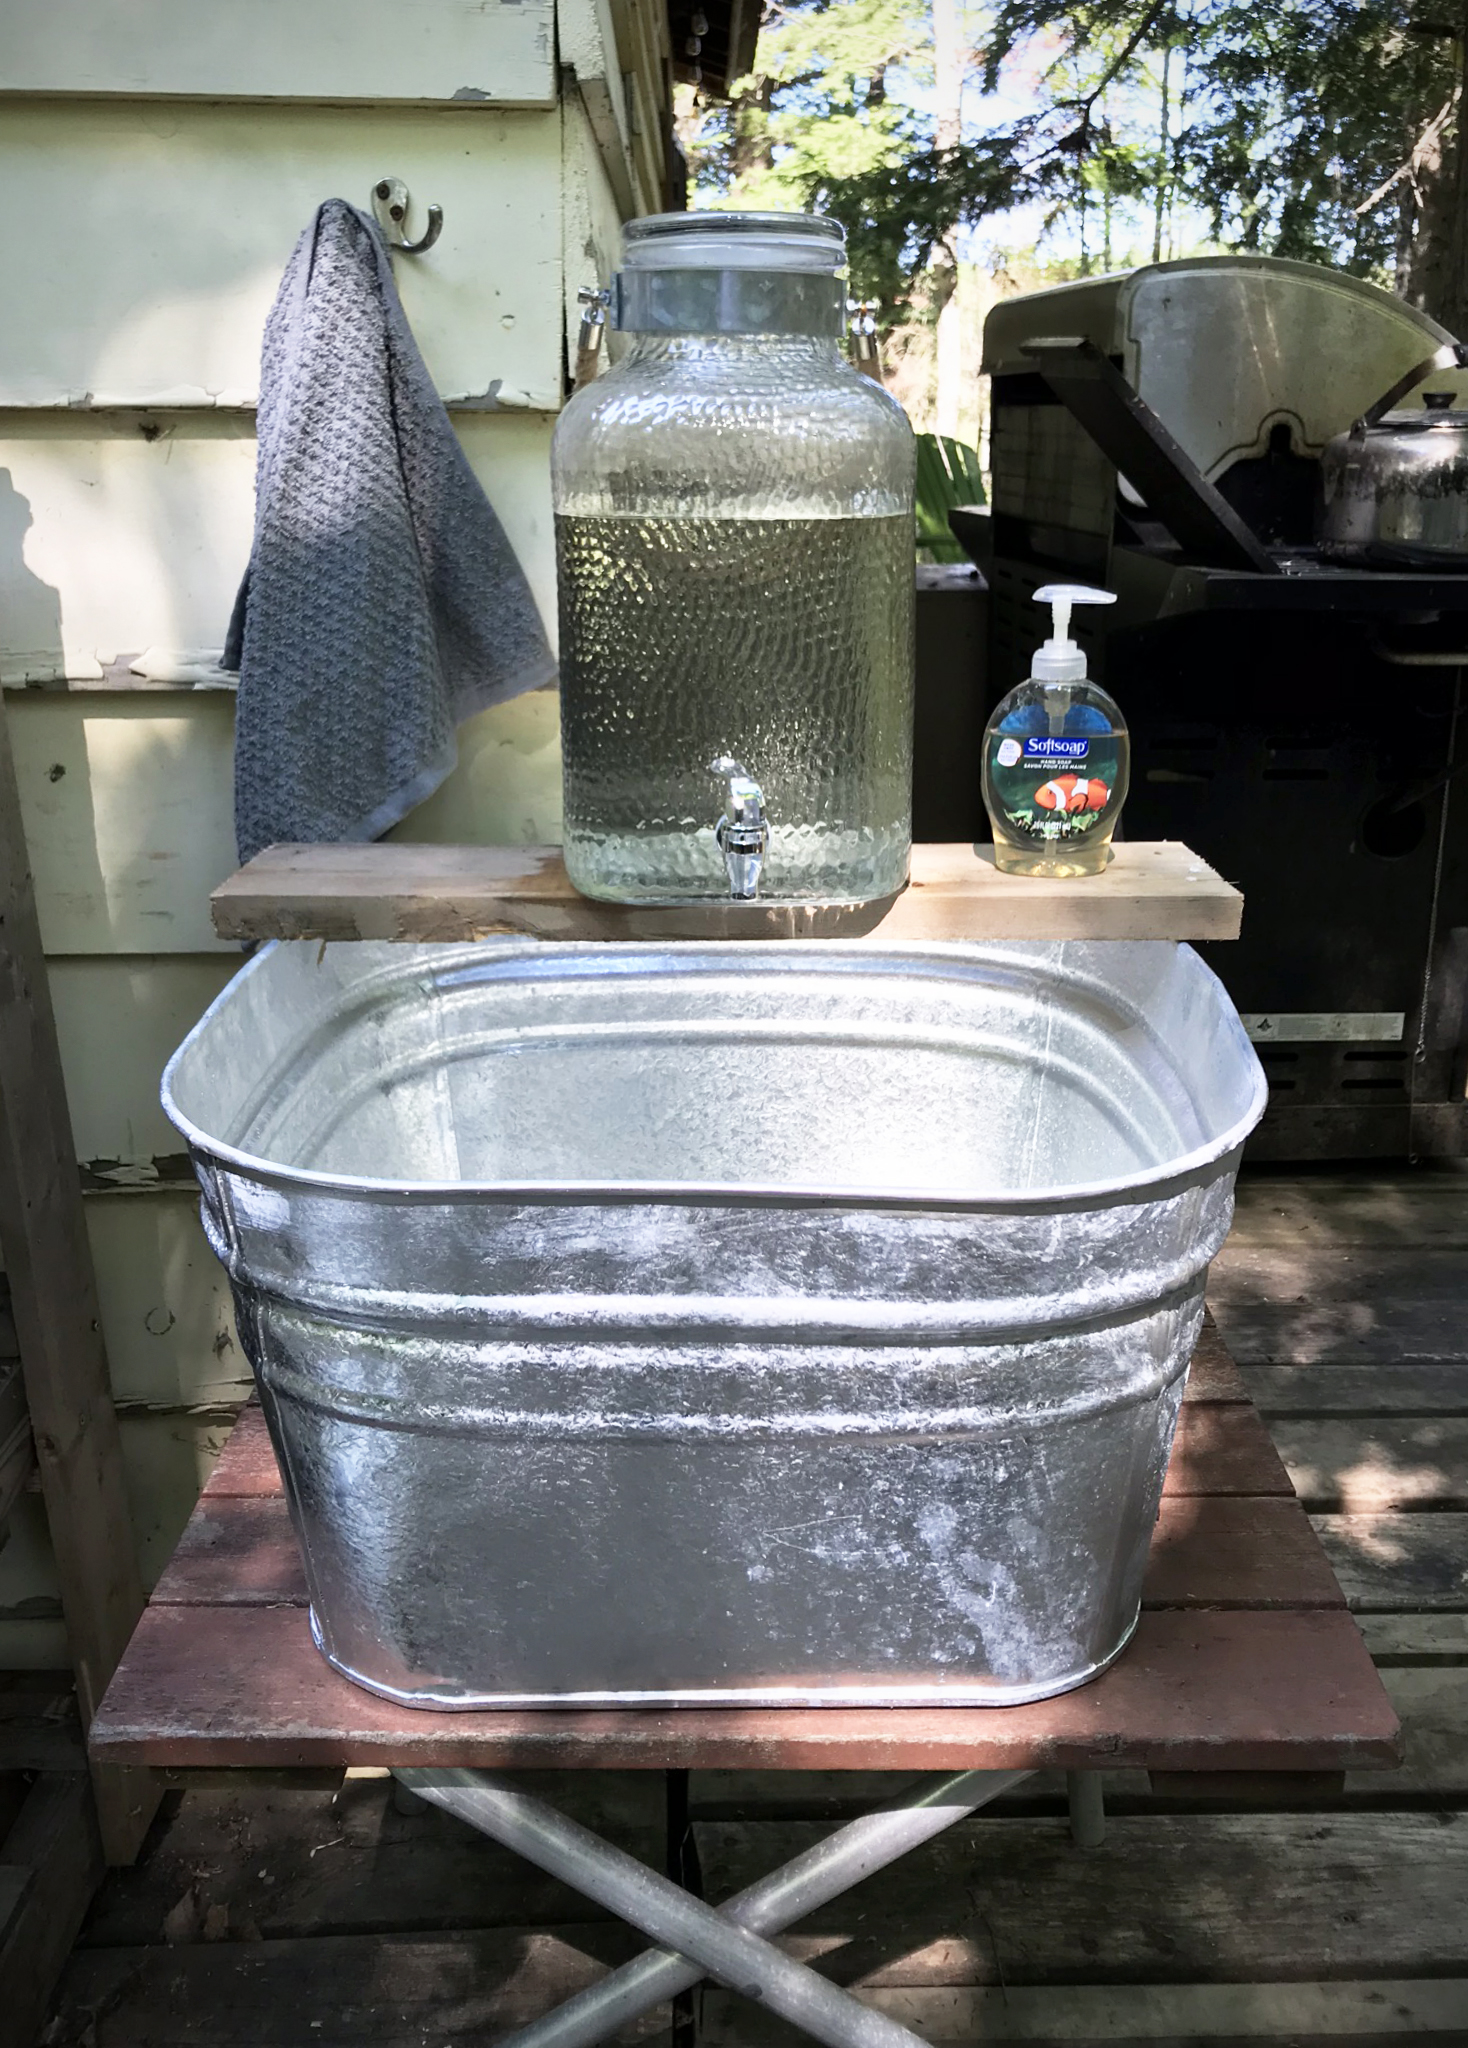
We finally upgraded our little outdoor hand-washing station from a white bucket and a 4L plastic jug to a galvanized steel washtub and a drink dispenser that holds 8L of sun-warmed, T-shirt filtered water. Honestly, now washing our hands feels decadent! A couple of things to remember…dump the washtub before it gets too heavy and always poke the hand towel a couple of times before taking it off the hook because wolf spiders love to hide under it.
Throughout the summer, we dove head first into our biggest upgrade. The kitchen. The kitchen has been on our list for a long time. But I think we were procrastinating because we were a little afraid. Over the past five years, we’d done little upgrades and replacements. This year, we really needed to tackle the issue of shelving, increasing workspace and re-doing the floor.
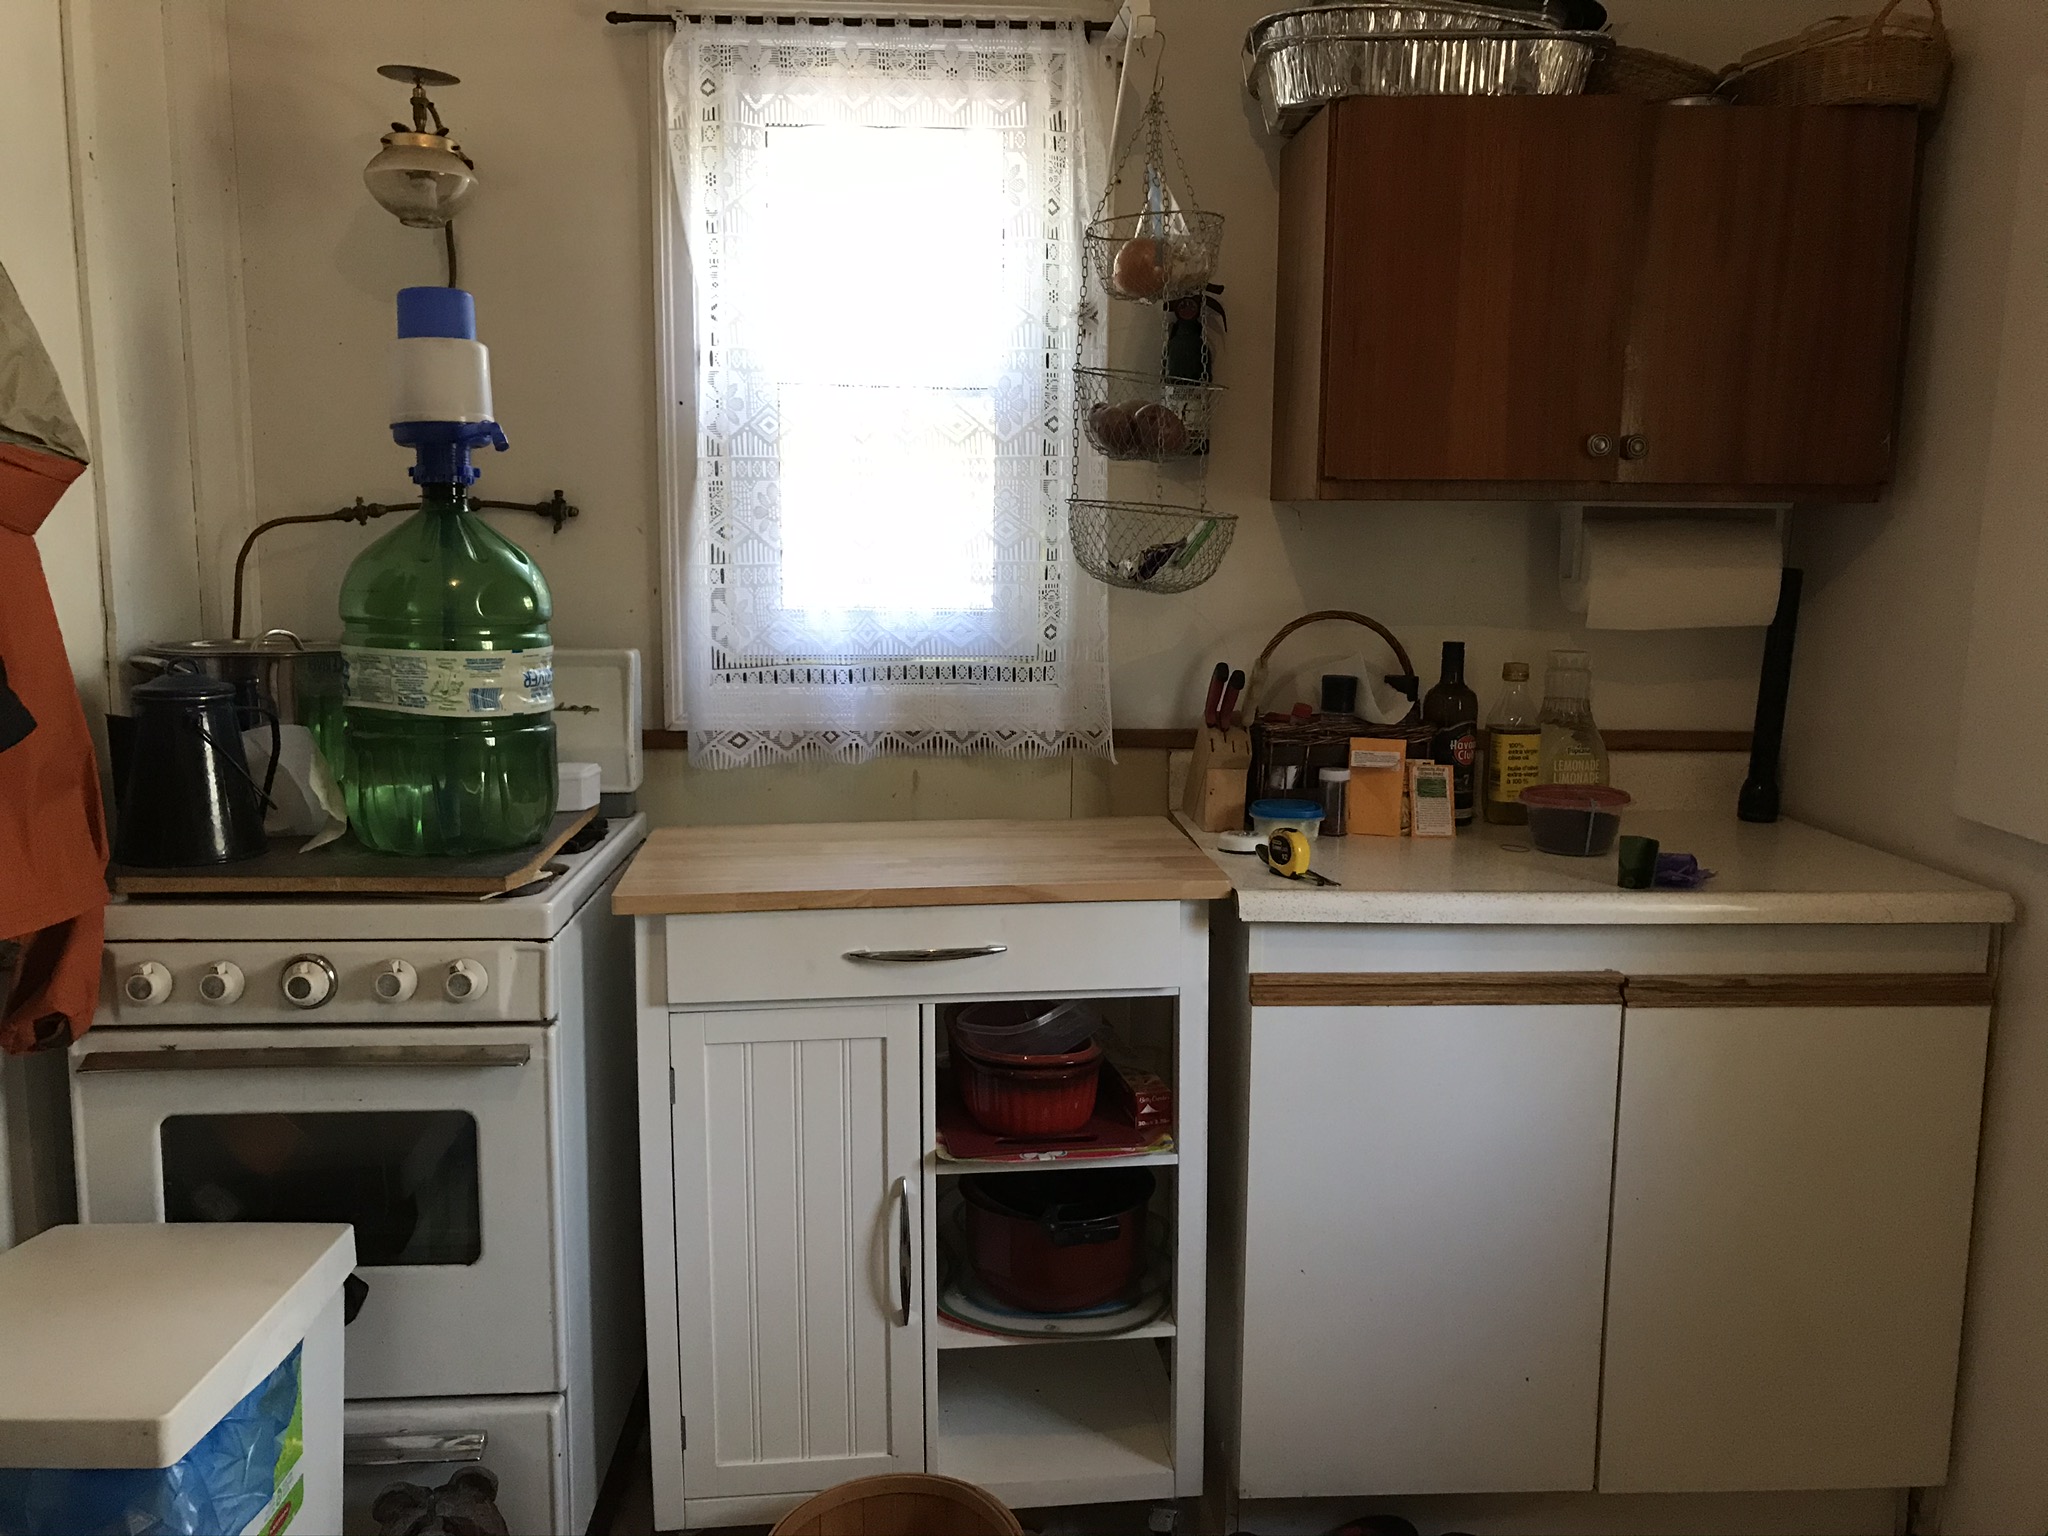
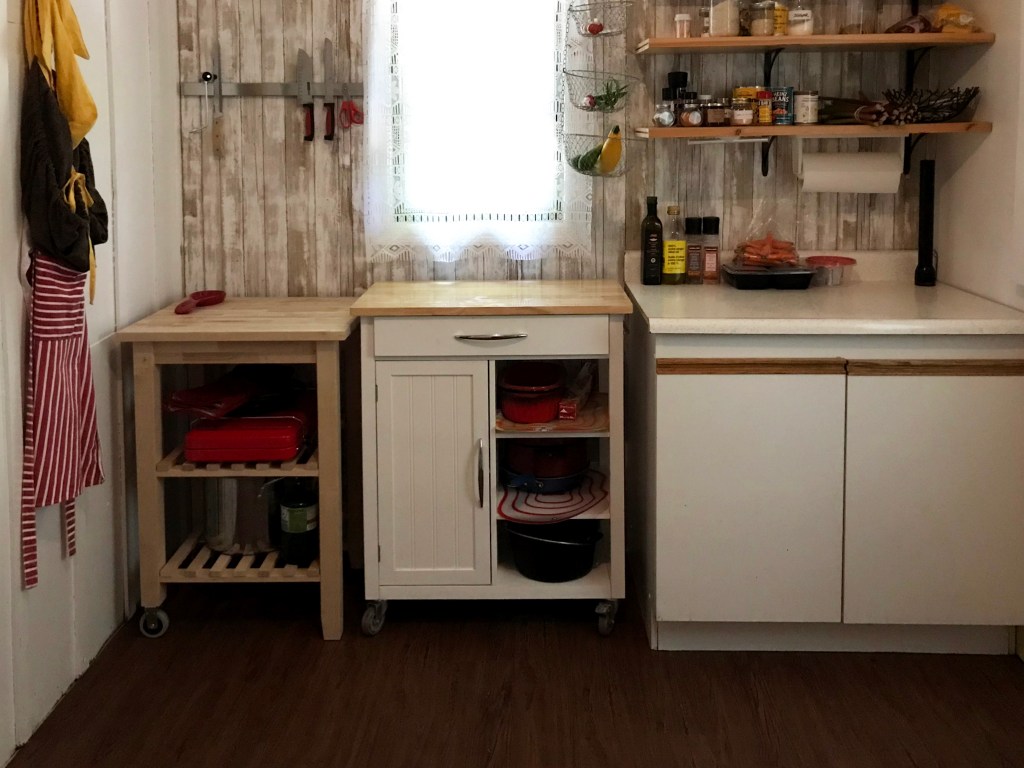
When we first bought the cabin in 2014, I had painted most of the cupboards white and repainted the walls the next spring. I wallpapered the inside of the cupboards to look like stone, from scraps of wallpaper we had leftover from a city house project, instead of the lovely psychedelic yellow and orange flowers that had been in there for the past three decades. We also got rid of the old, dead propane fridge and bought a new island from Canadian Tire. This doubled our work and storage space. It’s pictured below in front of the window. Last year, we put in a new window as well so now we don’t lose space with the old window swinging out over the island.
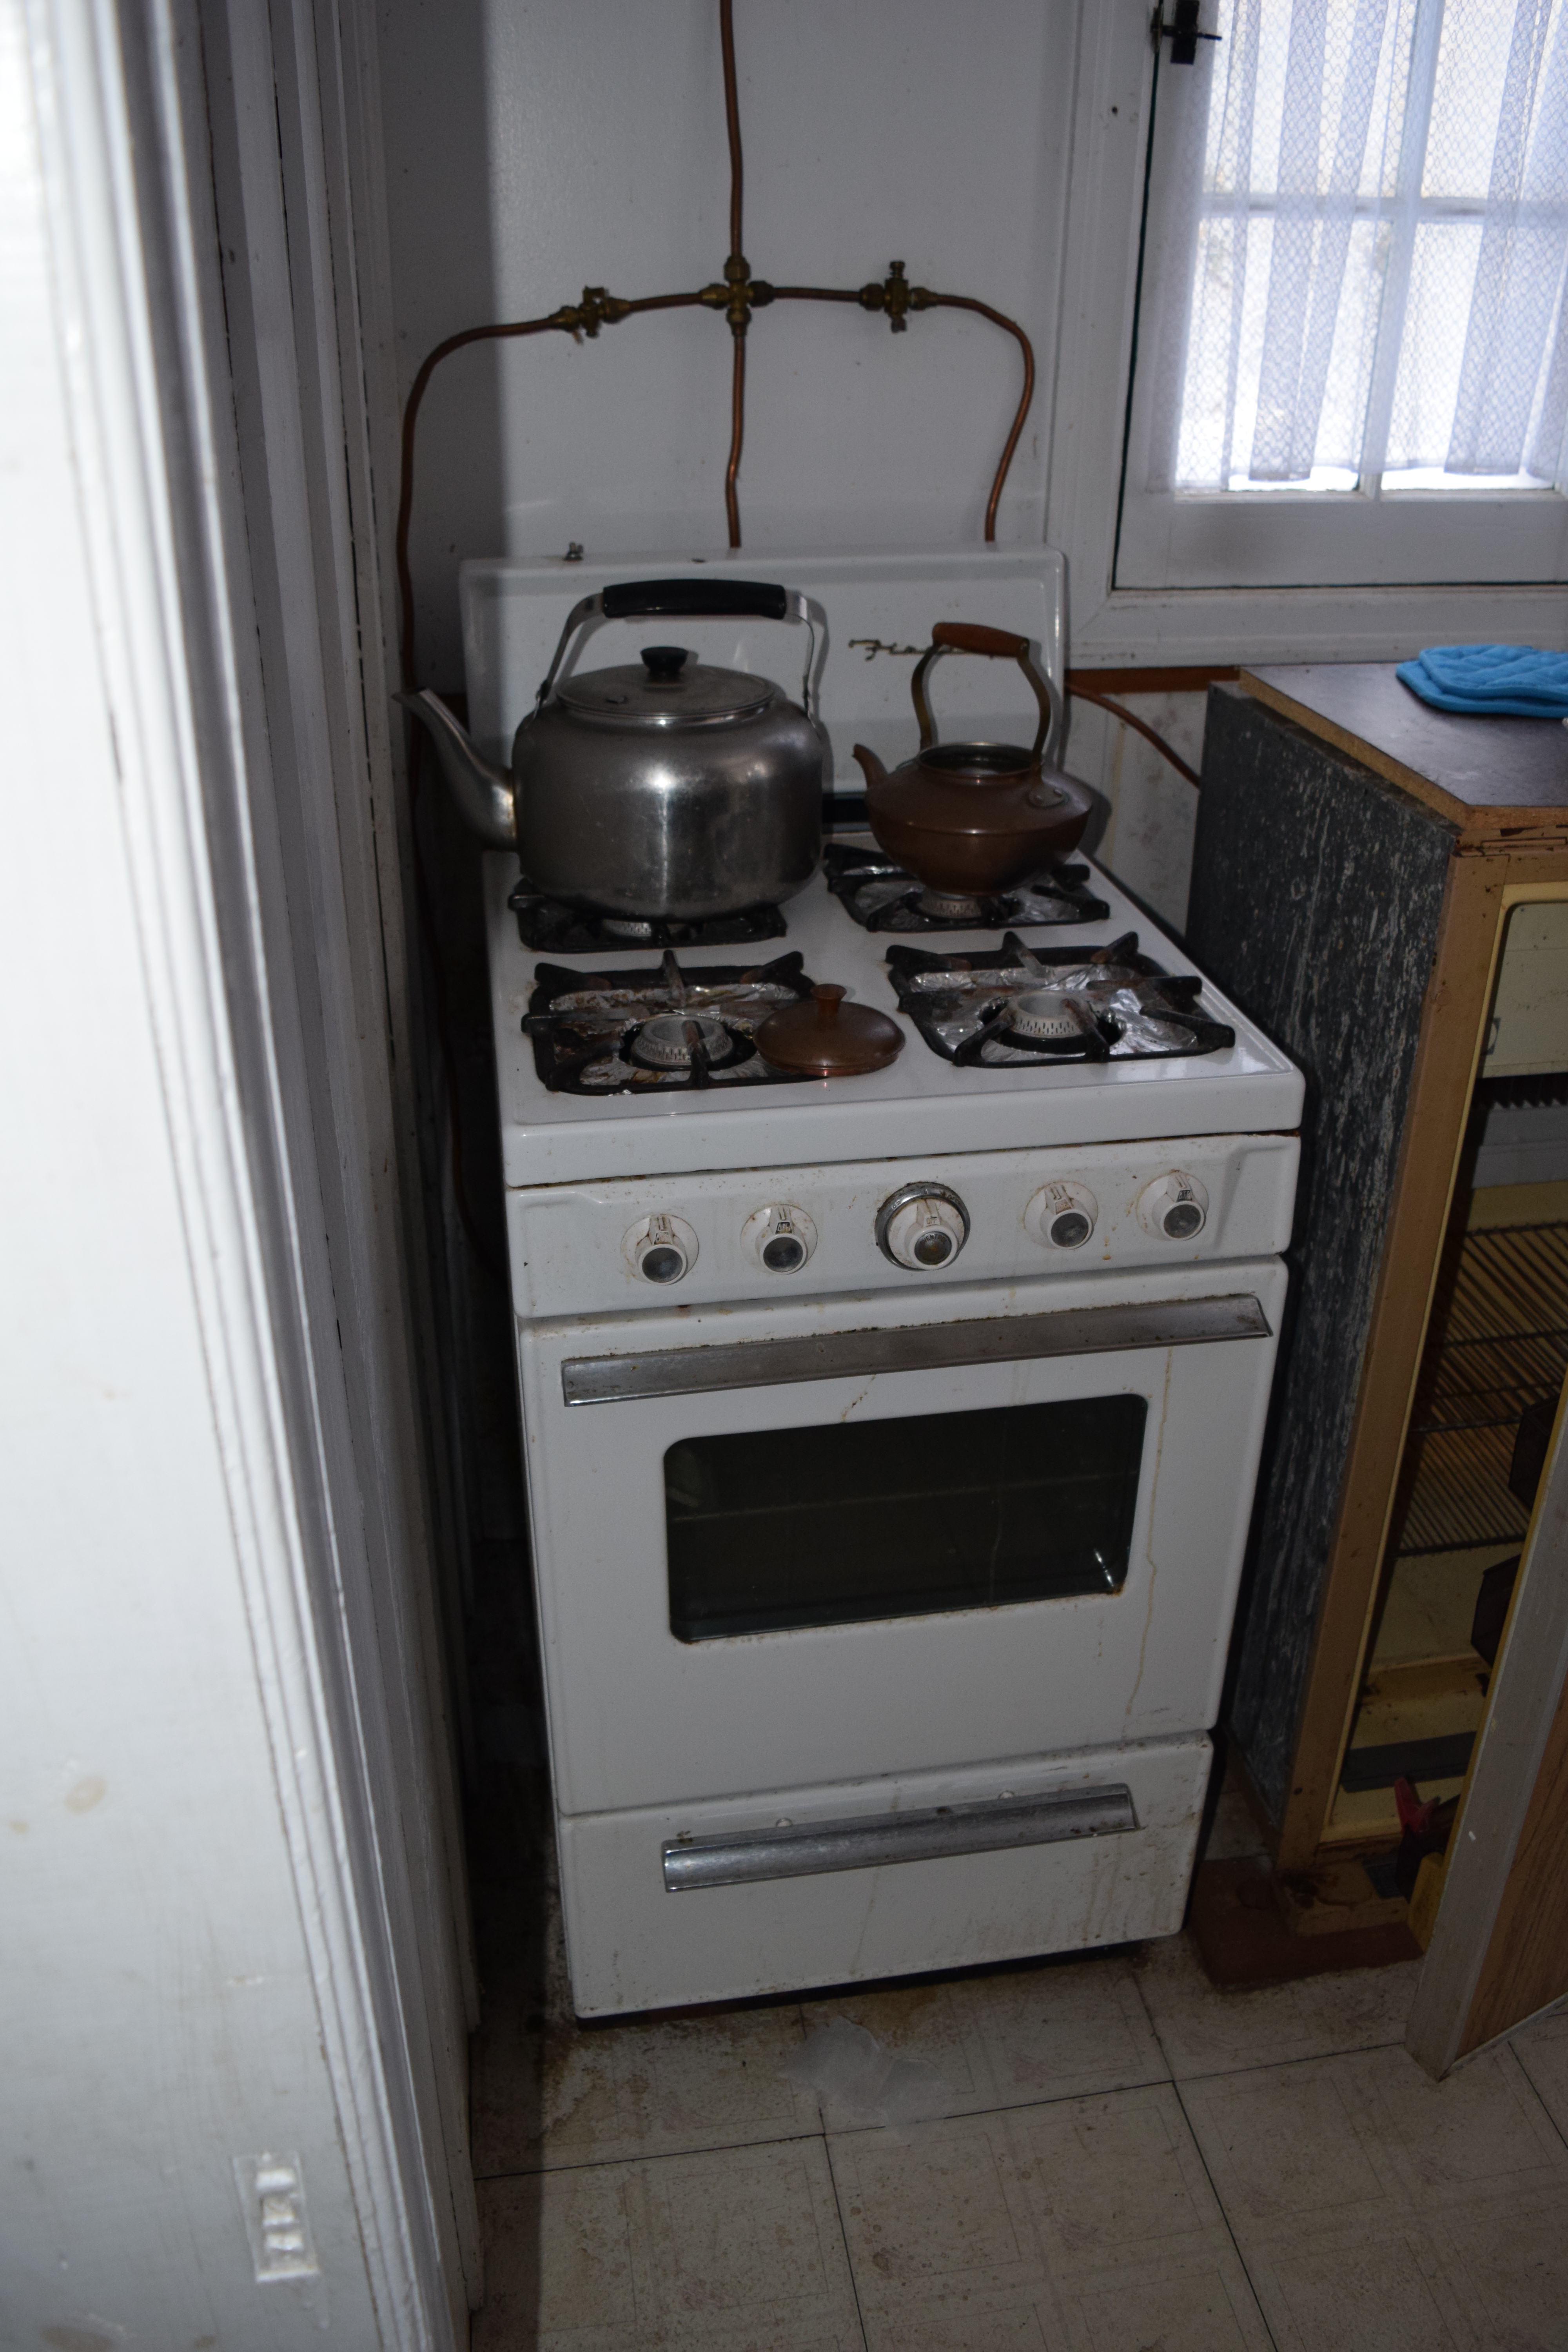
Here’s what it has looked like for the past few years.


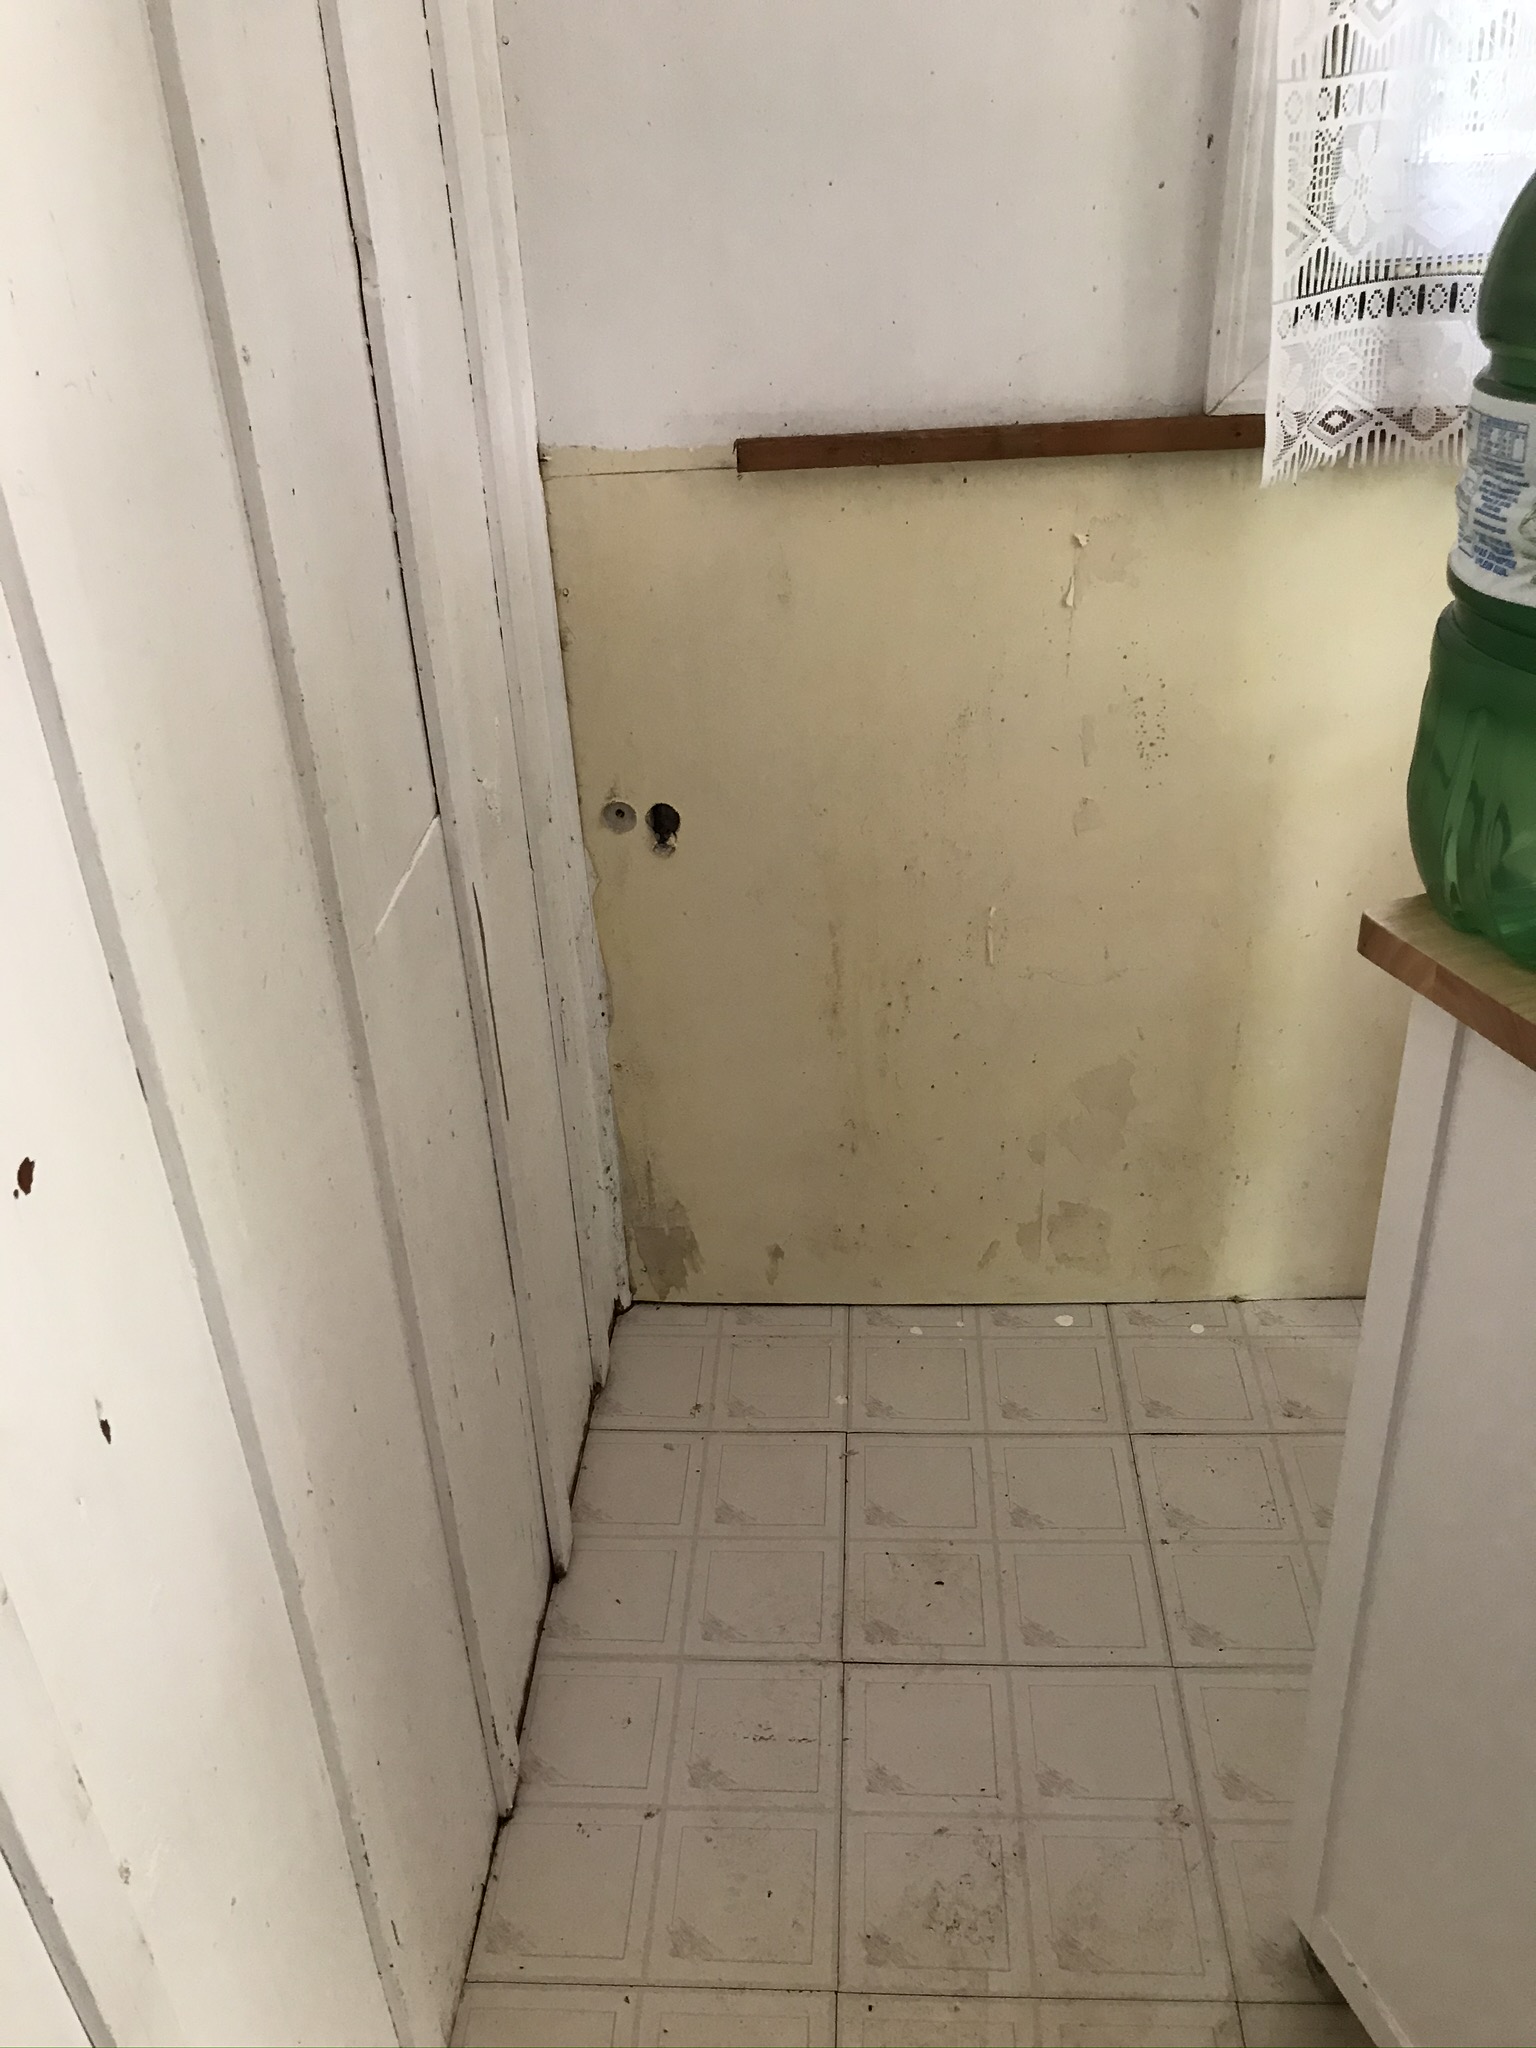
This year, we finally got rid of the propane stove in the corner. Little did we know it was where the mice had been happily living for god knows how long. (I can’t think about it too much or I start to feel throw-uppy.) And behind it was a disaster. The wall it was beside was covered in old grease. And the wall behind it, covered in shredded wallpaper of the same lovely retro pattern as was in the cupboards.

While we try to keep costs low in other parts of the house (reusing, repurposing, upcycling, getting donations from friends, etc.), I don’t mind spending money on new items for a project like this. So I bought another island from Ikea as it was really the only thing I found that would fit into this little space. It also has wheels and I feel better about being able to move these islands out from the wall to clean more easily.
Then I moved onto the walls. The first thing to go was that ugly fake-wood cupboard. The two side walls got a good scrubbing and then a fresh coat of white paint. The wall behind could not just be painted due to all the holes in it. Steel wool was put into the deepest holes (everything we do is for the purpose of deterring mice) and then I bought self-adhesive wallpaper from Home Depot. I wondered if it would look cheap or if it would even stick in our ridiculous humidity so I just started with the first roll and decided to leave it for a few days to see if it started to peel off. It didn’t! So I finished the wall and I love how it looks! Also, this wallpaper has a plastic coating on it so it can easily be wiped down.

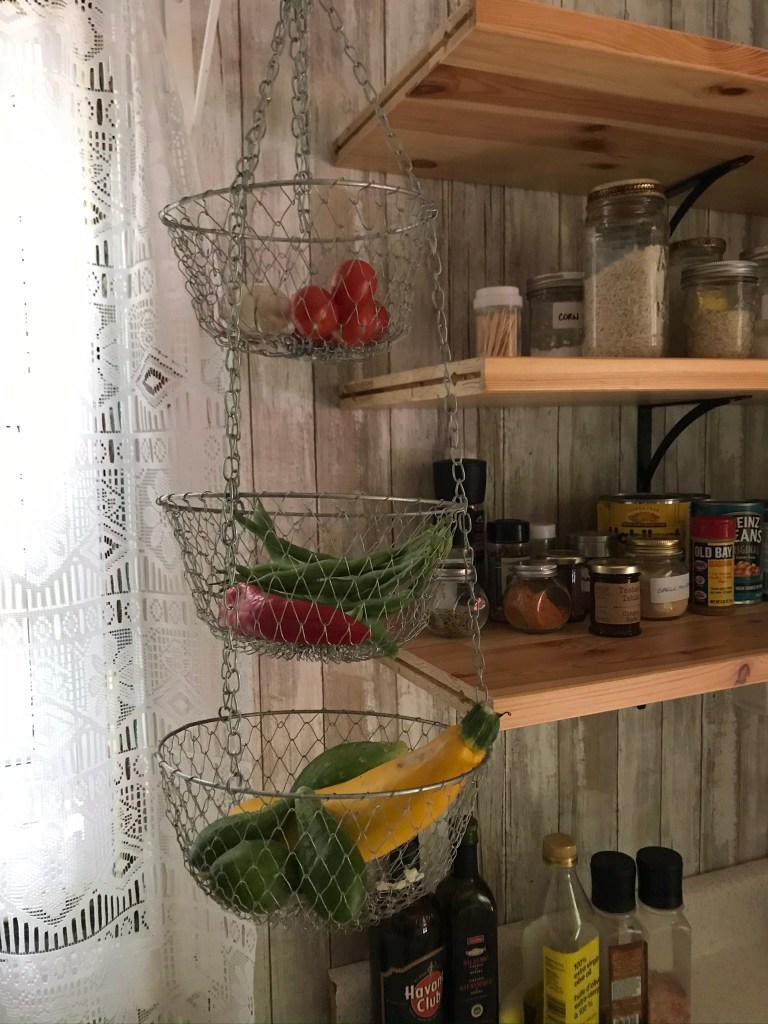
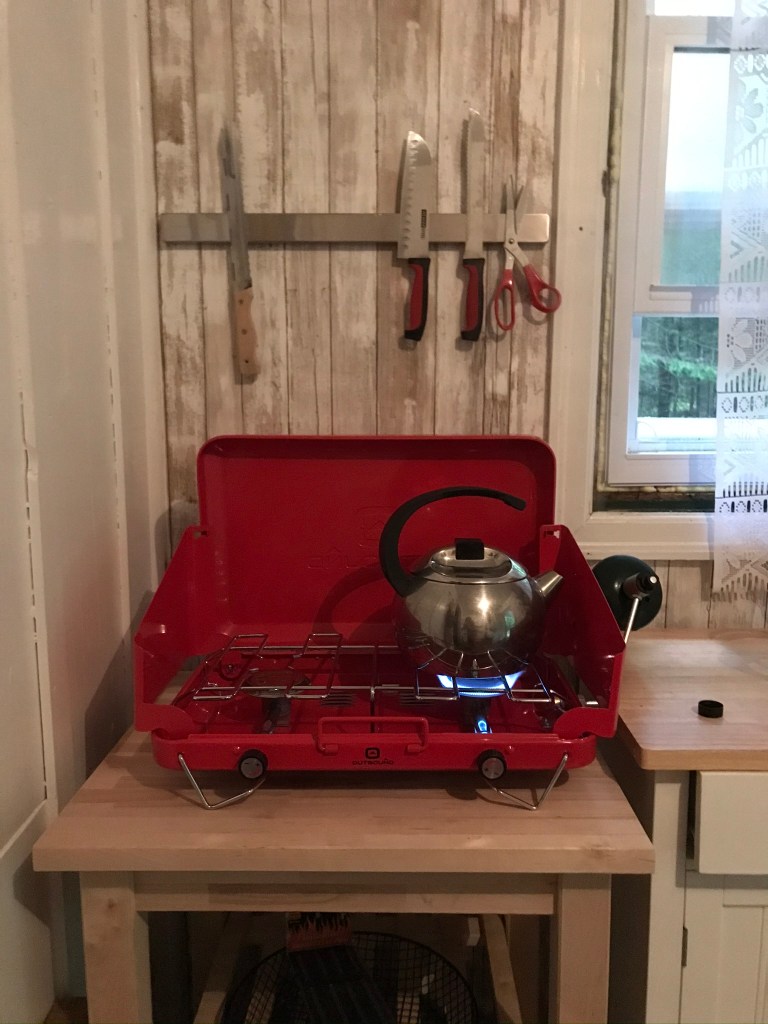
Shelves from an old bookcase went up on the walls (again, open space to easily clean and deter mice from setting up house), glass jars for foodstuffs (mouse-proof), and the knives were mounted on the wall to maximize working space. The mounting brackets under the shelves we had lying around in the shed. Why aren’t they centered? We only had six of them and the centre bracket is the only stud in the wall…sigh. We moved the water jugs over to the sink side of the kitchen where they belong (finally!) and bought a double-burner camp stove. Oh, the joy of not having to go out into the rain in the summer just to boil water for my morning coffee. We had only the floor left.
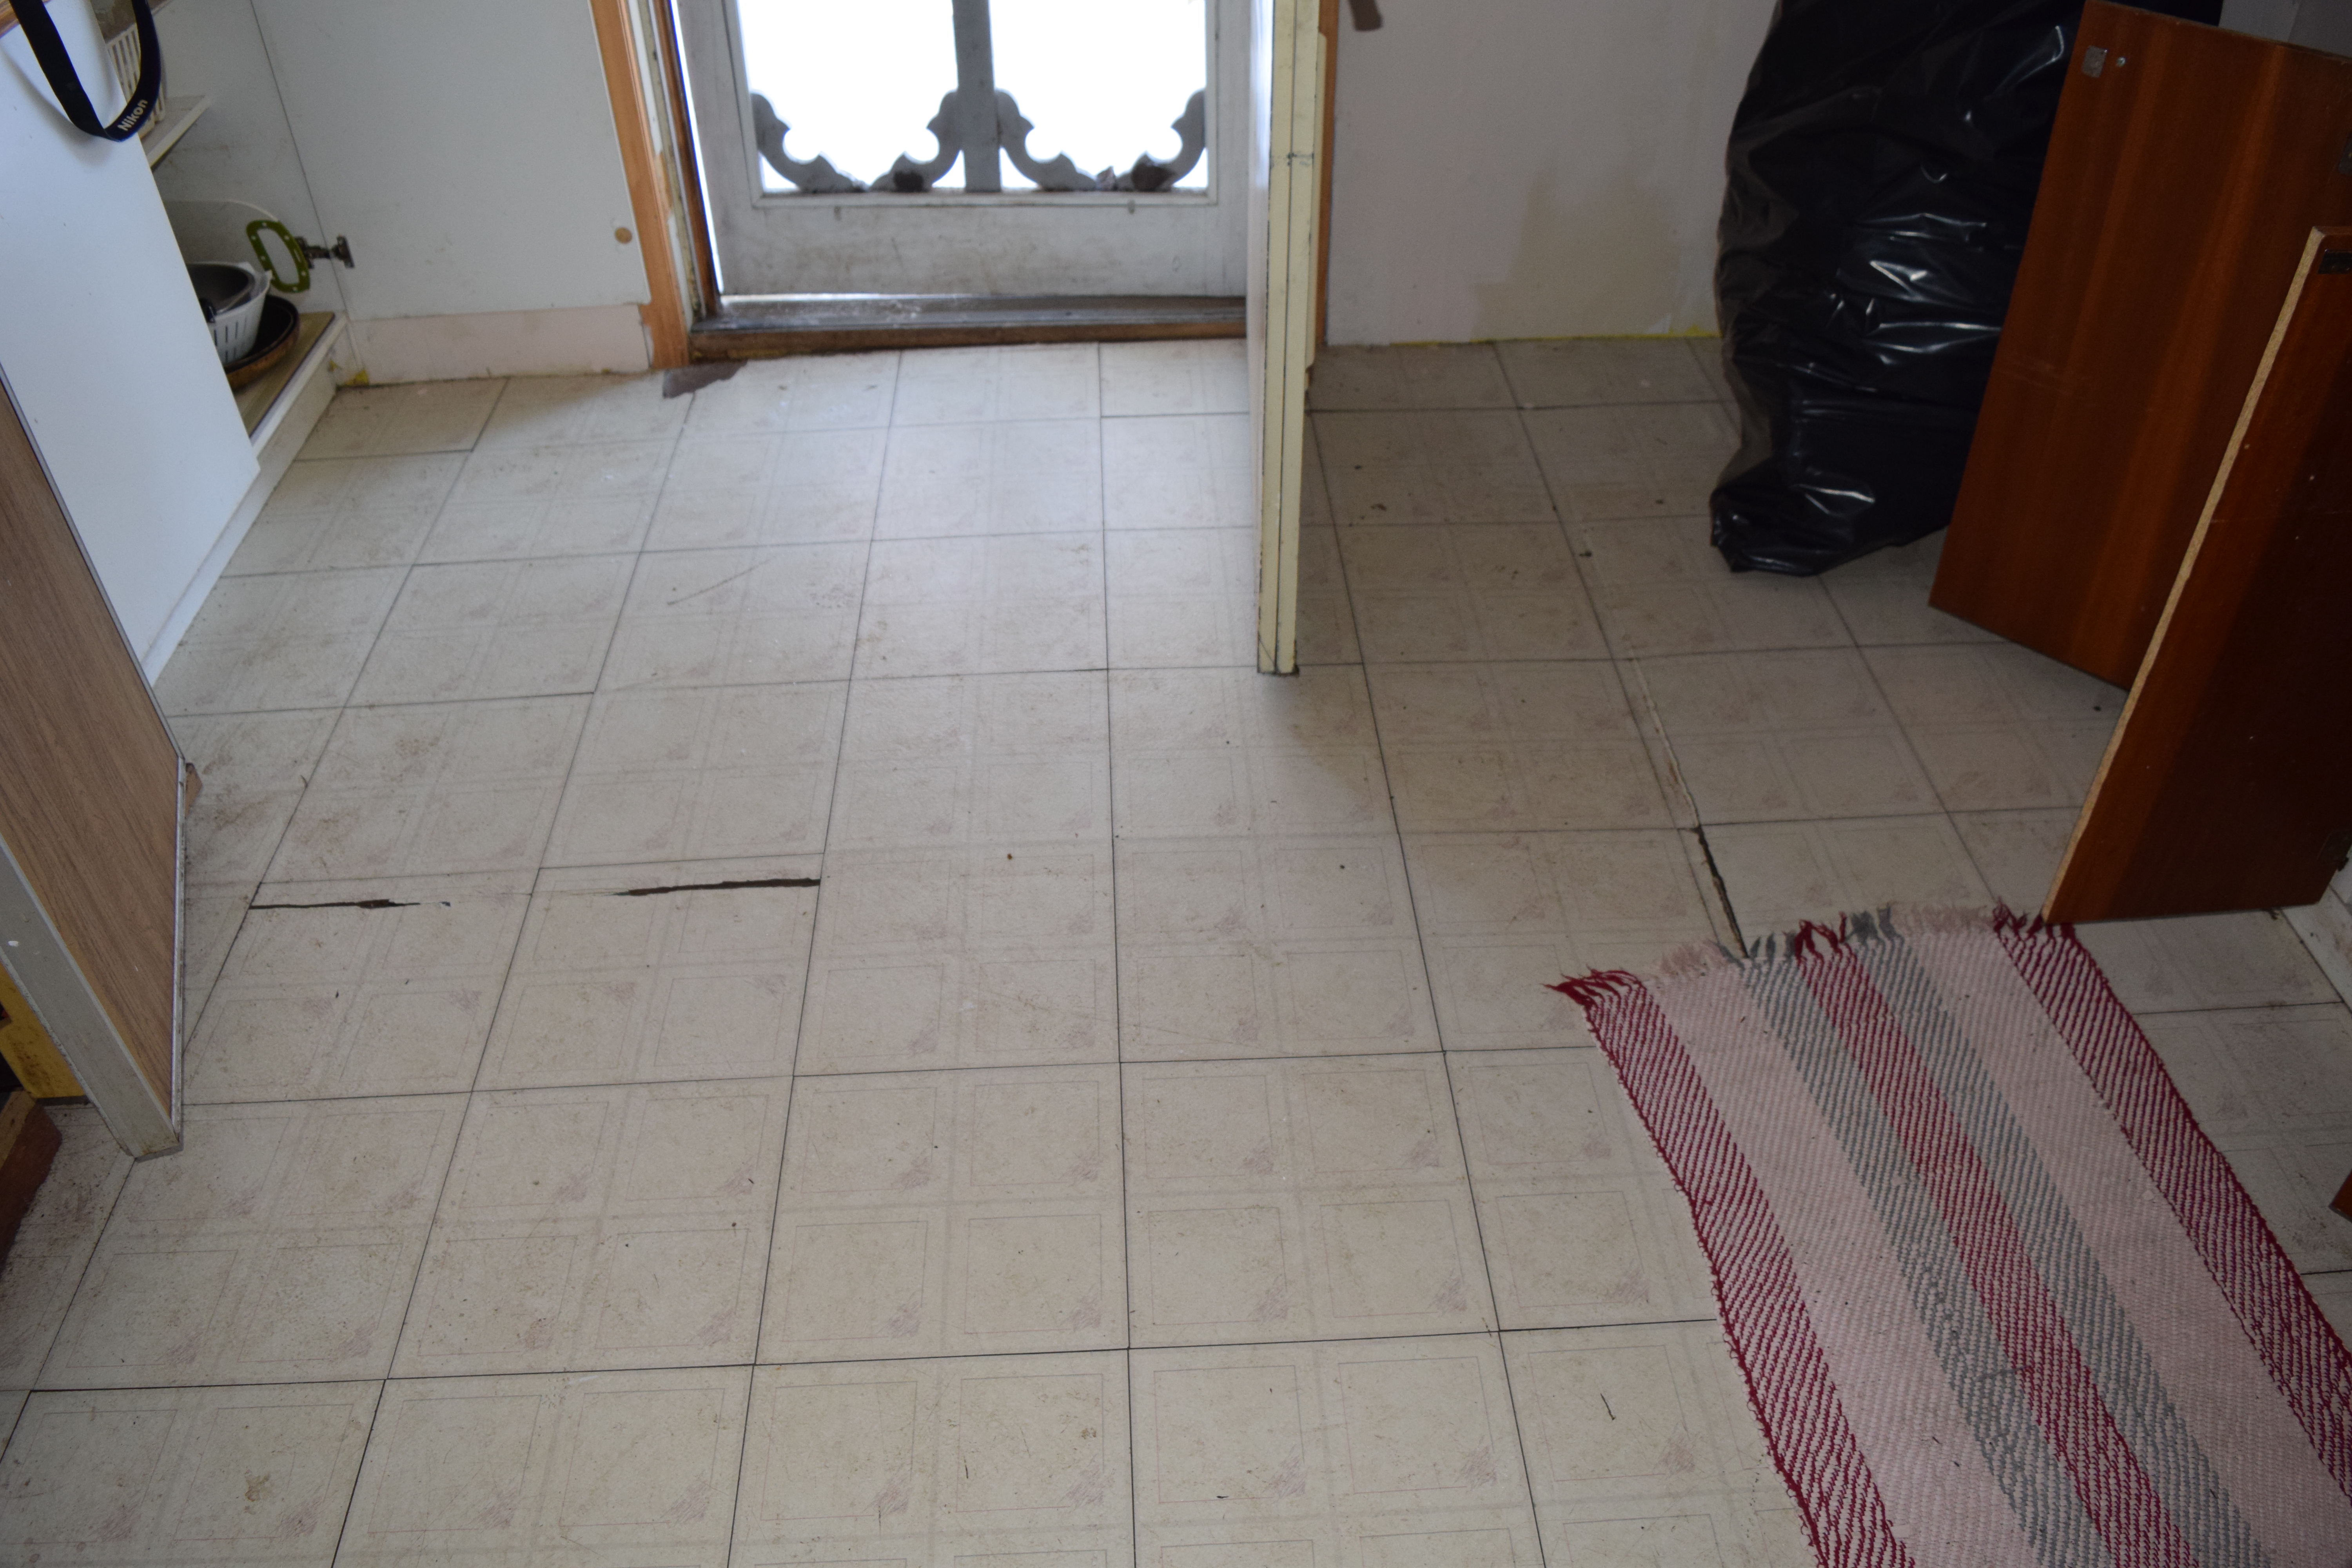
In the very first year at the Burrow, I found laminate flooring on Kijiji for dirt cheap. We had intended to put it into one of the bedrooms but we never got around to using it. It’s a good thing we didn’t because it was perfect for the kitchen. This was the first time I’d installed laminate before and I think I did a damn fine job of it. The flooring was the last major thing to be done in the kitchen this year. Opening up the Burrow door and having this little kitchen greet us is a joy.
We finished the kitchen the last week of August and that was the end of our working season at the cabin. We were only able to make it up to the Burrow once or twice after that so we are looking forward to Easter in the hopes that we’ll be able to make it out there for the long weekend. We already have a list of things to accomplish for this year, including a new rain barrell and expanded garden, finishing the walls and insulating the ceiling in the big bedroom, installing a propane or solar fridge so we can stop ruining food in the coolers and maybe if we’re ambitious, we will replace some more windows.
Oh, these winter days are long and my heart can’t wait to get back out into the woods.

Congratulations on all the work you accomplished. It looks absolutely amazing and the deck is calling. 🙂 Can’t wait for the invitation to visit.❤
LikeLike