Have you ever had one of those rooms that you HATE? Absolutely can’t stand? Every time you look at it, you cringe, feel a little throw-uppy, want to burn it to the ground? Yeah. That was how I felt about the bunk room.
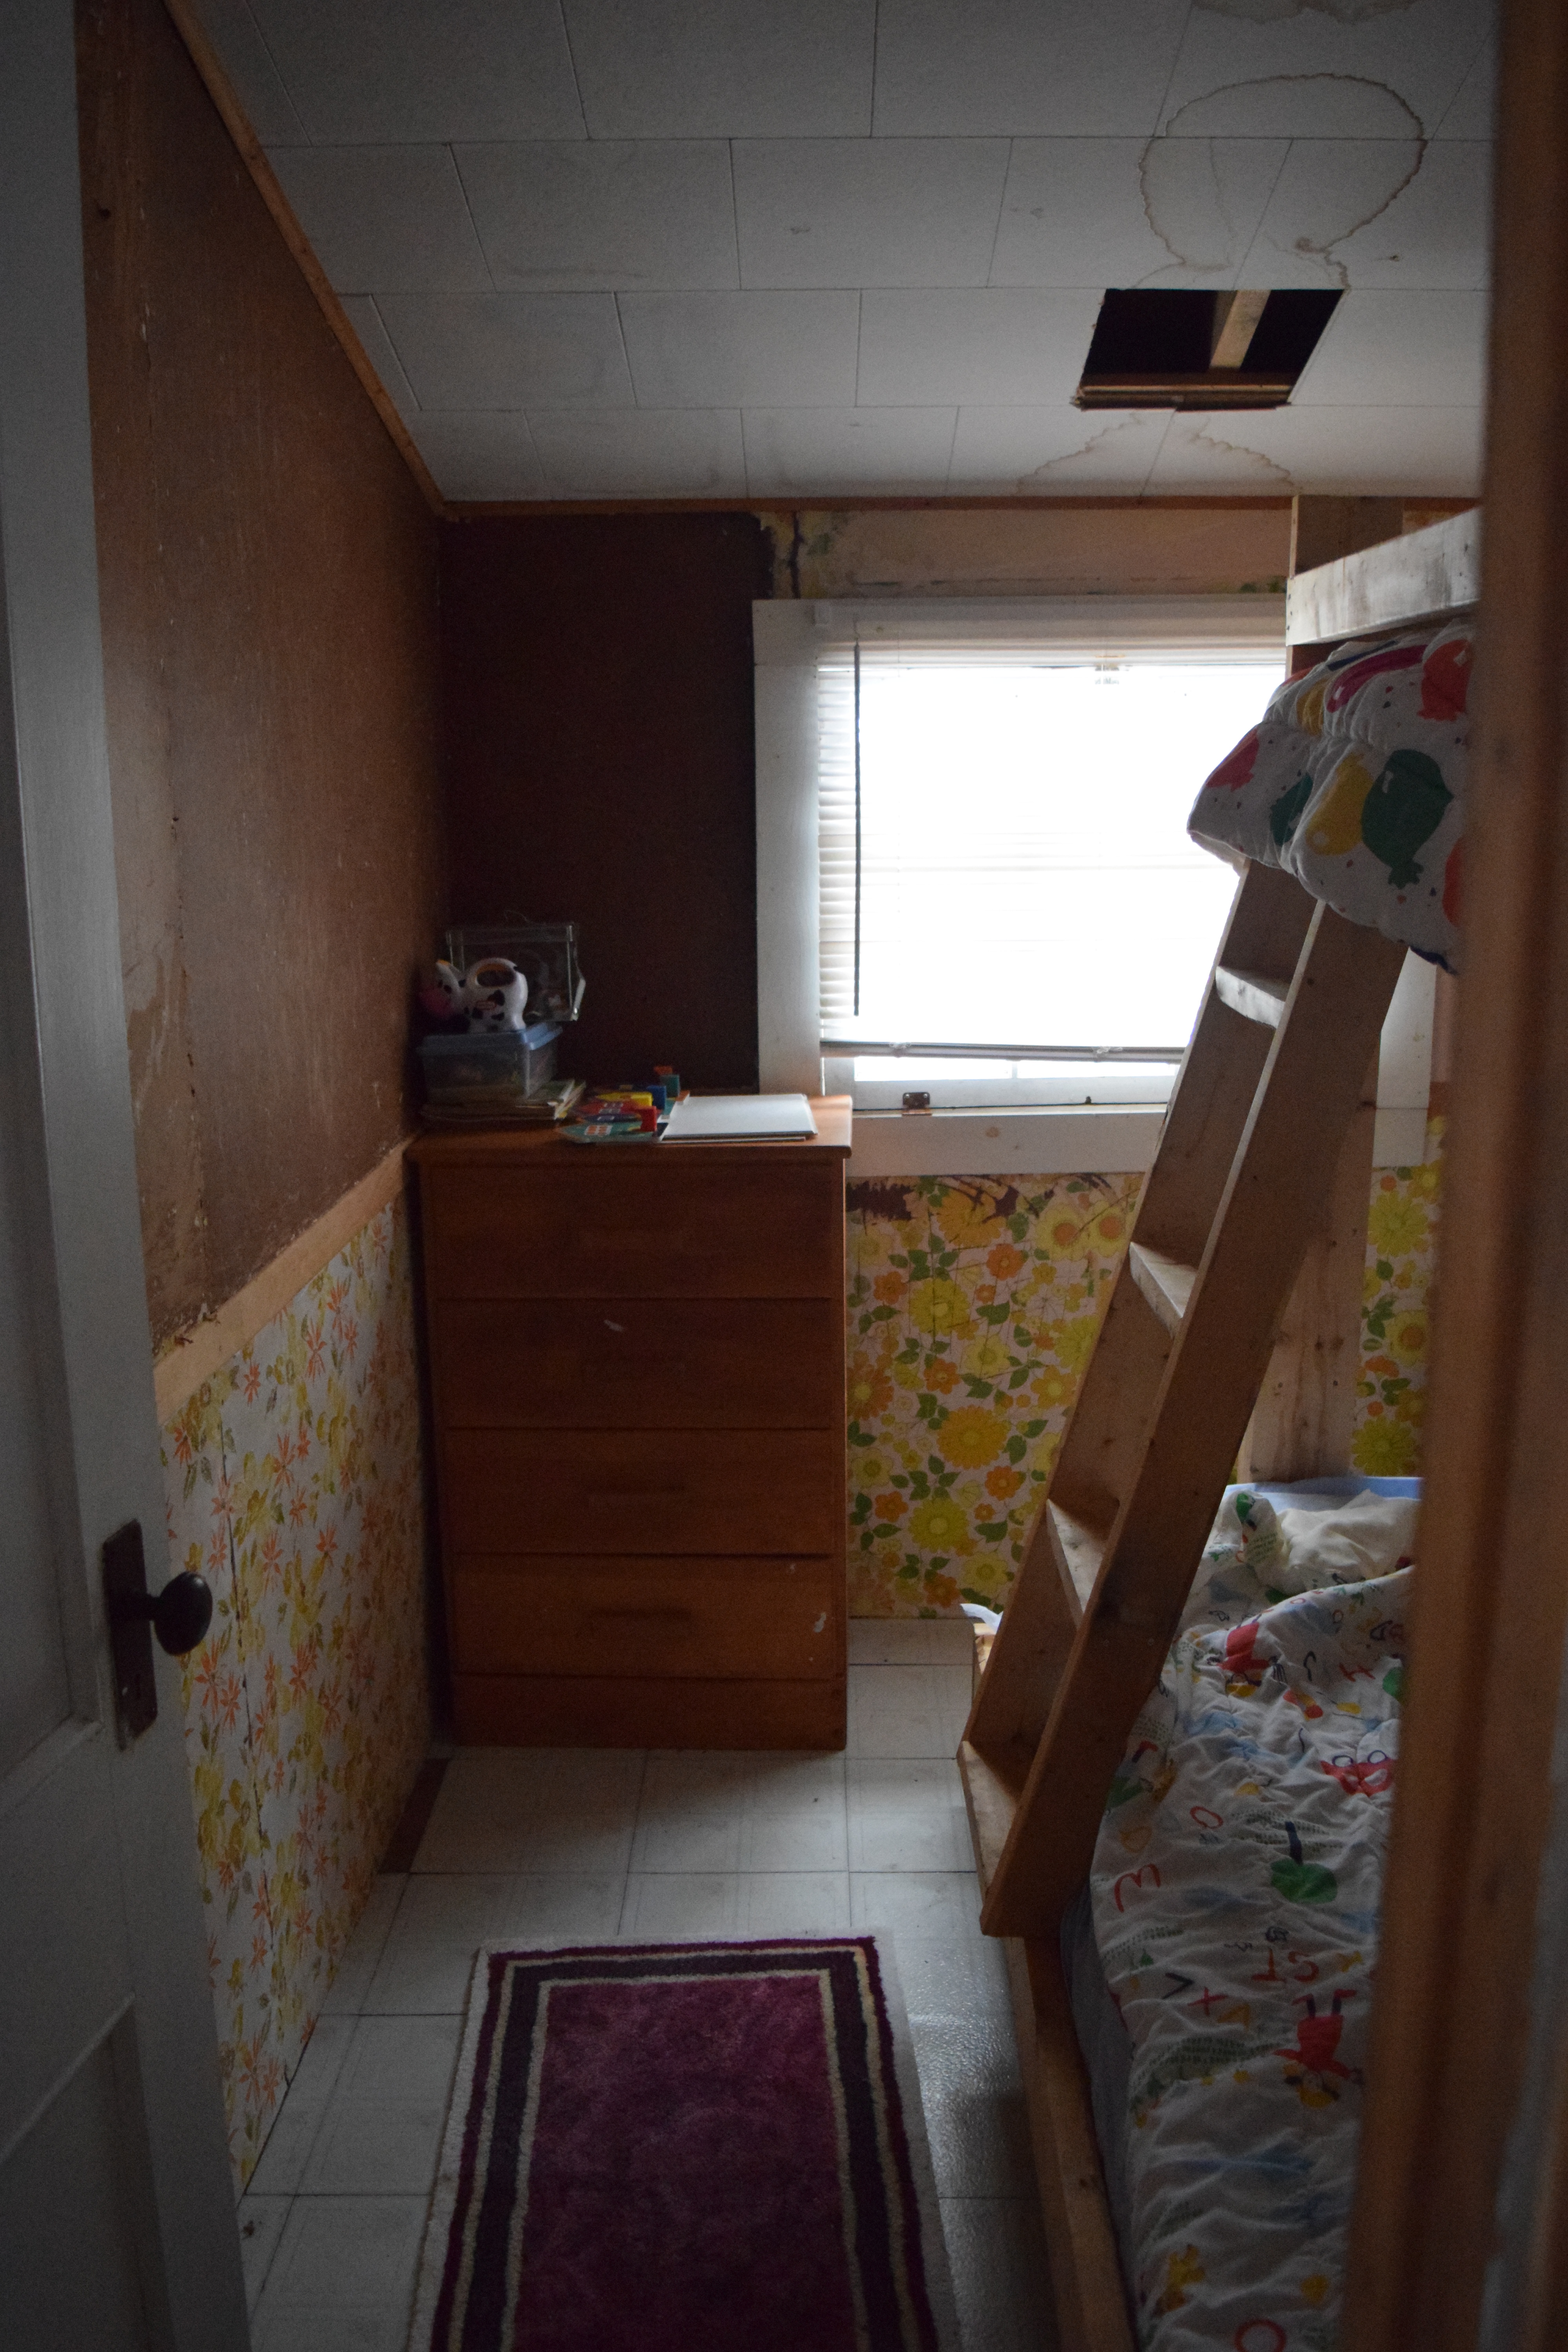
Oh, little Bunk Room, how I hate thee. Let me count the ways. The orange and yellow 70’s wallpaper. The bare brown hardboard walls. Behind the door, are remnants of wallpaper that has been peeled away, leaving Wolverine-like scratches in the wall. The venetian blind that doesn’t fit the window. The window frame was painted only on the interior, not the sides, leaving bare, untreated and aging wood visible. The door frame and the quarter round ceiling mouldings look fairly new but they weren’t painted. What you can’t see in this photo are the two walls beside and at the head of the bunk beds. They are also panelling but they were painted white. Okay, so it’s not all bad, you say. But they are sponge-painted over with pink. The ceiling is badly water-stained from a serious leak. The hole in the ceiling is needed for ventilation but I’m not gonna lie, it’s a little creepy. And finally, the floor tiles are stained from dirty feet and notice there’s a narrow one missing by the dresser.
These bunks have a twin bed on top and a double on the bottom – that’s up to three sleeping spaces – exactly what you want at a cottage to accommodate guests. And the structure itself is extremely solid and beautifully made. It is clear from the relative sizes of the room and the bunks that the beds were constructed inside the room. We’d have to completely disassemble the beds or remove a wall if we ever wanted to get them out of that room.
This room is a keeper. But I am completely and totally embarrassed having people sleep in here. I even feel bad for my 11 year-old step-son who doesn’t really care about the aesthetics of anything and has the capacity to fall asleep anywhere, in any position.
I hadn’t done anything to it yet, knowing we would eventually have to tear down the outer wall to insulate. And since we need a new roof next year because of that STUPID skylight leak <shakes fists in air>, I figured I’d wait and do it all at the same time – roof, ceiling, insulation and decorating.
But I couldn’t handle it anymore!! I HATED that room.
So last week I decided that since I had the cabin to myself for a few days, I was going to get to work. Because the room is small (about 8’x8′), it wasn’t going to take very long at all. Which is nice to think about when I have to do parts of it again after the real work next year.
First, I filled the holes and the seams of the wall with polyfill. I pulled all the moulding off the wall (that was supposed to look like wainscotting) and peeled as much of the old wallpaper off as I could. Then I sanded the polyfill down as well as pulling off and sanding over as much of the ripped wallpaper as I could. Sanding the smooth hardboard also helps the primer adhere.
The primer I used is CIL Smart3 Anywhere primer, meant to adhere to anything. And it does. I used it on those old kitchen cupboards that are that fake wood. If you accidentally scratch the primer before it’s dry, it will just peel off. But when dry, it seems to adhere fairly well. (I haven’t scratched the walls yet to find out how good it is. <fingers crossed!>)

The next day, I painted the top half of the wall grey. A friend of mine recently rebuilt her house and she gave me all the leftover paint. For her it was useless as it was less than a quarter of a gallon. But for the top half of a small room, it was enough.

Two days later, I broke open the roll of wallpaper. Yep, that’s right. Wallpaper. I used to think that wallpaper was work of the devil; it was the stuff that I was trying so arduously to get off these walls! But last year, we redid our basement and we couldn’t paint the walls because they had a tonne of holes in them and they were a little wonky. But a friend told me about all the fun designs you can get for wallpaper nowadays. We decided on wallpaper that looked like a rock wall and it turned out so well that guests still think I put up rock face wall tiles until they touch it.
For the bunk room, I bought one roll of Martha Stewart’s beadboard wallpaper from Home Depot for $24.99. Beadboard is classic for a cottage. But the idea of using real beadboard – loading it in the vehicle, sizing it, cutting it (remember, no electricity), assembling it and then nailing it to the wall – seemed like a lot of work for something I will need to take apart next year when the real work begins. I saw the beadboard wallpaper in a friend’s house and it looked fabulous! This wallpaper is also washable and paintable.

Depending on the pattern of the wallpaper, sometimes lining it up to look seamless can be time-consuming and confusing. When we did the basement, I needed to find the particular stones that matched up. This created a lot of unused sections of wallpaper. The beadboard, however, is the same the whole way through so all I had to do was roll it out, measure it to 36″ (a common measurement for wainscotting), cut it, glue the wall, stick it on straight and flatten it down. So. Easy.
The next step was putting the chair railing on between the paint and the wallpaper. This same week, I had also cleaned out the storage shed at the cabin (I cringe at the memory) and found a full 7′ piece of moulding that had been used to frame the doors, that was simple yet decorative. I went to Home Depot and picked up another 7′ piece of the same moulding for just over $5. I measured the length I would need, cut them into pieces and painted them white. It didn’t take long for them to dry. Then I measured and marked 36″ from the floor and nailed the moulding onto the wall.
The next day was the final painting of the room. This time white. I painted the chair rails a second time, the quarter-round moulding between the wall and ceiling, the inside and the outside of the door frame and gave the entire window frame a clean coat of paint. The two walls that were sponged with pink got a nice fresh coat of white as well. The fastest way to make a room feel clean and new is to add a coat of paint. And there is nothing fresher than a coat of plain white.

As for other details in the room that add to its charm are the curtains, the lantern and the lights at the head of the beds. The curtains were made from material with a comic-book style Star Trek motif that I’d bought years ago. It is a grey background and adds a splash of fun colour. The lantern is from Jysk and I bought it on sale after Christmas for $15. It has a battery operated candle in it so that there is a soft glow in the room at night. I also attached battery operated cabinet lights by the heads of the beds. They can be removed from the small stand and can be used for reading or just seeing where you are going in the darkness.
The bunk bed frame will eventually be painted. But that will be a huge job because we will need to take all the mattresses out. A difficult job to do when the structure is in use most weekends. The natural wood is in great shape so I’m not in a rush to get that part finished. We will replace the damaged ceiling tiles when we redo the ceiling and roof next year.
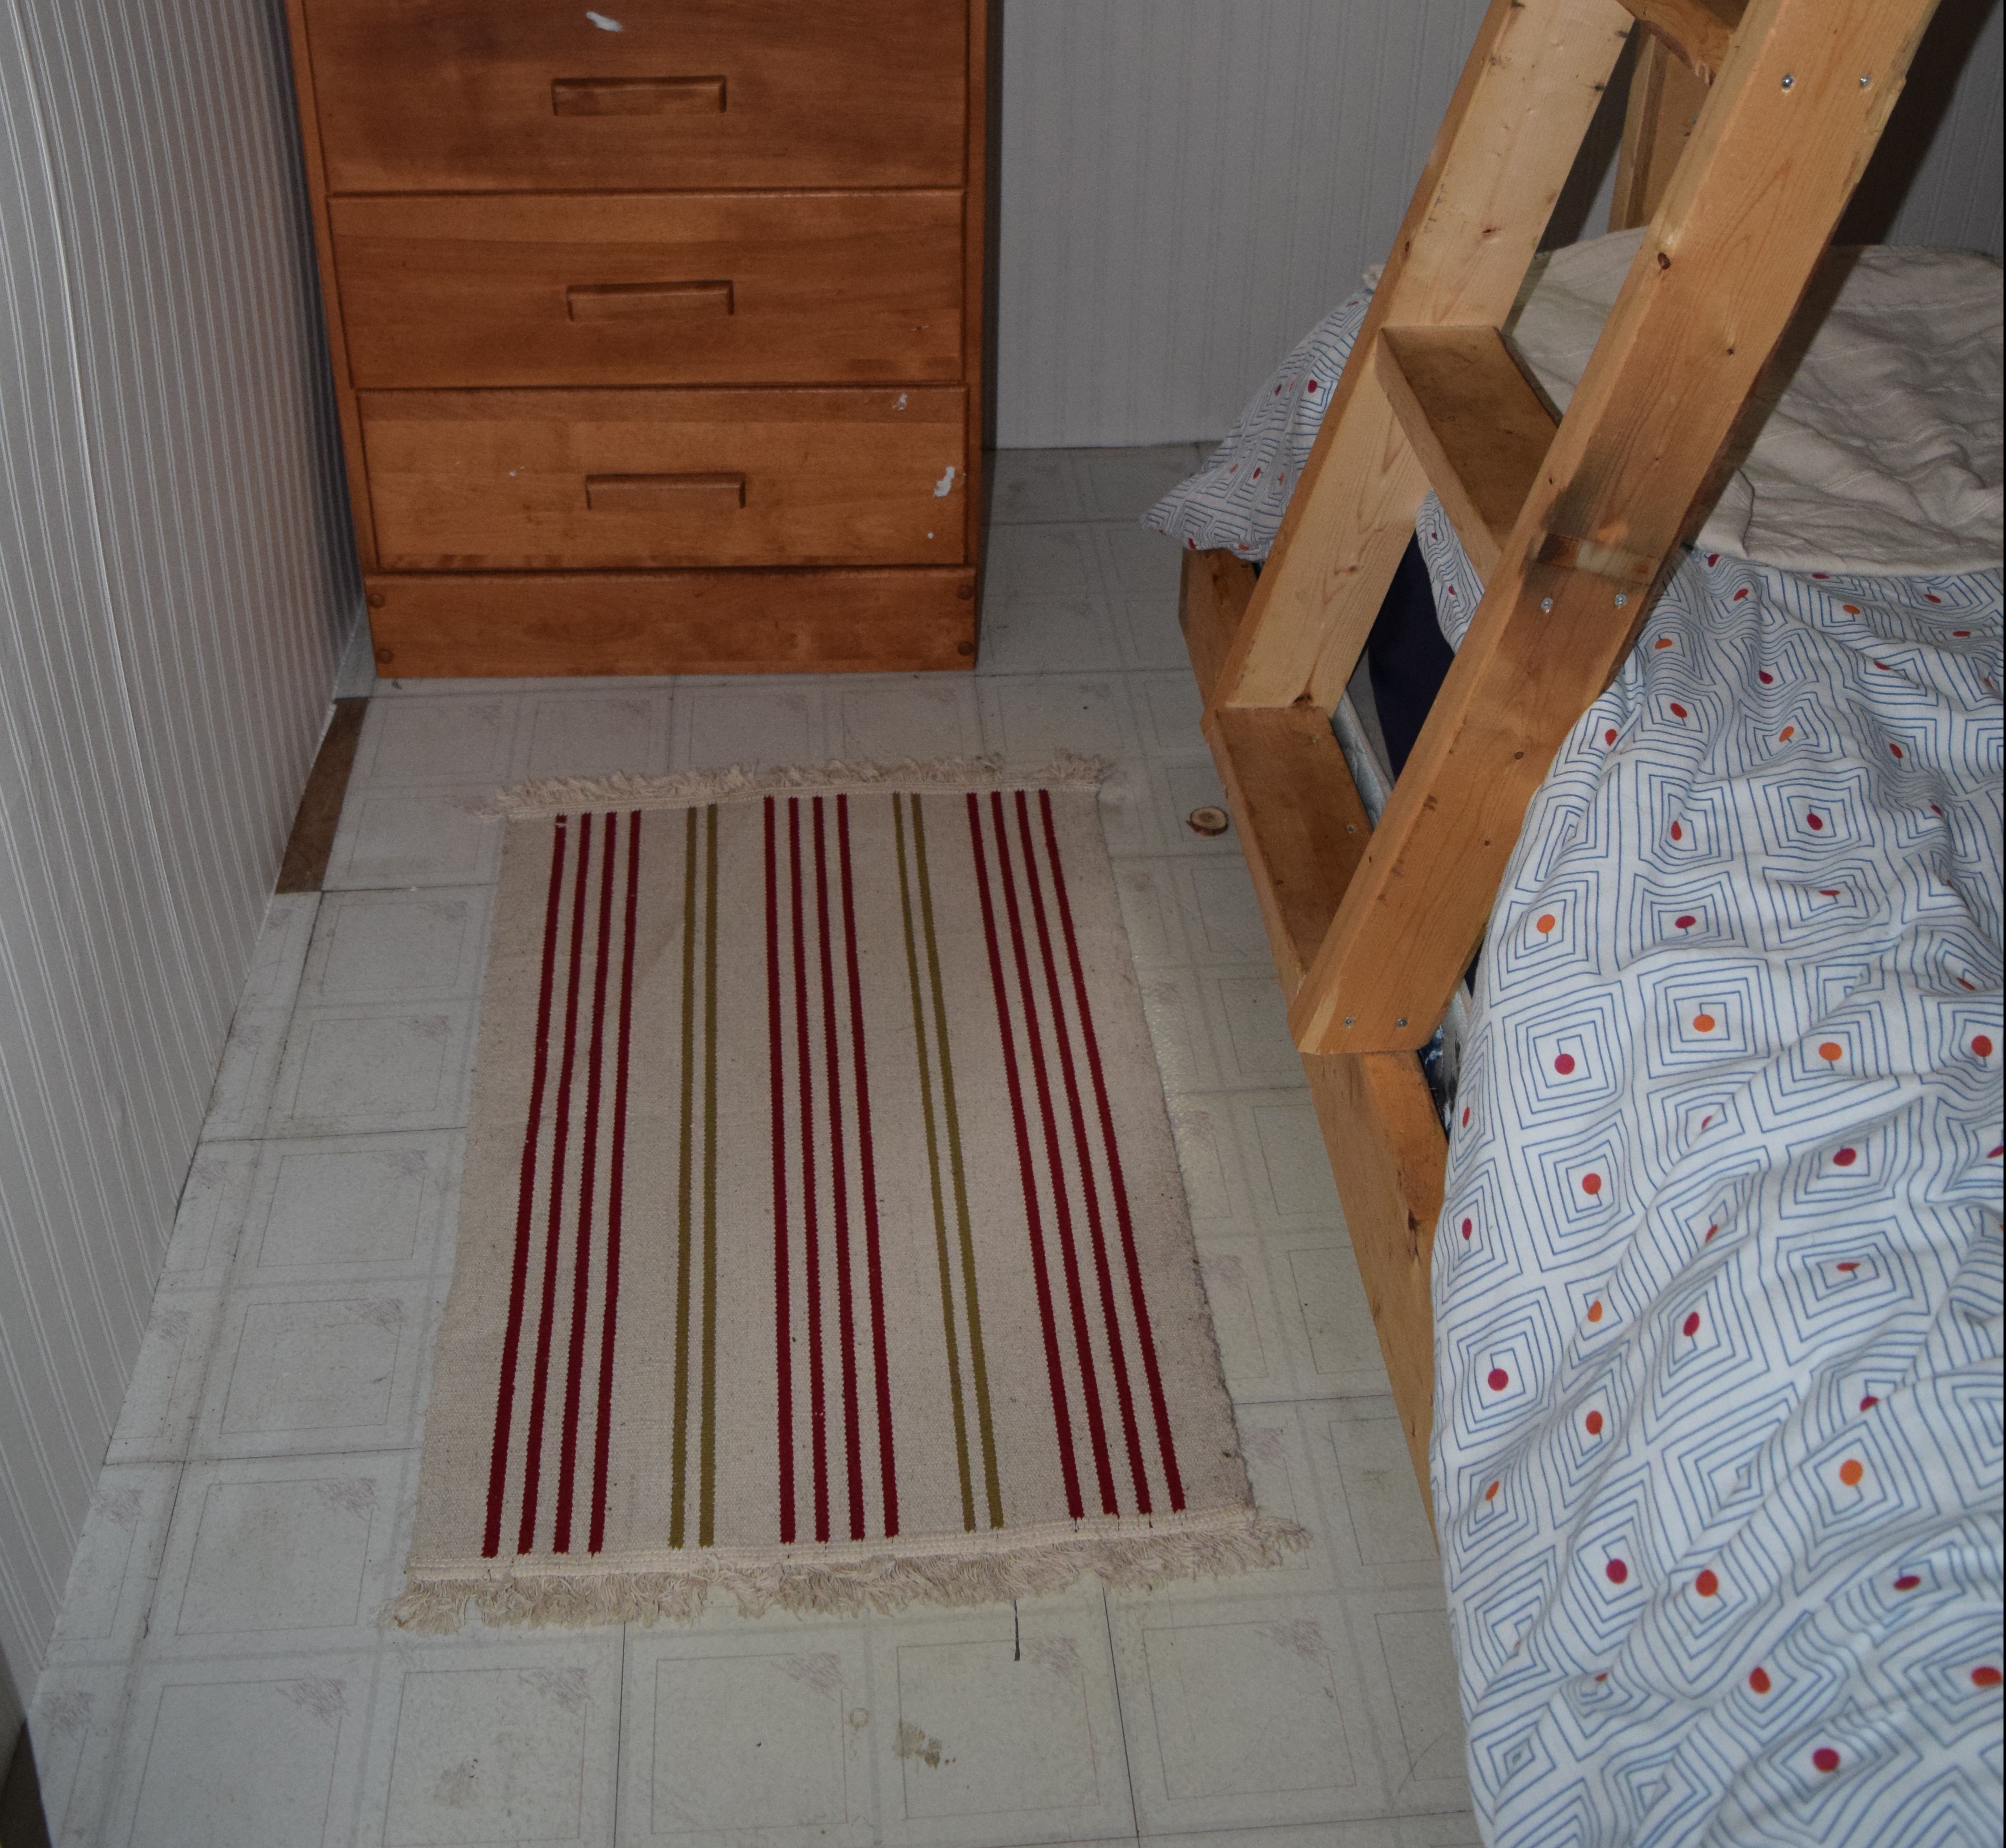
The only question left is the floor. Because the bed cannot be taken out of the room, I’m not sure how I’m going to put new flooring in. I might just have to take out the old cracked and dirty adhesive tiles and put newer ones in. If anyone has any ideas on this, please let me know! Right now, I’ve just got them covered up with washable Ikea mats ($4 each).
All in all, this project took about four days. But it only took a couple of hours each day so it really didn’t feel like a big job. And now I can sleep peacefully knowing that the boy and our guests have a cozy room they can sleep peacefully in.
Cost of Materials:
- CIL Smart3 Anywhere Primer: $18.97 (bought previously)
- white paint, eggshell finish: free from friend
- grey paint, eggshell finish: free from friend
- chair railing, two 7′ pieces: one found in shed, $5.32 at Home Depot
- lantern: $15 (from Jysk)
- electric candle: $10 (from Jysk)
- Ikea mat: $4
Total cost: $53.29 and a friend with lots of leftover paint. Not bad for my peace of mind!


One thought on “The Bunk Room”